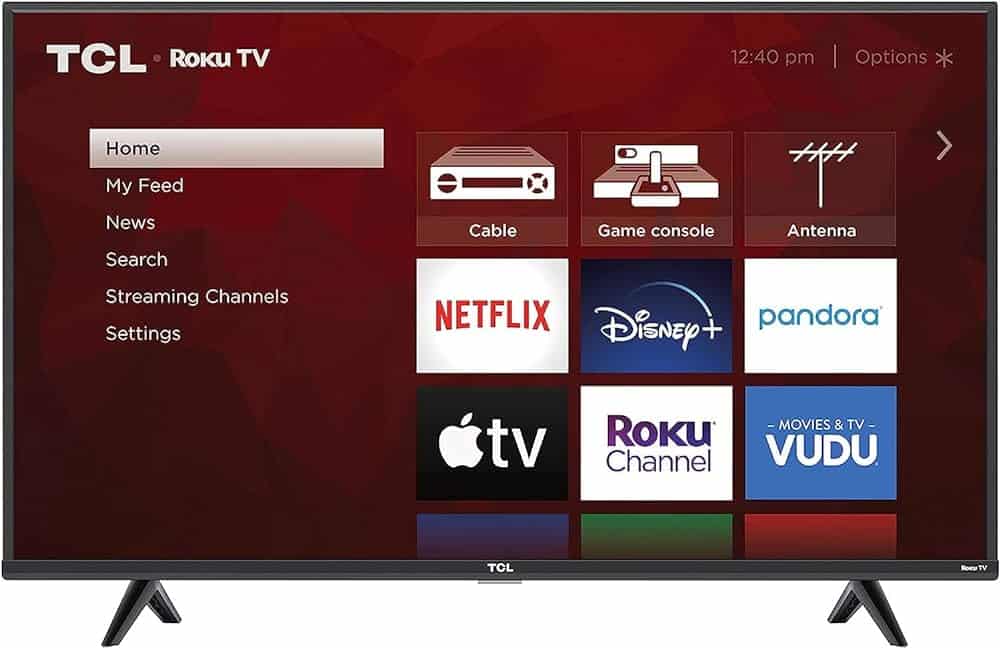
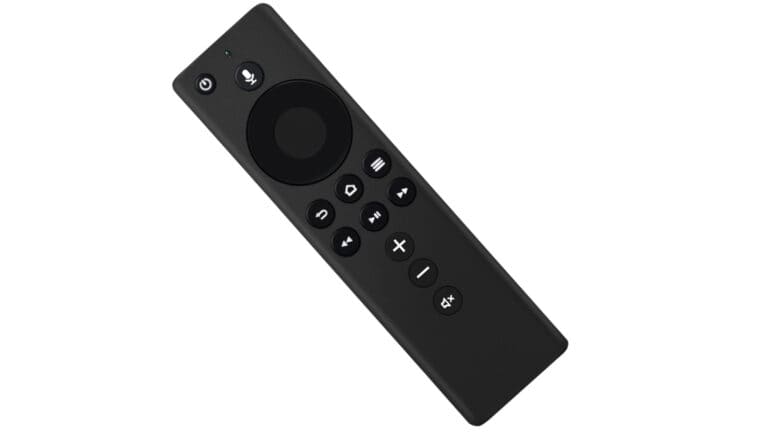
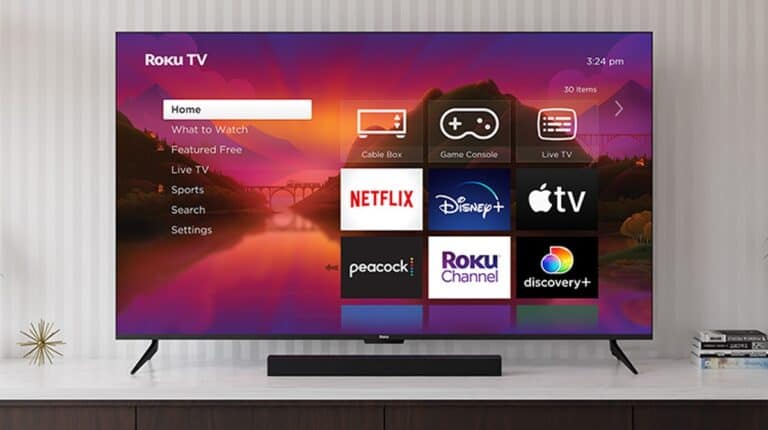
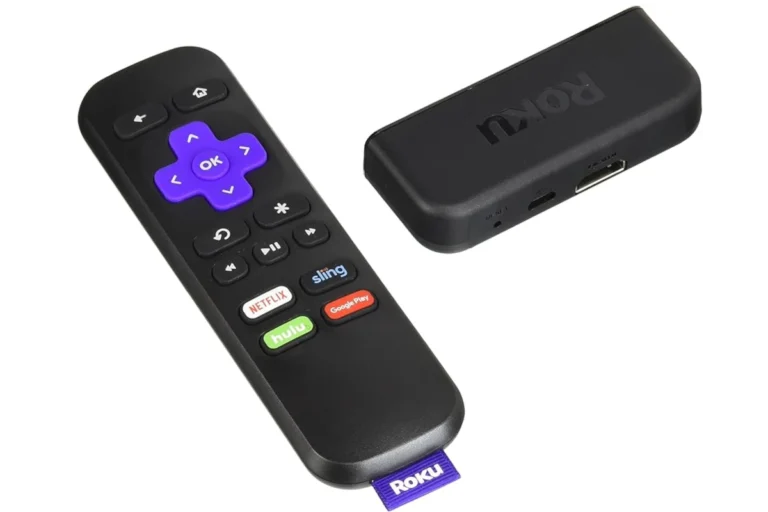
If you experience A/V sync errors with your Roku TV on a streaming channel try switching to another channel to see if the issue persists. If the error goes away, return to the original channel and resume playback to check if the problem was only temporary. To adjust A/V sync settings, go to “Settings” on your TV, select “Sound” or “Audio,” then “Advanced Settings” or “Expert Settings.” Look for “A/V Sync” or “Audio Delay” settings, turn this feature on, and use the slider bar to adjust the A/V Sync.
Why Roku Audio Gets Out of Sync
Audio and video sync issues happen when the sound lags behind (or runs ahead of) the picture. Common causes include:
- Temporary software glitches
- HDMI or soundbar connection issues
- Incorrect audio settings
- Outdated Roku firmware
- Network buffering or streaming service bugs
🛠️ Step-by-Step Fixes for Roku Audio Sync Problems
1. Restart Your Roku Device and TV
A simple restart often resolves temporary sync glitches.
Steps:
- Press Home on your Roku remote.
- Go to Settings → System → Power → System restart.
- If you have a Roku TV, choose Restart TV.
- Wait for it to reboot and test the audio.
👉 If the issue persists, move to the next step.
2. Check Your Internet Connection
Slow or unstable internet can cause streaming lag.
Steps:
- Go to Settings → Network → Check connection.
- If the connection is weak, try restarting your router or switching to a wired Ethernet connection.
3. Adjust Audio Settings
Improper audio modes can cause delays between sound and video.
Try these settings:
- Go to Settings → Audio.
- Set Audio mode to Auto or Stereo.
- Change HDMI or S/PDIF to PCM-Stereo.
(source: Roku Support)
4. Disable “Volume Mode” or “Leveling”
Roku’s “Volume Mode” (available in the options menu while watching content) can sometimes cause sync issues.
Steps:
- While streaming, press the * (star) button on your remote.
- Scroll to Sound settings → Volume mode.
- Set it to Off.
5. Check External Audio Devices (Soundbar / AV Receiver)
If you use a soundbar, receiver, or Bluetooth speaker:
- Ensure all cables (HDMI, optical) are firmly connected.
- Try connecting the soundbar directly to the TV instead of through Roku.
- If using Bluetooth, check for wireless delay — some soundbars have a built-in lip-sync adjustment.
6. Update Roku Software
Outdated firmware can cause sync bugs.
Steps:
- Go to Settings → System → System update → Check now.
- Install any available updates.
7. Reset Audio/Video Settings
If none of the above works, reset Roku’s audio and video settings.
Steps:
- Go to Settings → System → Advanced system settings → Factory reset.
- Choose Reset TV audio/picture settings (not a full factory reset).
8. Factory Reset as a Last Resort
If the issue continues:
Steps:
- Go to Settings → System → Advanced system settings → Factory reset.
- Follow the prompts.
(Note: This erases all apps and settings.)
⚙️ Bonus Tips
- Try a different streaming app (Netflix, YouTube, etc.) to see if the issue is app-specific.
- Use high-quality HDMI cables (especially for 4K or Dolby Audio setups).
- If using a Roku Streambar or Smart Soundbar, see Roku’s dedicated guide for sync calibration (source: Roku Support).
✅ Summary
| Problem | Likely Fix |
|---|---|
| Audio delay on all apps | Restart Roku or adjust audio mode |
| Delay only on one app | Reinstall or update that app |
| Using soundbar or receiver | Check HDMI/optical connections, disable volume leveling |
| Persistent issues | Update firmware or reset audio settings |
In short: Start simple — restart, check settings, and disable volume leveling. If that fails, update software or reset audio configurations. Most Roku sync issues can be fixed in under 10 minutes.
For more detailed troubleshooting, see:
- Roku Support: Audio and Video Sync Issues
- The Home Theater DIY: Roku Audio Out of Sync Fixes
- CleverFixes: Roku Audio Out of Sync – 8 Easy Fixes
Troubleshooting Audio Sync Problems on Your Roku TV
Quick Fixes to Try First
Sometimes, a simple solution can get your audio back in sync:
- Restart: Turn off your Roku TV and unplug it for a few minutes. Then, plug it back in and restart.
- Check Connections: Ensure all cables between your Roku TV, soundbar, or other audio devices are securely connected.
- Update Software: Make sure your Roku TV’s software is up to date. Go to Settings > System > System update > Check now.
- Adjust Audio Settings: Some Roku TVs have audio delay settings. You can adjust this to see if it fixes the issue. Go to Settings > Audio > Audio mode (or similar).
Advanced Troubleshooting Tips
If the quick fixes don’t work, try these more advanced steps:
- Disable Volume Mode: Press the asterisk (*) button on your Roku remote while watching something. Under Volume Mode, select Off.
- Audio Settings: Check your TV’s audio settings and make sure they’re not causing the delay. Common settings to check are PCM-Stereo and Stereo modes.
- Factory Reset: As a last resort, you can try a factory reset. Go to Settings > System > Advanced system settings > Factory reset. Note that this will erase all settings and data on your Roku TV.
When to Contact Roku Support
If you’ve tried all these steps and the issue persists, reach out to Roku support for further assistance. They might have additional troubleshooting steps or suggest a repair if needed.
Please note that these are general tips and the exact steps may vary depending on your specific Roku TV model. Always refer to your Roku TV’s user manual or Roku’s online support for the most accurate instructions.
Understanding Roku TV Audio Sync Issues
When watching your favorite show on a Roku TV, mismatched audio and video can disrupt your experience. This section helps identify the common causes and how connection types affect audio sync.
Factors Causing Audio Desync
Several issues could lead to your Roku TV’s audio falling out of sync with the video:
- Software Glitches: Occasional bugs in the system might throw audio out of sync. A simple system update or restart can often resolve this.
- Weak Internet Connection: Streaming over a poor internet connection can result in delayed audio.
- External Audio Devices: Connecting devices like a soundbar, AVR, or Bluetooth speaker could introduce lag, especially if they’re not synced properly to your TV.
- Faulty HDMI Cable: Using an outdated HDMI cable, namely one that is not HDMI 2.0 or higher, can lead to sync issues.
Impact of Connection Types on Audio Sync
Different connections can influence the audio performance of your Roku TV:
- Wired Connections (HDMI/AVR): Ensure you use a high-quality HDMI 2.0 cable for the best audio and video synchronization.
- Wireless Connections (Bluetooth Speaker): Bluetooth can sometimes introduce a delay. Adjusting the audio delay settings in Roku’s menu might help.
- Internet Connection: Stable and fast internet is essential for synchronized streaming especially when content is being delivered online.
Troubleshooting Audio Sync Problems
When a viewer encounters audio sync issues on their Roku TV, there are a range of strategies they can employ to remedy the situation. From quick fixes that often solve the most common problems to advanced troubleshooting steps for more resistant issues, this section will guide users through the process.
Quick Fixes for Immediate Solutions
Many audio sync issues with Roku TVs can be resolved with some straightforward actions. Here is a step-by-step guide to the quick fixes:
Power Cycle Your Devices:
- Turn off your Roku TV and all connected external devices.
- Unplug them from the power source.
- Wait about a minute before plugging them back in and turning them on.
Use the System Restart Option:
- Navigate to ‘Settings’ on your Roku TV.
- Select ‘System’ and then ‘System Restart’.
- Choose ‘Restart’ to reboot your Roku system.
Reset Audio Settings:
- Go to ‘Settings’ and select ‘Audio’.
- Adjust the ‘Audio Mode’ to ‘Stereo’ and the ‘HDMI Mode’ to ‘PCM-Stereo’ to see if this corrects the sync.
Check the Roku Remote:
- Remove the batteries from your Roku remote.
- Press and hold any button on the remote for about 10 seconds.
- Re-insert the batteries and try using the remote again.
Advanced Troubleshooting Steps
If the straightforward solutions do not resolve the audio sync issues, it may be necessary to undertake more in-depth troubleshooting.
Check for Software Updates:
- Sometimes, an outdated software version can lead to audio problems.
- Make sure your Roku TV has the latest software by checking ‘Settings’ > ‘System’ > ‘System Update’.
Factory Reset:
- As a last resort, a factory reset can be performed.
- Caution: This will erase all settings and return the Roku TV to its original state.
- Go to ‘Settings’ > ‘System’ > ‘Advanced System Settings’ > ‘Factory Reset’ and follow the on-screen instructions.
By methodically applying these solutions, users often find they can rectify audio sync problems without the need for professional assistance.
Optimizing Roku Audio Settings
If the sound from your Roku TV isn’t lining up with the picture, adjusting a few audio settings can make a world of difference. Start by pressing the Home button on your Roku remote.
- Navigate to the Settings menu and select Audio.
- To change the overall sound mode, pick Audio Mode and choose between Stereo or Dolby Digital, depending on what’s supported by your TV or sound system.
Adjusting your Roku’s audio can be crucial for a perfect viewing experience. Let’s break down the vital settings:
- Speech Clarity: If dialogue is getting lost amid background noise, boost dialogue volume. Look for this option under Volume Modes.
- Volume Leveling: Ideal for keeping the sound consistent across different types of content.
- Night Mode: It lowers volume during action-packed scenes, limiting sudden loud noises that could disturb others.
For a better surround sound experience with compatible content, enabling DTS (Digital Theater Sound) can enrich the audio performance.
Always check for software updates as they often enhance audio capabilities or fix existing issues. Navigate to Settings > System > System Update to ensure your software is up-to-date.
To correct out-of-sync audio, follow these steps:
- Access the Settings menu.
- Go to System and select Advanced System Settings.
- Choose Factory Reset and select Reset Audio/Picture Settings.
After these adjustments, your Roku TV should deliver an audio-visual experience that keeps you in the center of the action without any lag or hiccups.
Frequently Asked Questions
When it comes to enjoying your favorite shows, making sure the sound matches the action is key. Here are some quick answers to common audio issues with Roku TVs.
How can I adjust the audio timing on my Roku TV to match the video playback?
Navigate to the ‘Settings’ option on your Roku TV, then select ‘Audio’ and adjust the ‘Audio mode’ to ‘Stereo’ and the ‘HDMI mode’ to ‘PCM-Stereo.’ This should help sync the audio timing with the video.
Is there a way to fix audio lag issues on a TCL Roku TV?
Yes, for TCL Roku TVs, you can try a system restart. Go to ‘Settings’, select ‘System’, then ‘System Restart’, and choose ‘Restart.’ This often resolves audio lag.
What steps should I take if my Roku TV’s sound is out of sync with the picture?
Power cycling the TV can help. Turn off your TV, unplug it, then disconnect and reconnect all the input devices before plugging the TV back in and turning it on.
Why does audio from my Hisense Roku TV not synchronize with the on-screen visuals?
Press the Home button on your remote five times, followed by the Up button once, the Rewind button twice, and the Fast Forward button twice. This sequence can reset and potentially fix audio sync issues on a Hisense Roku TV.
Can you troubleshoot audio delay problems on YouTube TV via Roku?
Try removing and reinserting the batteries in your Roku remote. If necessary, replace them with new ones. Then, restart your Roku device and open the YouTube TV app again to check for improved audio sync.
What are the common solutions for Philips Roku TV audio synchronization problems?
For Philips Roku TVs, resetting the audio/picture settings may help. Press the Home button, and navigate to ‘Settings’ > ‘System’ > ‘Advanced System Settings’ > ‘Factory Reset’ > ‘Reset Audio/Picture Settings’. Then, press the Play/Pause button three times. If issues persist, a full factory reset could be the next step.

