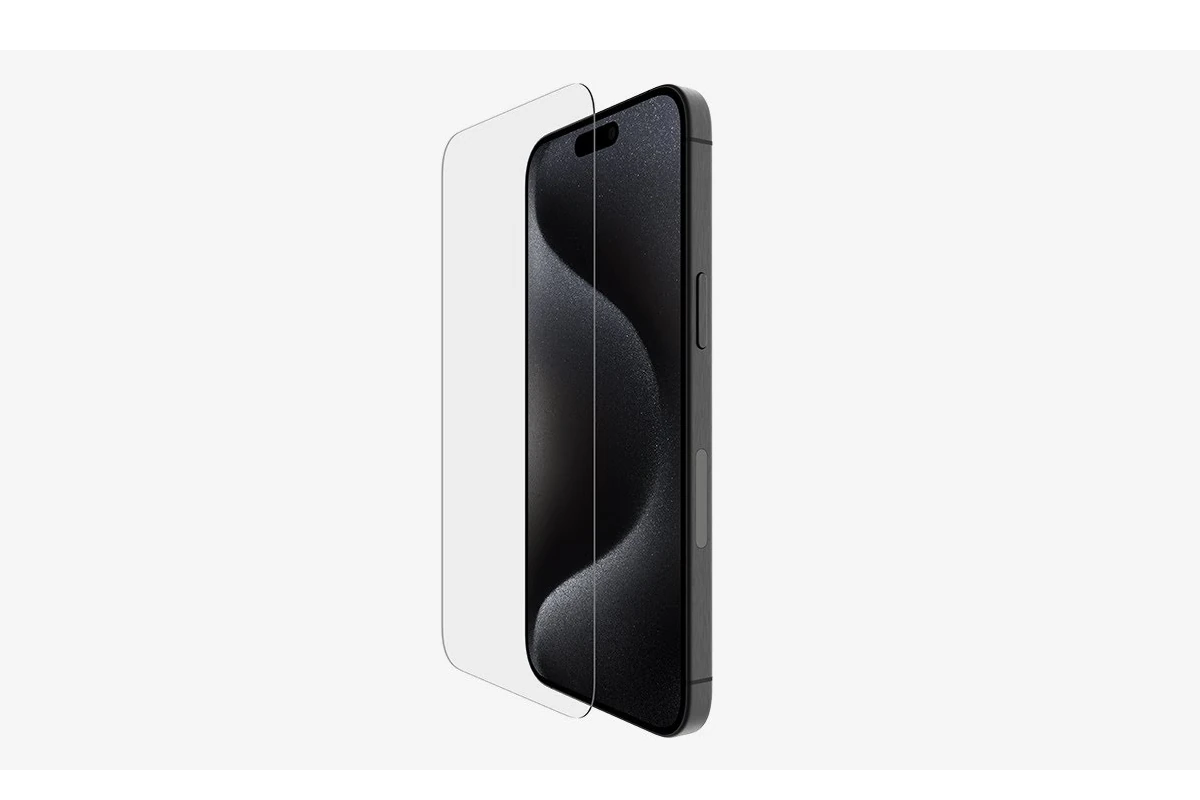
When a mobile device is an essential part of daily life, keeping its screen pristine is a priority. A screen protector serves as a shield for the delicate glass, but applying one can sometimes go awry. Bubbles, dust, and misalignment are common issues that afflict even the most cautious users during installation. Fortunately, fixing a screen protector is a straightforward process that ensures the longevity and clarity of the device’s display. By addressing common challenges effectively, one can maintain a touch-responsive and visually clear screen.
How to Fix a Screen Protector on a Mobile Device
| Issue | Possible Solutions | Important Considerations |
|---|---|---|
| Small Bubbles | * Wait: Tiny bubbles may disappear on their own within 24-48 hours as the adhesive settles. * Push out: Gently press bubbles towards the edge with a squeegee or credit card. | * Don’t try to puncture the bubble. * Success is more likely with small bubbles near the edges. |
| Dust Bubbles | * Carefully lift the corner closest to the dust with tape. * Remove the speck with a dust sticker. * Slowly re-lay the protector down. | * This carries the risk of introducing more dust or misalignment. |
| Misalignment | * If freshly applied: Quickly lift and reposition the protector before the adhesive sets completely. | * The longer you wait, the harder it is to remove without damaging the protector. * Each repositioning increases the risk of contamination and bubbles. |
| Large Bubbles and Major Misalignment | * Removal and replacement: This is often the best course of action, especially for tempered glass protectors. | * Follow the instructions in the “How to Remove a Screen Protector” table carefully. |
Important Notes:
- Prevention is key: Meticulous cleaning, dust-free environments, and careful alignment are crucial to avoid these issues in the first place.
- Tempered glass: Tempered glass protectors are significantly harder to adjust once applied. They tend to break if you try to reposition them repeatedly.
- “Fixing” might not be perfect: Even if you manage to improve the situation, there might still be slight imperfections.
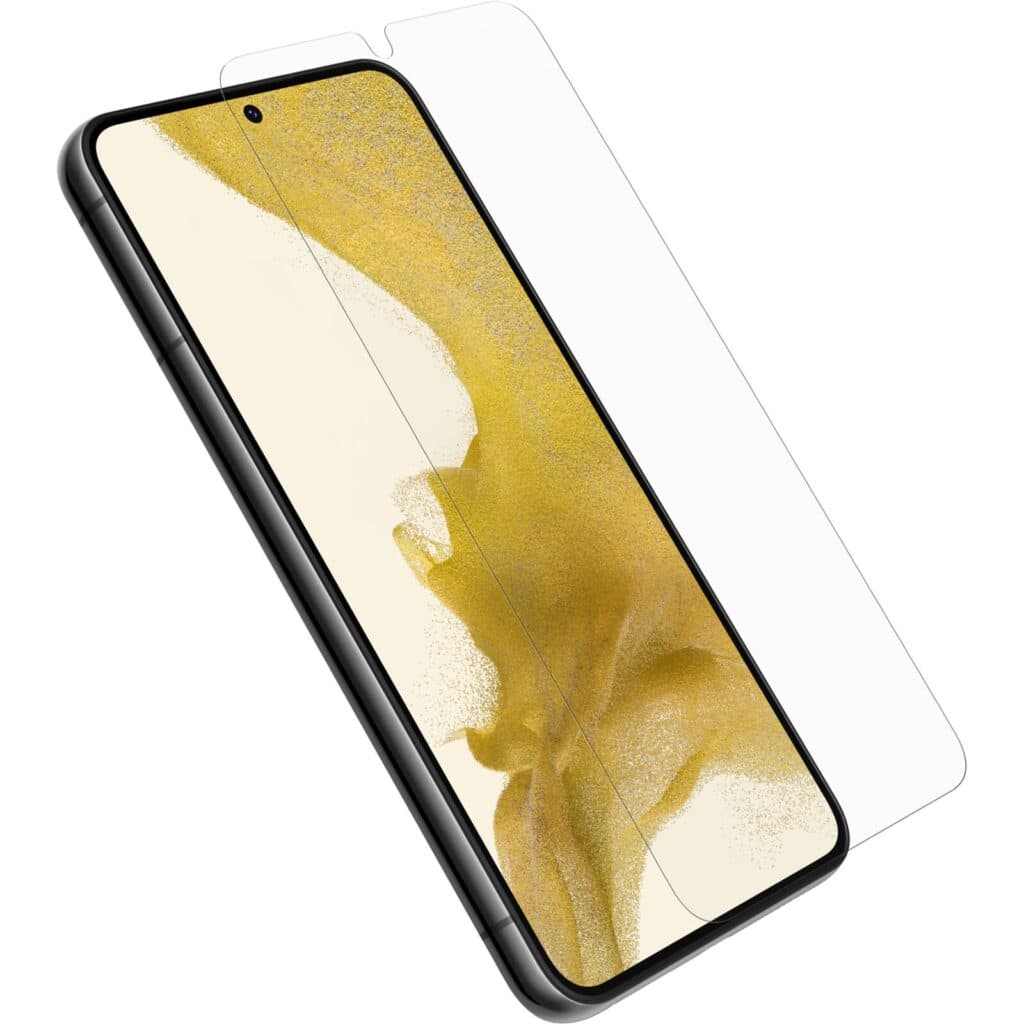
To begin the repair, the screen and the surrounding environment must be clean to prevent any additional debris from sneaking under the screen protector. The right tools and techniques can make a significant difference in fixing the protector smoothly. Applying the screen protector begins with precise alignment and is typically followed by a methodical approach to eliminate any trapped air or particles. With careful attention to detail during this process, one can achieve a bubble-free, secure application that protects the device from everyday wear and tear.
Key Takeaways
- Screen protectors are crucial for safeguarding mobile device screens from damage.
- Proper preparation and cleaning are key steps before attempting to fix a protector onto a screen.
- Correct application techniques can prevent and eliminate common issues like bubbles and misalignment.
Preparing for Installation
Before starting the process of fixing a screen protector to your mobile device, it is crucial to have the right supplies on hand and to prepare the device itself. This sets the stage for a smooth and successful installation, ensuring the screen protector adheres properly without issues like bubbles or dust getting in the way.
Gathering the Necessary Tools
For a repair, you will need:
- Microfiber cloth: To clean the screen without leaving scratches.
- Packing tape: Useful for removing any stubborn dust particles.
- Credit card or plastic squeegee: To smooth out the protector and drive out air bubbles.
- New screen protector: To replace the damaged one. Make sure this is the correct size and type for your device.
- Alignment tool (optional): Some protectors come with tools to help with proper placement.
Cleaning the Device Screen
To begin, switch off your device. Using the microfiber cloth, clean your screen to remove any fingerprints, smudges, and debris. If any dust remains, gently apply a strip of packing tape to lift it off. This step is essential as trapped dust can cause bubbles under the screen protector.
Removing Damaged Protectors
If you are dealing with a cracked or peeling screen protector, carefully lift a corner using a thin tool like a knife, but take care not to damage the screen itself. Peel the protector away steadily. If any adhesive residue remains, lightly dab it with the sticky side of the tape to lift it off. Once the old protector is removed, do another pass with the microfiber cloth to ensure the screen is perfectly clean for the new protector.
Applying the Screen Protector
When installing a screen protector on any mobile device, achieving a perfect alignment and avoiding air bubbles are crucial steps for a smooth, bubble-free appearance that does not interfere with screen responsiveness.
Alignment and Positioning
Begin by ensuring the work area is clean and free from dust, which can cause air bubbles. Hold the screen protector by the edges to avoid fingerprints. For precise alignment, align the screen protector with the display of your phone. Pay special attention to the edges and any cutouts for the speaker or camera. The alignment step is crucial—if the protector is even slightly misaligned, it may not adhere properly or may interfere with phone cases.
Securing and Eliminating Bubbles
Once the protector is aligned, secure one edge to the device, using guide stickers if provided. Slowly lower the protector onto the screen, starting from one corner and carefully pressing down. If air bubbles appear, gently push them out to the nearest edge using a credit card or a squeegee if included with the protector. Moving in a straight line ensures a smooth application.
Final Adjustments and Reapplication
If large bubbles remain, or if dust interferes with adhesion, gently lift the protector near the issue area but avoid bending it. Remove any dust with a sticky tape, then reapply as before. If the protector is damaged during installation or if there are persistent bubbles, it may need to be replaced with a new one. Check if your protector has a warranty, as some companies offer replacements for flawed installations. Remember that a well-applied screen protector can safeguard your device’s screen from scratches and minor physical damages, preserving the screen’s functionality and resale value.
Frequently Asked Questions
This section provides answers to common issues you might encounter when dealing with screen protectors for mobile devices.
What is the best method to remove a cracked glass screen protector from a phone?
To remove a cracked screen protector, gently lift a corner using your fingernail or a plastic tool like a guitar pick. Slide the tool under the edge and work it around the device’s perimeter to loosen the adhesive. Apply low heat with a hairdryer to ease removal if needed.
Can you reapply a screen protector that has fallen off, and if so, how?
If a screen protector comes off and is not damaged, it may be possible to reapply it. First, clean the sticky side with a lint-free cloth lightly dampened with distilled water. Then, carefully align the protector with your phone’s screen and gently press it into place, working out any air bubbles.
What are the steps to replace a tempered glass screen protector?
To replace a tempered glass screen protector, start by removing the old one as previously described. Clean your phone’s screen with a microfiber cloth to remove any dust or debris. Peel the backing off the new protector, align it with your screen, and gently place it down. Press the center and smooth out towards the edges to secure it.
How can one eliminate bubbles after applying a screen protector?
To eliminate bubbles, use a smooth-edged item such as a credit card wrapped in a microfiber cloth. Start from the center of your phone and gently push the bubbles out towards the closest edge. If a bubble doesn’t move, lift the edge of the protector nearest to the bubble and then reapply, smoothing out the air pocket.
Is it possible to remove and replace a screen protector on an iPhone without damaging it?
Yes, you can remove and replace a screen protector on an iPhone without harm. Use a gentle approach to lift the protector from a corner, and avoid bending it too much if you plan to reuse it. When applying a new protector, clean your screen meticulously and align the protector with care.
What is the recommended process for changing a screen protector on an Android device?
Changing a screen protector on an Android device involves the same basic steps as other mobile devices. Carefully remove the old protector, clean the screen thoroughly, peel off the new protector’s backing, align it with your phone’s screen, and apply it using a smooth motion to avoid air traps.

