Replacing the screen on an iPad Mini can be a daunting task, but avoiding common mistakes can make the process smoother. Skipping the preparatory steps can lead to more problems. Ensuring you have the right tools and understanding each step is the key to a successful repair. This can save time and prevent damage to the device’s internal components.
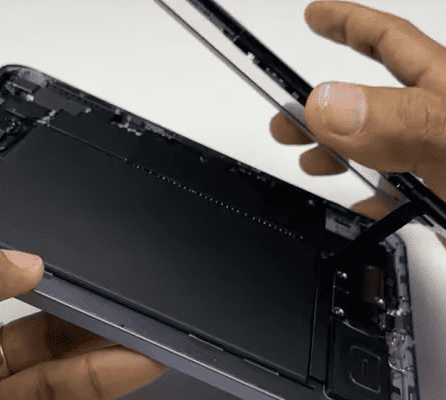
One mistake many make is applying too much force when lifting the screen. This can break the fragile glass or damage the internals. Using a suction handle and gently inserting an opening pick can prevent these issues. Avoid inserting the pick too deep to protect the circuit board.
Carefully handling the screen to avoid twisting or pulling too far away from the frame is critical. Distraction or haste can damage the flex cable, requiring more repairs. This guide aims to highlight these pitfalls to help you achieve a seamless screen replacement.
Common Mistakes to Avoid in iPad Mini Screen Replacement
Replacing the screen on your iPad Mini can restore its functionality and appearance, but it’s a delicate process that requires care and the right approach. Avoiding common mistakes will help ensure a successful repair without causing further damage or voiding warranties. Here are the key pitfalls to watch out for when replacing your iPad Mini screen.
1. Using Low-Quality Replacement Screens
- Mistake: Buying cheap or incompatible replacement screens.
- Why to Avoid: Low-quality screens often have poor display clarity, reduced touch sensitivity, and can fail quickly.
- Tip: Always purchase high-quality, OEM (Original Equipment Manufacturer) or certified replacement parts from reputable suppliers.
2. Not Powering Off the Device Before Repair
- Mistake: Attempting screen replacement while the iPad is still powered on.
- Why to Avoid: This increases the risk of short circuits and electrical damage.
- Tip: Always power off the iPad completely before starting the repair process.
3. Using Excessive Heat or Improper Tools
- Mistake: Applying too much heat or using inappropriate tools to loosen the adhesive.
- Why to Avoid: Excessive heat can damage internal components, and improper tools can scratch or crack the glass.
- Tip: Use a controlled heat source like a heat pad or hairdryer on low settings and specialized plastic pry tools designed for electronics.
4. Damaging Internal Components During Disassembly
- Mistake: Being careless when removing the screen, risking damage to the digitizer cable, battery, or logic board.
- Why to Avoid: Internal components are delicate and can be costly to replace.
- Tip: Follow detailed repair guides step-by-step, disconnect cables gently, and avoid pulling or bending connectors.
5. Not Transferring or Properly Reinstalling Components
- Mistake: Forgetting to transfer parts like the home button, front camera, or sensors from the old screen to the new one.
- Why to Avoid: Some components, like the home button, are paired with the device for Touch ID functionality and must be reused.
- Tip: Carefully remove and reinstall these components exactly as they were.
6. Skipping Cleaning of Adhesive Residue
- Mistake: Reassembling without cleaning old adhesive residue.
- Why to Avoid: Old adhesive can prevent the new screen from sealing properly, leading to dust ingress or reduced structural integrity.
- Tip: Use isopropyl alcohol and a lint-free cloth to clean the frame before applying new adhesive strips.
7. Not Testing the New Screen Before Final Assembly
- Mistake: Sealing the iPad completely before verifying the new screen works.
- Why to Avoid: If the screen is defective or connections are loose, you’ll have to reopen the device, risking damage.
- Tip: Connect and power on the iPad to test the display and touch functionality before sealing.
8. Ignoring Warranty and Repair Policies
- Mistake: Performing DIY repairs without understanding warranty implications.
- Why to Avoid: Unauthorized repairs can void Apple’s warranty or AppleCare coverage.
- Tip: Consider professional repair services if your device is under warranty or you’re unsure about the process.
Summary Table of Common Mistakes
| Mistake | Why to Avoid | How to Avoid |
|---|---|---|
| Using low-quality screens | Poor display, touch issues | Buy OEM or certified parts |
| Not powering off device | Risk of electrical damage | Always power off before repair |
| Using excessive heat/improper tools | Damage to components | Use controlled heat and proper tools |
| Damaging internal components | Costly repairs | Follow guides, handle cables gently |
| Not transferring key components | Loss of Touch ID or camera function | Transfer parts carefully |
| Skipping adhesive cleaning | Poor screen adhesion | Clean frame before reassembly |
| Not testing before sealing | Difficult troubleshooting | Test screen before final assembly |
| Ignoring warranty policies | Voiding warranty | Check warranty, consider pros |
By avoiding these common mistakes, you can increase your chances of a smooth and successful iPad Mini screen replacement. If you’re unsure at any step, consulting a professional repair technician is always a smart choice.
DIY iPad Mini Screen Repair: Mistakes to Avoid
1. Not Having the Right Tools
Before you start, gather all the necessary tools. These include a heat gun or hair dryer, suction cups, spudger, prying tools, and a precision screwdriver set. Using improper tools can damage the delicate components of your iPad Mini.
2. Not Disconnecting the Battery
Failing to disconnect the battery before starting the repair can cause electrical shorts, potentially damaging the logic board or other components. Always disconnect the battery connector before proceeding with the screen replacement.
3. Applying Too Much Heat
While heat is needed to loosen the adhesive holding the screen, excessive heat can damage the display or other internal parts. Apply heat in short bursts, moving it around to ensure even distribution.
4. Not Taking Precautions Against Static Electricity
Static discharge can fry sensitive electronic components. Wear an anti-static wrist strap or ground yourself by touching a metal object before handling any internal parts.
5. Not Protecting the LCD
The LCD is fragile and can be easily damaged during the repair process. Avoid putting pressure on it, and be careful not to scratch it with tools or fingernails.
6. Forcing Components
If a part isn’t coming off easily, don’t force it. Apply more heat or recheck your technique. Forcing components can break connectors or damage delicate parts.
7. Not Replacing Adhesive Strips
The adhesive strips are essential for holding the new screen in place. Don’t reuse old strips; replace them with new ones to ensure a proper seal and prevent dust from entering.
8. Not Testing Before Reassembly
Before you put everything back together, test the new screen to make sure it’s working correctly. This allows you to identify any issues before fully reassembling the iPad Mini.
Key Takeaways
- Use the right tools and follow steps carefully
- Avoid applying too much force when lifting the screen
- Handle the screen gently to prevent cable damage
Preparing for the Replacement Process
Changing the screen on an iPad Mini needs careful preparation to avoid mistakes. Follow these steps to ensure safety and correct assembly.
Safety and Equipment
To start, gather all the necessary tools and safety gear. Safety glasses protect your eyes from glass shards. You’ll need an Opening Pick, Suction Cup, Spudger, and Tweezers for precision. A Heated Iopener helps loosen adhesive. Clear packing tape can hold the broken glass together. Tools like Metal Prying Tool can help, but use them carefully to avoid damaging parts. Keep a clean, organized workspace to find tools quickly.
Understanding iPad Mini’s Structure
An iPad contains delicate parts. The Display Cable, Digitizer Cable, and Home Button Assembly are fragile. When opening the iPad, watch for the Display Cable Bracket. Disconnect this carefully to avoid damaging the device. The iPad Screen houses the Front-Facing Camera and other components, so don’t pull or twist it. Keep track of screws and small parts by using a parts tray or a magnetic mat to avoid losing them.
Assessing the Damage
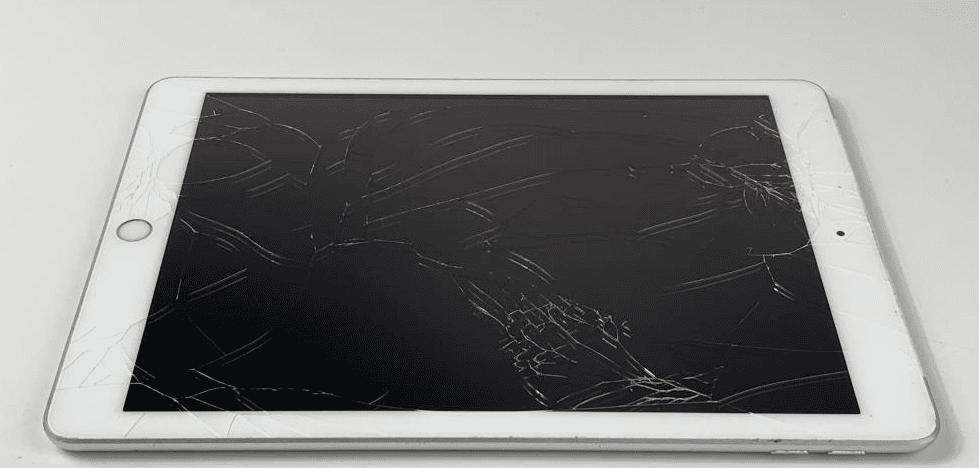
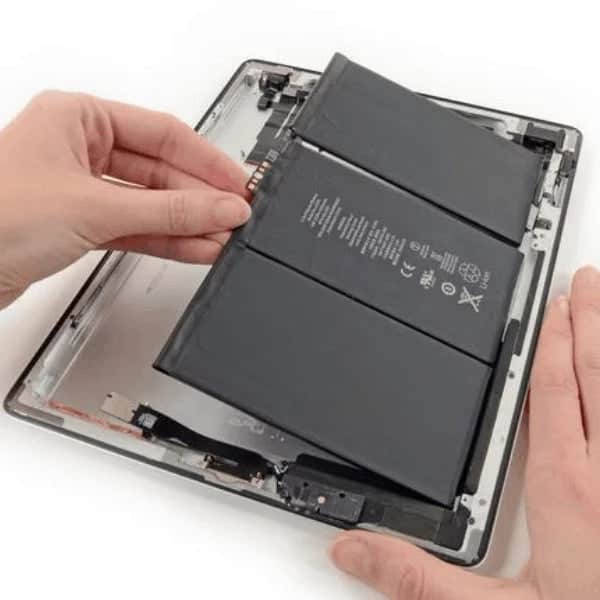
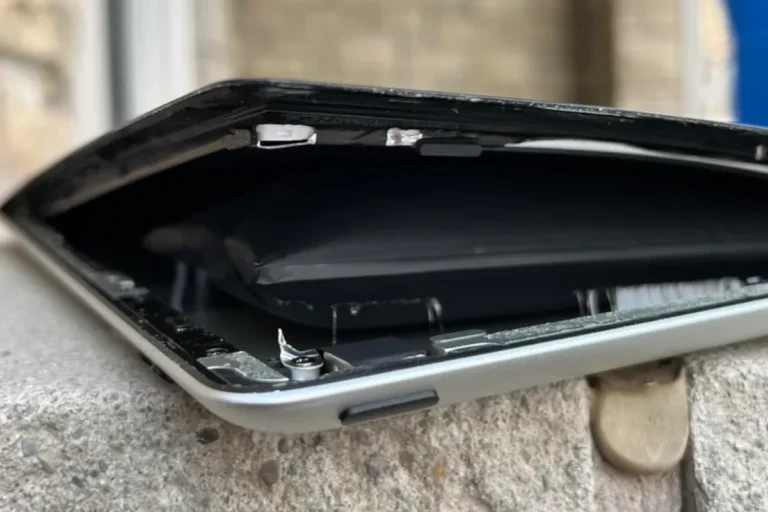
Before starting, examine the LCD Screen and digitizer to understand the damage extent. Look for cracks and assess the Adhesive condition. Clear Packing Tape can prevent further cracking during removal. Identify if the Battery Replacement might be necessary too. Knowing whether parts like the Home Button or camera need replacement helps in planning the repair. Assessing damage helps in ordering the right parts and avoiding delays and cost overruns.
This preparation ensures fewer mistakes and a smoother repair process.
Frequently Asked Questions
Understanding the risks and necessary steps when replacing an iPad Mini screen can help ensure a smooth repair process. Here are answers to some common questions:
What are the risks of replacing an iPad Mini screen without professional assistance?
Replacing the screen without professional help might lead to accidental damage. Incorrect handling of components can cause further issues. The use of improper tools might also result in injury or damage to the device.
How can I ensure compatibility of the replacement screen with my iPad Mini model?
Check the model number of your iPad Mini before buying a replacement screen. Verify that the screen is designed for your specific model. Consult reliable sources or manuals to ensure you have the right part.
What are the necessary precautions to take when handling the iPad Mini digitizer during replacement?
Avoid touching the digitizer’s sensitive areas. Ground yourself to prevent static damage. Handle the digitizer gently to avoid breaking the glass. Secure it properly before reassembling the device to prevent loose connections.
What tools are required for a successful iPad Mini screen replacement to prevent damage?
Essential tools include a suction cup, opening picks, a screwdriver, and tweezers. Using these tools correctly can prevent damage. Ensure your tools are suitable for delicate electronics to avoid mishaps.
How can I tell if my iPad Mini’s screen issues are due to a cracked screen or other underlying problems?
Look for visible cracks or broken glass. Test touch functionality to see if the screen responds. If the display is unresponsive or has lines, there might be deeper issues. Running diagnostics can help to identify non-visible problems.
What should I consider before deciding whether to replace my iPad Mini screen myself or seek professional service?
Evaluate your technical skills and comfort level with repairs. Consider the cost of tools and replacement parts. Think about the warranty and the potential risk of further damage. Professional services might offer a warranty on repairs, providing added peace of mind.

