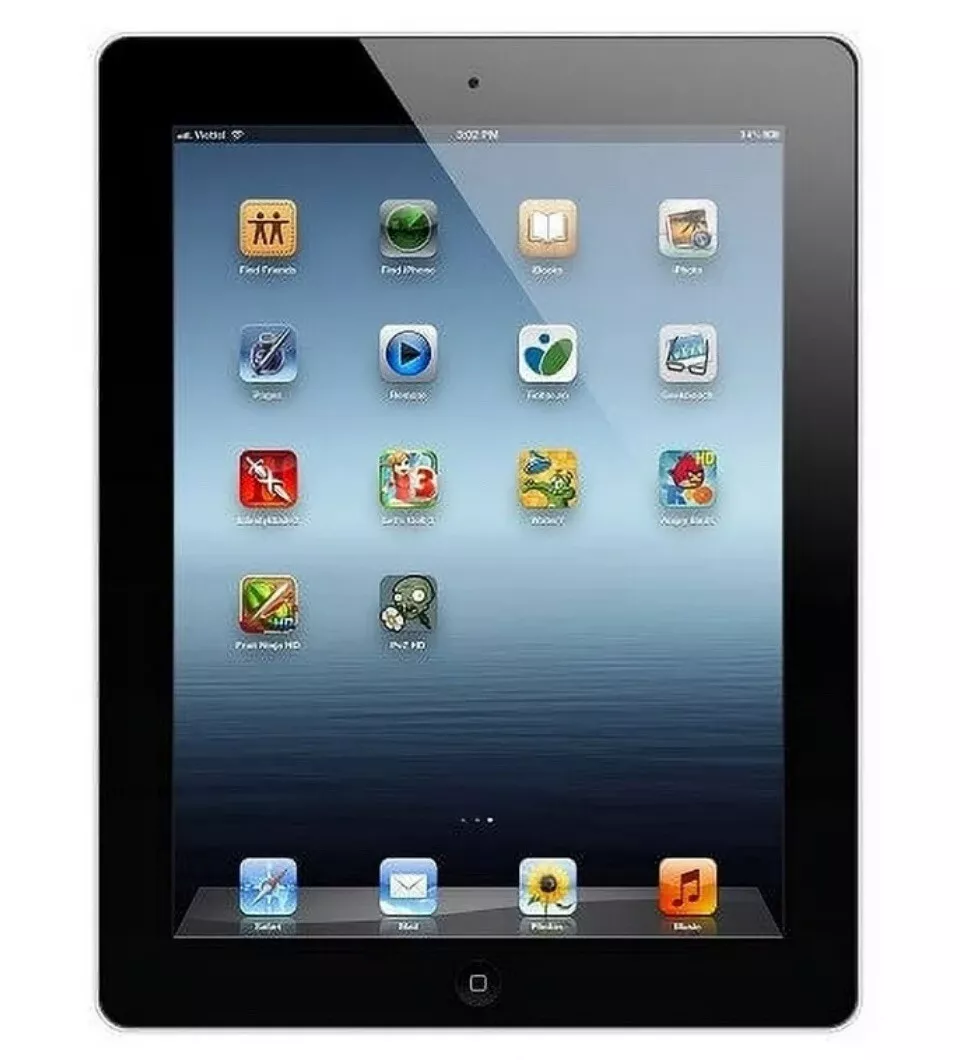
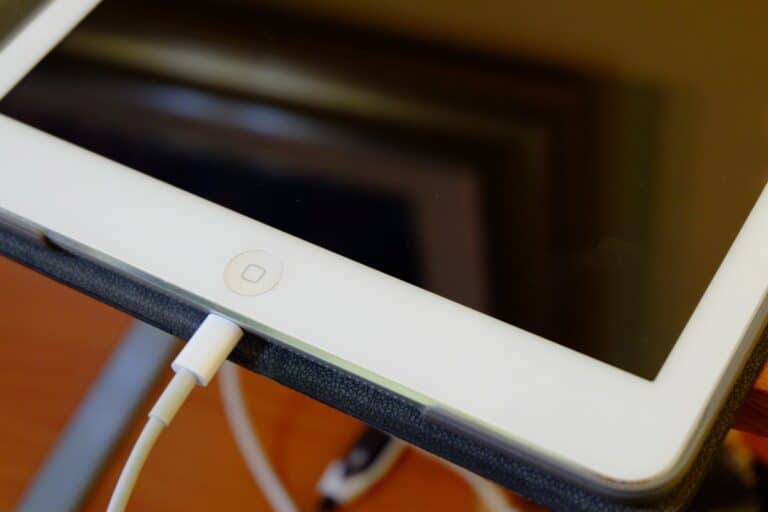
The iPad A1395 (iPad 2 Wi-Fi, released in 2011) is a durable device, but its glass digitizer is prone to cracking. Replacing the screen is possible at home with the right tools, patience, and care.
Our guide simplifies the process and helps you save money. With our user-friendly instructions, you can confidently extend the life of your device.
🔧 What You’ll Need
Replacement Parts:
- iPad 2 A1395 digitizer glass (with pre-installed adhesive recommended)
- LCD screen (only if your display is damaged, not just the glass)
Tools:
- Small Phillips screwdriver (#00)
- Plastic opening picks or guitar picks
- Suction cup tool
- Heat gun or hair dryer (to soften adhesive)
- Tweezers
- Spudger (plastic prying tool)
- Isopropyl alcohol + microfiber cloth (for cleaning adhesive residue)
👉 You can find full replacement kits on Amazon or repair sites (source: Amazon).
⚠️ Safety Notes
- Power off the iPad completely before starting.
- Be careful with the Wi-Fi antenna and digitizer cables located at the bottom and sides of the device.
- Work slowly—forcing parts can damage the logic board or LCD.
- Wear safety glasses if the glass is badly shattered.
🛠️ Step-by-Step Replacement Process
1. Power Down & Prep
- Turn off the iPad completely.
- Place it on a clean, static-free surface.
2. Heat the Edges
- Use a heat gun or hair dryer to warm the outer edges of the screen.
- This softens the adhesive holding the glass.
3. Pry Open the Digitizer
- Attach a suction cup near the corner of the screen.
- Gently lift while sliding a plastic pick under the glass.
- Work around the edges, carefully loosening adhesive.
- ⚠️ Be extra cautious near the bottom edge—the Wi-Fi antenna is located there.
4. Remove the Broken Glass
- Once loosened, lift the glass digitizer away from the iPad.
- Disconnect the digitizer cable near the bottom right corner.
5. Remove the LCD (if replacing)
- Unscrew the four Phillips screws holding the LCD in place.
- Gently lift and disconnect the LCD cable.
6. Clean the Frame
- Remove leftover adhesive with tweezers and isopropyl alcohol.
- Ensure the surface is smooth for the new screen.
7. Install the New Screen
- Connect the new digitizer cable (and LCD cable if replaced).
- Carefully place the LCD back and screw it down.
- Align the new glass digitizer and press firmly to secure adhesive.
8. Test Before Sealing
- Power on the iPad before sealing completely.
- Test touch response, home button, and display.
- If everything works, press the glass down fully.
⏱️ Time & Difficulty
- Time: 1–2 hours (first-time repair)
- Difficulty: Moderate – requires patience and careful handling
📺 Helpful Resources
✅ With patience, you can save significant money by replacing the iPad A1395 screen yourself instead of paying for professional repair.
Replacing Your iPad A1395 Screen: A Step-by-Step Guide
The iPad A1395, also known as the iPad 2, was a popular tablet in its time. If your iPad 2’s screen is cracked or damaged, you might think it’s the end of the road. However, with the right tools and a little patience, you can replace the screen yourself. This guide will walk you through the process, offering tips and tricks along the way.

Tools and Materials You’ll Need
Before you begin, gather the following tools and materials:
| Tool/Material | Description |
|---|---|
| Replacement Screen | Ensure it’s compatible with the iPad A1395 |
| Heat Gun or Hair Dryer | To loosen the adhesive |
| Suction Cup | To lift the screen |
| Plastic Opening Tools | To pry open the iPad |
| Phillips Head Screwdriver | To remove screws |
| Double-Sided Tape (optional) | To secure the new screen |
Step-by-Step Instructions
- Power Off and Prepare: Turn off your iPad completely.
- Heat the Edges: Gently warm the edges of the screen with a heat gun or hair dryer. This will loosen the adhesive holding the screen in place.
- Create an Opening: Use a suction cup to lift a corner of the screen. Insert a plastic opening tool into the gap and carefully work your way around the edges.
- Disconnect Cables: Once the screen is lifted, you’ll see several cables connecting it to the iPad’s logic board. Carefully disconnect these cables.
- Remove the Old Screen: The old screen should now be free. Remove it and set it aside.
- Install the New Screen: Connect the cables to the new screen and carefully position it in place. Apply gentle pressure to ensure it adheres properly. If needed, use double-sided tape for extra security.
- Reassemble: Put the iPad back together, ensuring all screws are tightened.
Additional Tips
- Work in a clean, well-lit area to avoid dust and debris.
- Take your time and be patient. Rushing can lead to mistakes.
- If you encounter difficulties, numerous online resources and videos offer further guidance.
- If you’re not comfortable with the process, consider seeking professional help.
Key Takeaways
- You can replace the screen of an iPad A1395 at home.
- Follow the step-by-step guide for a successful screen replacement.
- Proper tools and patience are essential for this task.
Screen Replacement Procedure
In this part of the guide, several steps will be covered to help you replace the screen on your iPad A1395. From preparing your tools to finalizing the installation, following these instructions ensures you can restore your iPad’s screen effectively.
Preparing for the Replacement
Start with a clean, well-lit workspace. Gather tools like the iFixit toolkit, a heated iOpener or hair dryer, safety glasses, tweezers, and a battery blocker.
Make sure your iPad is fully charged. Shut down the device and remove any attached accessories.
Wear safety glasses to avoid injury from glass shards. Clear packing tape can cover the cracked screen to prevent further shattering.
Place the iOpener in the microwave for about 30 seconds or use a hair dryer. Apply heat along the edges of the screen to loosen the adhesive.
Removing the Damaged Screen
Use a suction cup near the cracked area to lift the screen slightly. Then, insert an opening pick to start separating the glass from the frame.
Be careful with the front-facing camera and home button cables. Work slowly to avoid damaging these components.
Detach the flex cables connecting the screen to the iPad’s internal components. Use the battery blocker to disconnect the battery and avoid short circuits.
Remove the screws securing the LCD screen. Lift the screen gently using tools from your kit like the halberd spudger.
Installing the New Screen
Align the new screen digitizer assembly with the iPad. Ensure the home button and camera openings match perfectly.
Connect the flex cables of the new screen digitizer to the appropriate ports. Secure them gently without applying too much force.
Replace the screws you removed earlier. Make sure the new screen lies flat and snug against the device frame.
Use superglue sparingly if necessary, but avoid overuse. Tape might also help hold the screen in place until the glue sets.
Finishing Touches
Reconnect the battery and turn on the iPad. Test the touch functionality and ensure the home button and front-facing camera work properly.
Install any additional components, such as the blank home button assembly kit if applicable. Make sure everything is secure and aligned.
Carefully remove any protective films or debris from the screen. Clean the surface with a microfiber cloth to remove fingerprints and dust.
Double-check all connections and screws. This ensures the screen is firmly attached and fully functional. You can now enjoy the renewed appearance and touch functionality of your device.
Frequently Asked Questions
Replacing the screen of an iPad 2 (A1395) involves costs that vary based on whether you choose professional repair services or a DIY kit. Factors such as price range, availability of repair kits, and comparison with iPad Mini 2 replacements are also key.
How much does it typically cost to replace the screen of an iPad 2 (A1395)?
The cost to replace an iPad 2 (A1395) screen can vary. Professional services may charge anywhere from $100 to $150. This includes labor and parts. Prices might differ based on the location and repair service provider.
What is the price range for an iPad 2 touch screen digitizer?
A touch screen digitizer for the iPad 2 (A1395) typically costs between $20 and $50. The price depends on the quality of the part. Certain kits may include additional tools or components like pre-installed adhesive.
Are DIY screen replacement kits available for iPad model A1395?
Yes, DIY screen replacement kits are available. They often include a digitizer, tools, and adhesive. These kits are priced around $30 to $50. They come with instructions to help users perform the replacement at home.
Can the iPad Mini 2 screen be replaced with the same process as the A1395 model?
No, the iPad Mini 2 screen replacement process differs from that of the iPad 2 (A1395). The internal layouts and parts of these devices are different. Specific steps and tools are required for each model.
What should be considered when seeking professional iPad 2 screen replacement services nearby?
When seeking professional services, consider the reputation and reviews of the repair center. Confirm the warranty or guarantee provided for the repair work. Also, check the time it will take to complete the repair and if original parts are used.
Is it economically justifiable to repair an old iPad’s screen?
Repairing an old iPad’s screen can be justifiable if the device still meets your needs. If the cost of repair is significantly less than buying a new device, it may be worth it. Consider how much you use the iPad and its current performance.

