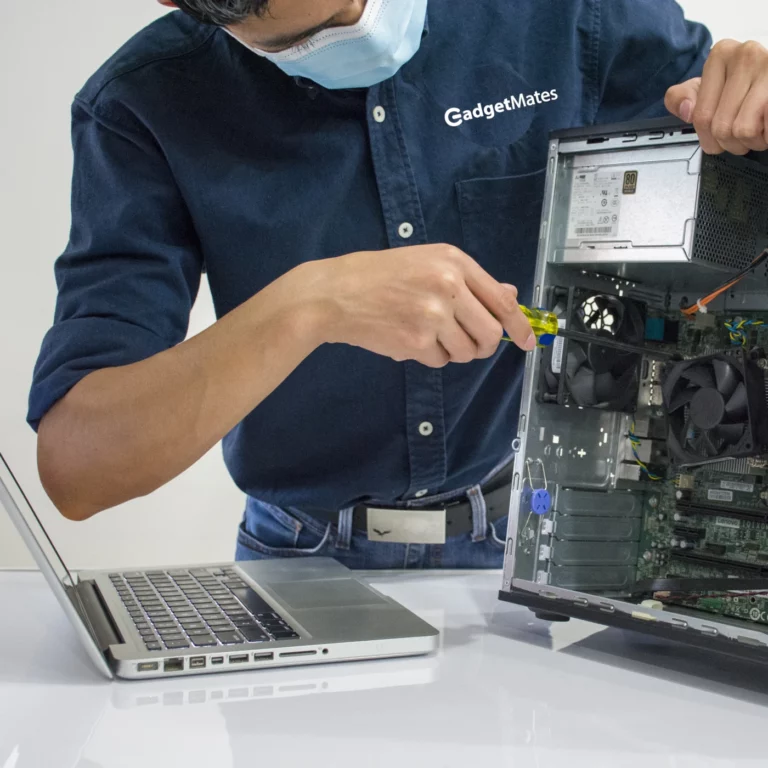
Building your own PC can be an exciting experience. It lets you create a system that meets your needs, whether for gaming, video editing, or everyday tasks. You choose each part, so you have control over the performance, appearance, and cost of your machine. This task used to require expert knowledge, but now many resources can help anyone take it on. It’s a great way to learn valuable skills and understand computer technology.
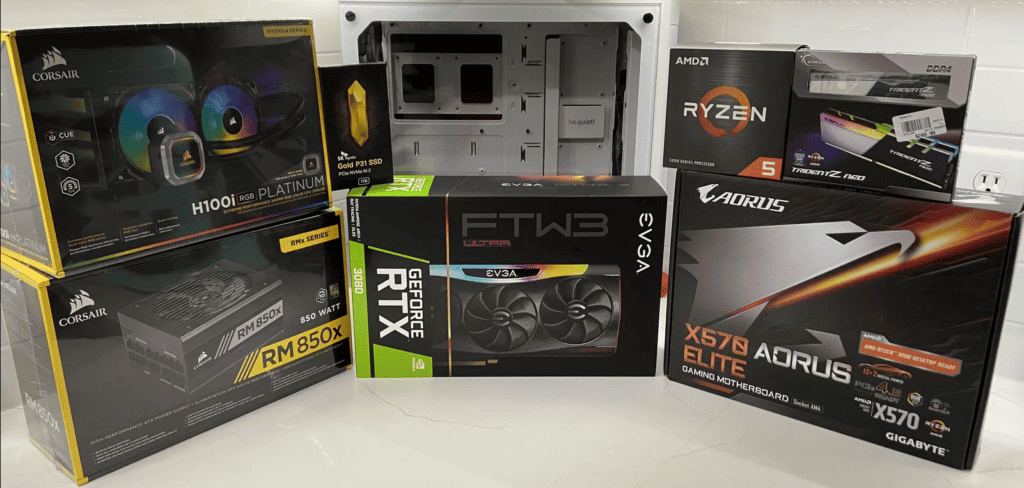
PC building starts with the basics: the motherboard, CPU, GPU, memory, storage, power supply, and case are the core components. Each part needs to work well with the others, so it’s important to check compatibility for a functioning system. Make decisions based on careful research and what you plan to use the computer for.
After choosing the parts, you assemble them. This process is simple with the right tools and instructions. Installing the operating system is the final step before you can start using your new PC. By setting up your own PC, you also learn how to troubleshoot and upgrade parts in the future. If a component stops working or becomes outdated, you can replace it without buying a whole new system. Building your own PC is a smart long-term investment for this reason.
Building Your First PC: A Step-by-Step Guide
1. Planning Your Build
Before you start buying parts, it’s crucial to plan your build. Determine your budget and what you’ll primarily use the PC for (gaming, content creation, general use). This will help you choose the right components and avoid overspending.
- Define your purpose: Gaming, streaming, video editing, or general use? Your workload determines your parts.
- Set a budget: This will guide your component choices and prevent overspending.
- Check compatibility: Use tools like PCPartPicker to ensure your CPU, motherboard, RAM, GPU, and power supply all work together.
2. Choosing Your Components
Table: Essential PC Components
| Component | Description | Importance |
|---|---|---|
| CPU | Processes instructions and performs calculations. | Determines overall system performance. |
| Motherboard | Connects all components, provides slots for RAM and expansion cards, and houses the CPU socket. | Ensures compatibility between components and offers various features like onboard audio and networking. |
| RAM | Temporarily stores data your computer is actively using. | Affects multitasking capabilities and responsiveness. |
| Storage (SSD or HDD) | Stores your operating system, programs, and files. | Determines storage capacity and boot/load times. |
| GPU | Renders graphics and video. | Essential for gaming and video editing, impacts visual quality. |
| PSU | Converts AC power from your outlet to DC power for your components. | Provides stable power to ensure your system runs smoothly. |
| Case | Protects your components and provides cooling. | Affects aesthetics and airflow for cooling. |
| Cooling System | Prevents your components from overheating. | Ensures optimal performance and longevity of your PC. |
- CPU (Processor): The brain of your PC. Match it with a compatible motherboard.
- GPU (Graphics Card): Essential for gaming, 3D work, or video editing.
- Motherboard: Choose one with the right socket for your CPU and enough slots for future upgrades.
- RAM: 16GB is the sweet spot for most beginners; 32GB if you’re editing or multitasking heavily.
- Storage: SSDs (fast) for your operating system and main apps; HDDs (cheaper, larger) for bulk storage.
- PSU (Power Supply): Don’t cheap out here—get a reliable, efficient unit with enough wattage.
- Case: Pick one that fits your components and has good airflow.
- Cooling: Stock coolers work for most CPUs, but aftermarket options help with performance and noise.
3. Prepare Your Workspace
- Work on a large, clean, static-free surface.
- Use an anti-static wrist strap or ground yourself by touching metal.
- Keep small tools handy: Phillips screwdriver, thermal paste (if needed), and zip ties for cable management.
4. Assembly
Follow a detailed guide or video tutorial for step-by-step instructions on assembling your PC. Be sure to ground yourself to avoid static electricity damage to your components.
- Start with the motherboard outside the case: Install CPU, RAM, and M.2 SSDs first—it’s easier.
- Handle components carefully: Hold by the edges, avoid touching pins or contacts.
- Apply thermal paste sparingly: A pea-sized dot in the center is usually enough.
- Cable management matters: Route cables neatly to improve airflow and make future upgrades easier.
- Double-check connections: Especially CPU power, GPU power, and front-panel connectors.
5. First Boot & Setup
- Connect monitor, keyboard, and mouse before powering on.
- If it doesn’t boot, don’t panic—check power cables, RAM seating, and GPU alignment.
- Enter the BIOS to check if all components are recognized.
- Install your operating system (Windows, Linux, etc.) on your SSD.
- Update drivers and run stress tests to confirm stability.
6. Extra Beginner Advice
- Watch video guides: Seeing the process helps a lot (YouTube has excellent build tutorials).
- Don’t rush: Take your time—forcing parts can damage them.
- Keep manuals handy: Motherboard and case manuals are lifesavers for front-panel wiring.
- Plan for upgrades: Leave room in your case and power supply for future improvements.
Building your own PC can be a rewarding experience, allowing you to customize it to your exact needs and preferences. However, it requires careful planning and attention to detail. Don’t hesitate to seek help from online communities or experienced builders if you encounter any difficulties
👉 For a step-by-step walkthrough, check resources like PCMag’s beginner guide or GeekomPC’s 2025 guide which are tailored for first-time builders.
Key Takeaways
- Personalized PC building offers control over performance and cost.
- Compatibility of components is crucial for a successful build.
- DIY assembly fosters skills for future upgrades and troubleshooting.
PC Building Essentials
Building your own PC is like piecing together a personalized tech puzzle. The key is to know the pieces and how they fit together.
Understanding PC Components
Every PC is built up of key components that work together. A motherboard is the main board that holds most of the components. The CPU or processor acts as the brain, while RAM handles active tasks. Graphics cards (GPUs) manage visual output, and storage drives like SSDs store your data. Each part must be compatible with the motherboard’s socket and chipset to ensure a smooth build.
Selecting the Right Parts
Before buying, match your motherboard and CPU to the correct socket type. If you are into gaming, pick a powerful GPU and CPU to run games smoothly. Balance your budget and needs to decide on parts. Brands like Intel, AMD, and NVIDIA offer a range of CPUs and GPUs. For example, a Ryzen 5 processor from AMD is a good mid-range option for gaming PCs.
Workspace and Tools Preparation
Set up a clean workspace with plenty of light, ideally on an anti-static mat. You’ll need a screwdriver and maybe a few zip ties for cable management. Have a magnetic parts tray handy to hold screws and small parts. Read the instructions that come with your components carefully. Use thermal paste to install the CPU cooler. This keeps your CPU at a good temperature.
Now you have a snapshot of what it takes to get started on your custom PC build. Stay patient and organized, and you’ll have a functioning desktop tailor-made for your needs.
Assembly and Setup
Building your own PC is a step by step process that starts with assembling the core components inside the case and ends with setting up the operating system. Careful handling and correct placement of parts ensure a smooth build.
Building the Core System
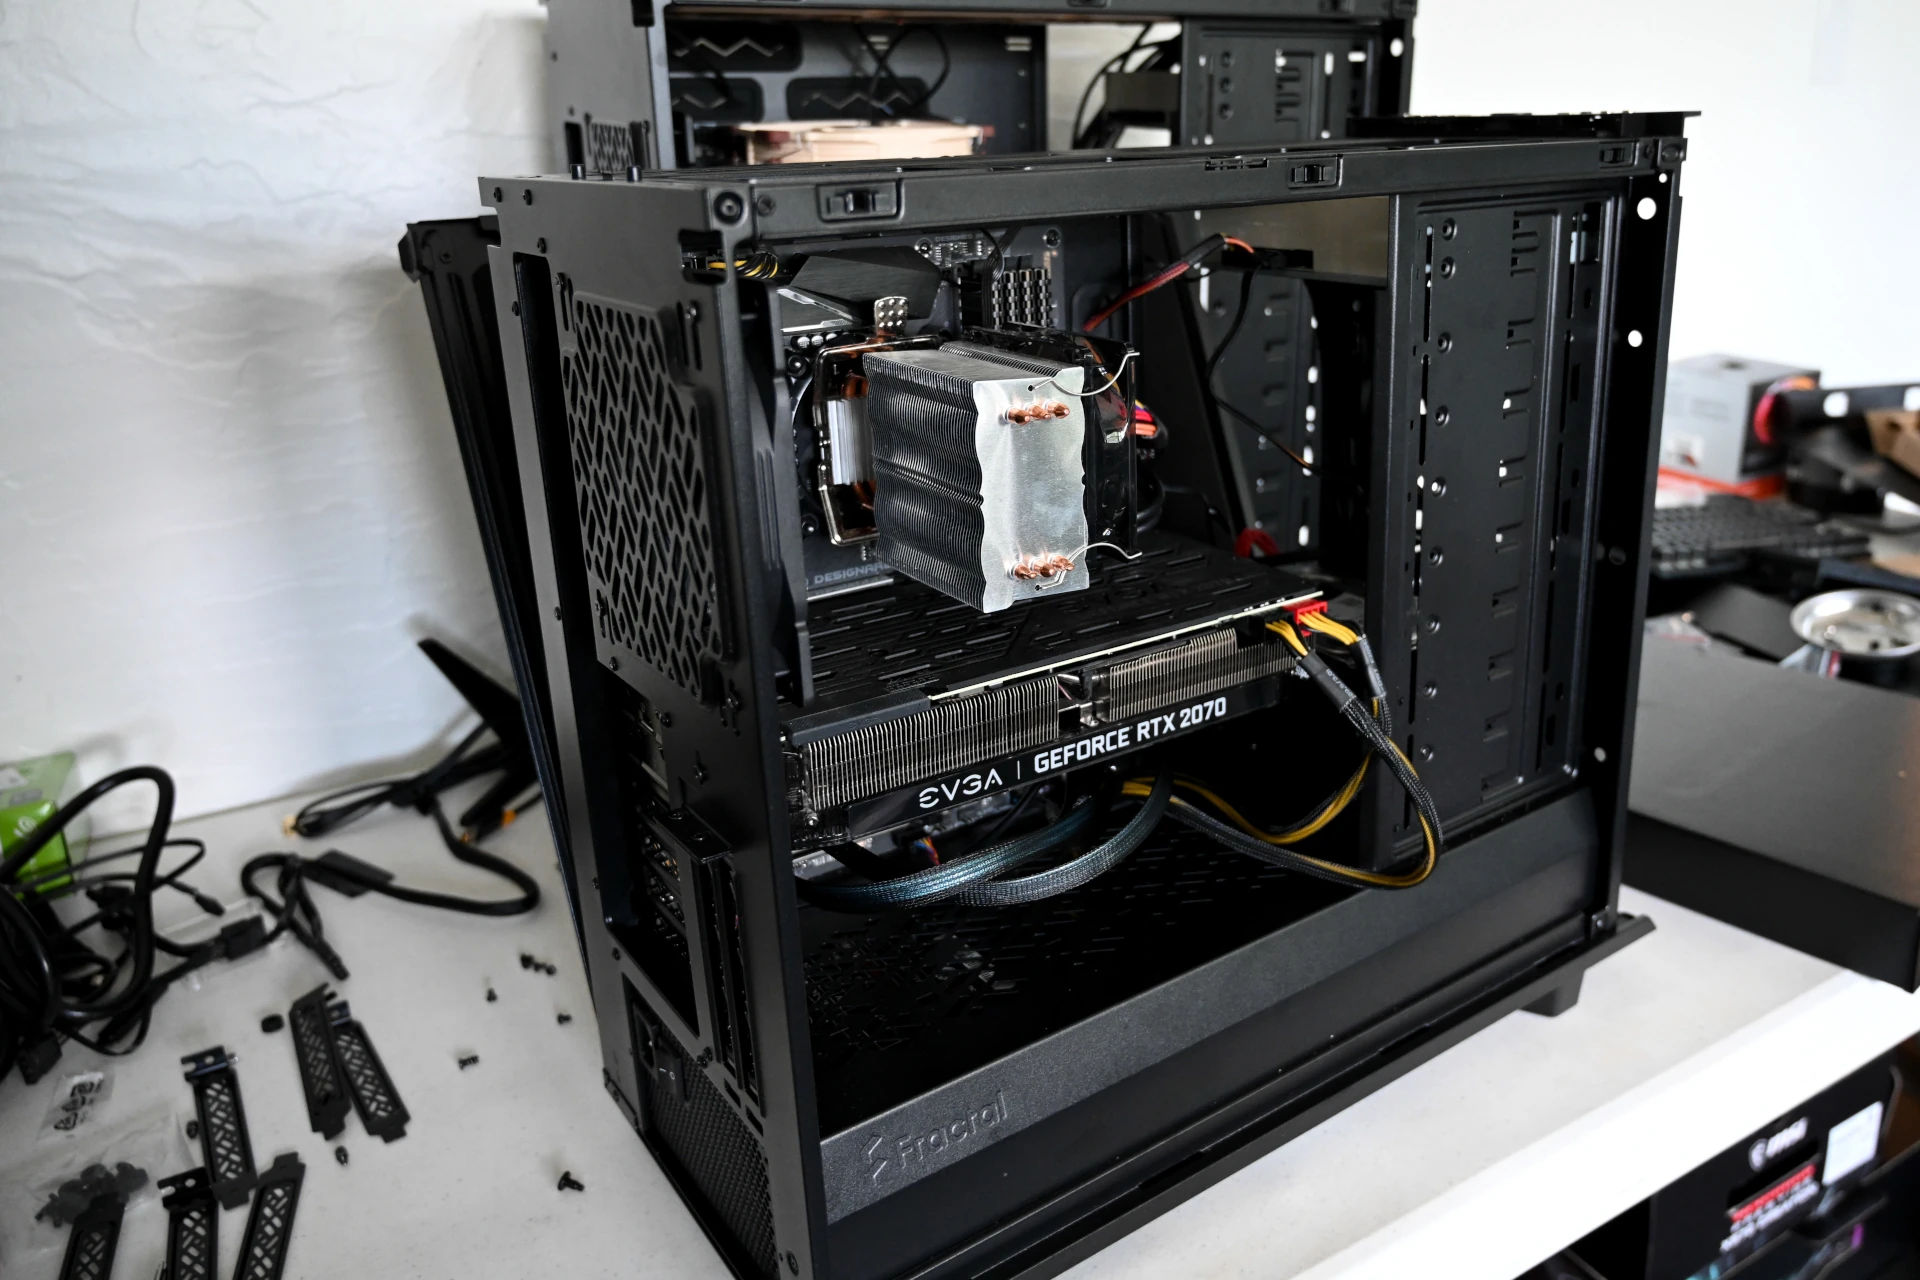
A sturdy work surface and a clean workspace are crucial for starting your PC build. The chassis, more commonly known as the case, is the starting point and comes in various designs like ATX, which dictates the size of the motherboard. When installing the motherboard, first place the I/O shield in the case, then align the motherboard onto the standoffs and secure it with screws.
Now, insert the processor into the socket, careful to align the notches without forcing it down. The CPU should drop in without pressure if aligned properly. The tension lever will secure it. Next, attach the cooler; if using an aftermarket cooler, follow its specific instructions for thermal paste application and mounting.
RAM slots in next, clicking into place on the motherboard, aligning the notches, and pushing down until the side clips close. Some motherboard manuals specify which slots to use first for optimal performance.
Finalizing the Build
With the core components in place, the next step is to install the power supply unit (PSU). Attach it to the case using the provided screws, then route the cables to the motherboard, storage, and other peripherals being neat to support good airflow.
Hard drives or SSDs mount next, in the designated bays or brackets of the PC case. Connect these to the motherboard with SATA cables and to the PSU with power cables. Graphics cards slot into the PCIe slots on the motherboard, locked in place with a screw at the case back.
Troubleshooting and Maintenance
Once you finish the physical build, check all connections before the first boot. If the system doesn’t start, ensure the PSU switch is on and check the front panel connections to the motherboard. If problems persist, refer to the motherboard manual or seek online resources like forums for guidance.
For maintenance, keep dust out with regular cleaning, ensure fans are working and replace any failed components. Regularly update the BIOS and drivers from the motherboard and hardware manufacturer’s website for optimal performance.
Expanding Your PC Horizons
After the initial build, you might want to expand or upgrade parts. Always power down and unplug your PC before opening the case. Research parts that are compatible with your existing components. Upgrading can breathe new life into an older system, often at a fraction of the cost of a new pre-built PC from companies like iBuyPower or MSI. If ever in doubt, tools like PCPartPicker can help determine compatibility.
Remember to install the latest version of an operating system like Microsoft Windows to get started, and you’re set to explore the ever-expanding world of custom PC builds.
PC Build Checklist for Beginners
🔹 Core Components
- CPU (Processor)
- Entry-level: AMD Ryzen 5 5600 / Intel Core i5-12400F
- Mid-range: AMD Ryzen 7 5800X3D / Intel Core i5-13600K
- Tip: Check if the CPU comes with a cooler—if not, you’ll need one.
- Motherboard
- Match the CPU socket (e.g., AM4 for Ryzen 5000, LGA1700 for Intel 12th/13th gen).
- Beginner-friendly picks: B550 (AMD) or B660/B760 (Intel).
- RAM (Memory)
- 16GB (2×8GB sticks) DDR4-3200 or DDR5-5600 (depending on motherboard support).
- Dual-channel = better performance.
- Storage
- SSD (M.2 NVMe): 1TB recommended (fast boot + game load times).
- Optional HDD: 2TB+ for extra storage if needed.
- GPU (Graphics Card)
- Budget: NVIDIA RTX 3060 / AMD RX 6600 XT
- Mid-range: NVIDIA RTX 4060 Ti / AMD RX 7700 XT
- High-end (if budget allows): NVIDIA RTX 4070 Super / AMD RX 7900 XT
- Power Supply (PSU)
- 550W–750W, 80+ Bronze or better.
- Trusted brands: Seasonic, Corsair, EVGA.
- Case
- Mid-tower with good airflow (mesh front is best).
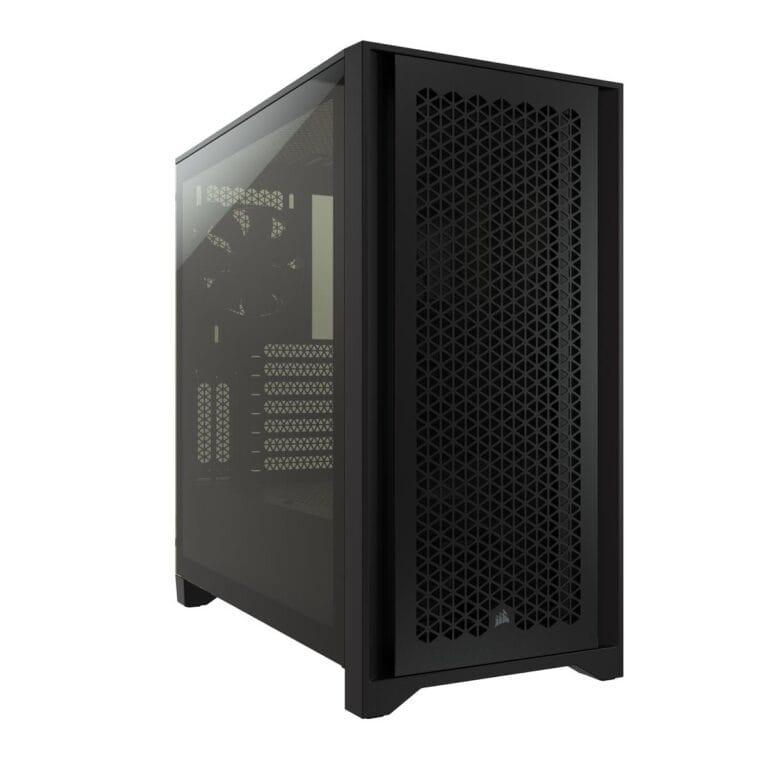
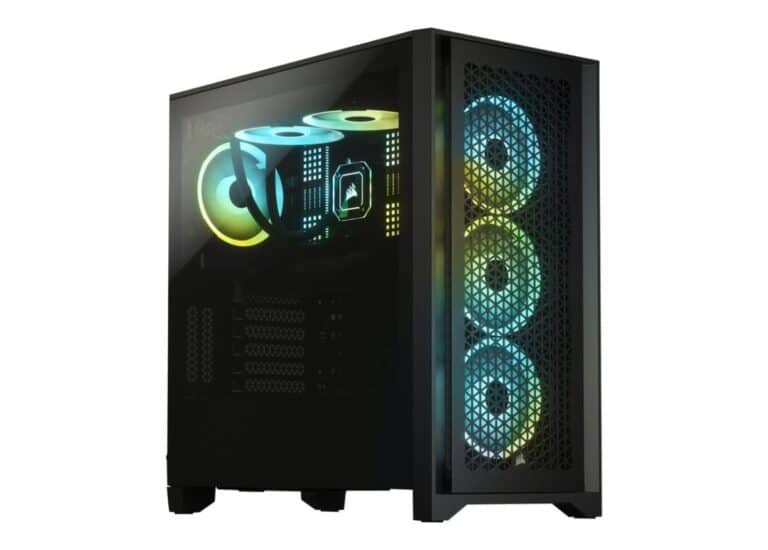
- Examples: NZXT H510, Fractal Design Pop Air, Corsair 4000D.
- Cooling (if needed)
- Stock cooler is fine for most CPUs.
- Aftermarket: Cooler Master Hyper 212 or Noctua NH-U12S for quieter cooling.
🔹 Peripherals (Optional if you don’t have them yet)
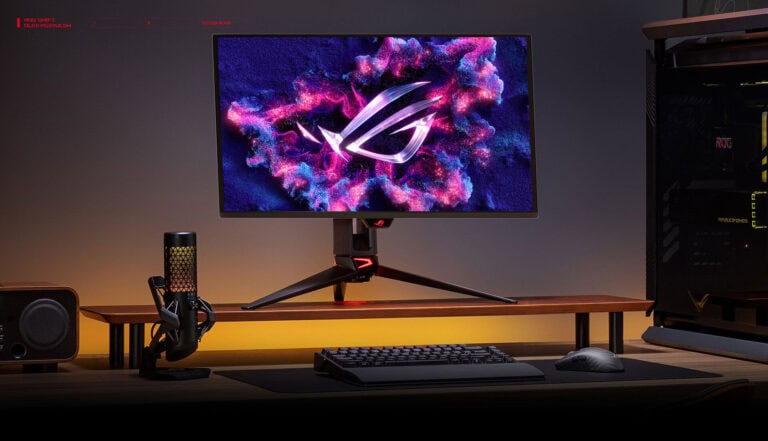
- Monitor: 1080p 144Hz for gaming, or 1440p if you want sharper visuals.
- Keyboard & Mouse: Mechanical for typing/gaming, budget combos work fine to start.
- Headset or Speakers: Depending on preference.
🔹 Tools & Extras
- Phillips screwdriver (magnetic tip helps).
- Thermal paste (if cooler doesn’t include it).
- Zip ties or Velcro straps for cable management.
- Anti-static wrist strap (optional but recommended).
✅ Tip: Use PCPartPicker to build your list—it checks compatibility and gives you price comparisons.
Frequently Asked Questions
Building a custom PC can raise many questions. Here are clear answers to some of the most common queries.
What components are essential for building a gaming PC?
A gaming PC needs a powerful graphics card, a fast processor, sufficient RAM, a reliable storage solution like an SSD or HDD, and a sturdy case to house it all.
How do I choose the right power supply for my custom PC?
The right power supply should match the wattage needs of your components and have a margin for potential future upgrades. Look for units with an 80 Plus rating for efficiency.
What factors should I consider when selecting a motherboard for my PC build?
Compatibility with your CPU, the size of your case, the number of RAM slots, and available PCIe slots are important motherboard features to consider.
How can I ensure my PC build is future-proofed for upcoming games and software?
Choose a motherboard that allows for CPU and RAM upgrades. Opt for a higher-end GPU and a power supply with extra capacity to support future hardware changes.
What are the steps involved in assembling a PC from scratch?
Start by mounting the CPU and RAM on the motherboard. Install the power supply in the case, add the motherboard, and then the storage drives. Finish by connecting the graphics card and wiring everything up.
How does the performance of a self-built PC compare to a pre-built system?
Self-built PCs often offer better performance for the price as you can select higher-quality, more powerful components that match your specific needs.

