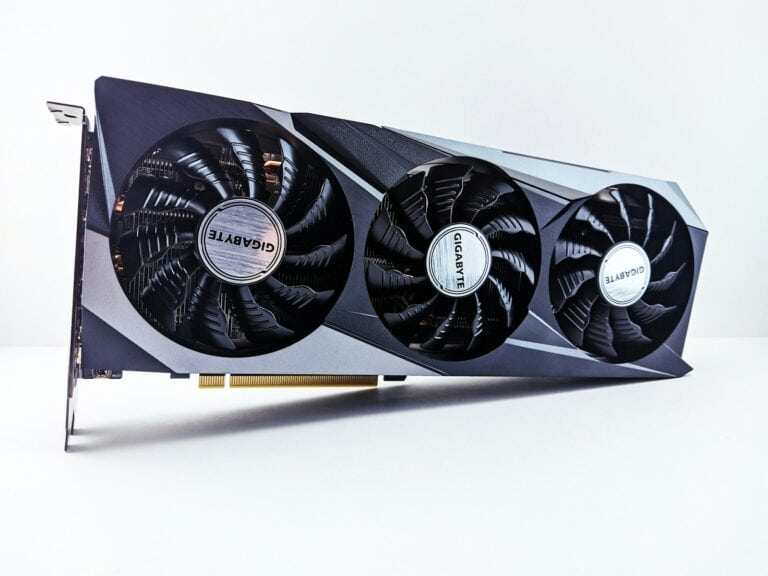
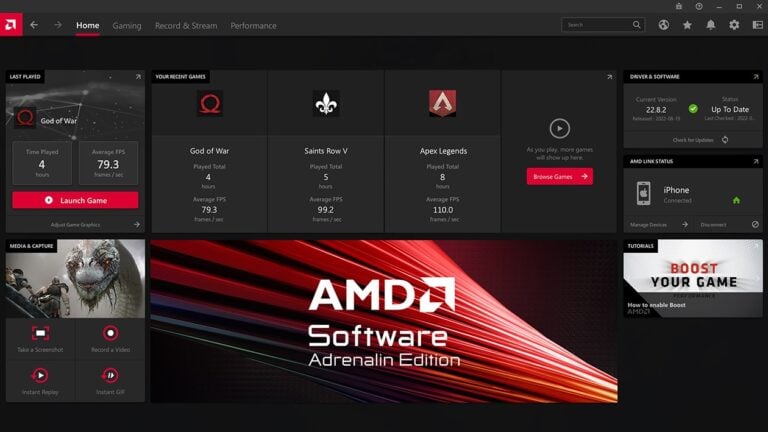
Understanding video cards is crucial for anyone working with PCs, whether for gaming, design, or data processing. A video card, or a graphics card, translates digital information from the computer into visual data you see on your monitor. It’s an essential piece of hardware that can greatly impact your computer’s visual performance. Knowing how to select and install the right video card can enhance your system’s graphics, whether playing the latest games or utilizing graphics-intensive applications.
Installing a video card involves steps that begin with choosing the appropriate card for your needs and ensuring compatibility with your PC’s motherboard and power supply. The physical installation process requires you to access the internal components of your computer, handle the hardware carefully, and secure the new card firmly into the PCI Express slot. After installation, configuring the new hardware with the right drivers is necessary for optimal performance. A careful approach to the installation and setup ensures your system runs smoothly with the new upgrade.
Pre-Installation Planning
Check System Compatibility
Before purchasing or installing a video card, verify these critical compatibility factors:
Power Supply Requirements First you need to understand how much power the card needs to work, and how strong is your power supply, and also if it has enough cables to supply the graphics card. Modern GPUs can require anywhere from 75W to over 400W of power.
- Check your PSU wattage (minimum 500W for mid-range cards, 750W+ for high-end)
- Verify available PCIe power connectors (6-pin, 8-pin, or 12-pin)
- Ensure PSU has sufficient amperage on the 12V rail
Physical Space
- Measure GPU length against available case space
- Check clearance above PCIe slot for card height
- Verify no conflicts with RAM, CPU cooler, or cables
Motherboard Compatibility
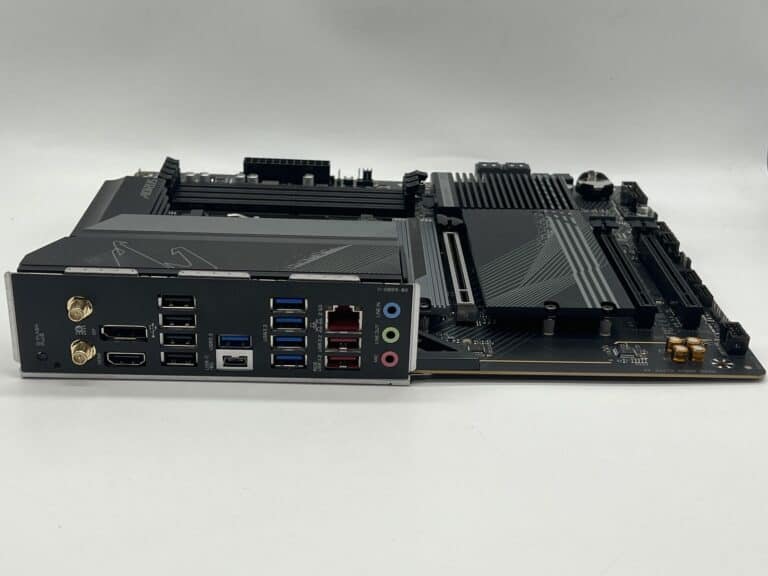
- Ensure available PCIe x16 slot (preferably PCIe 3.0 or newer)
- Check if motherboard supports your chosen GPU
- Verify BIOS/UEFI compatibility
Tools and Preparation
Required Tools
- Phillips head screwdriver
- Anti-static wrist strap (recommended)
- Clean, well-lit workspace
- Flashlight or good lighting
- Cable ties for organization
Safety Preparations
- Power down your PC completely
- Unplug the power cable
- Press the power button to discharge residual power
- Ground yourself by touching the case or wearing an anti-static strap
Step-by-Step Installation Process
Step 1: Remove Old Graphics Card (If Applicable)
If replacing an existing card:
- Uninstall old GPU drivers using DDU (Display Driver Uninstaller)
- Remove the PCIe power connector from the power supply unit (PSU)
- Remove screws securing the card to the case
- Release the PCIe slot retention clip
- Gently pull the card straight out
Step 2: Prepare the Case
- Remove the appropriate expansion slot covers (usually 2 slots)
- Keep the screws for securing your new card
- Ensure the PCIe x16 slot is clean and free of debris
Step 3: Prepare Power Connections
- Locate the required PCIe power cables from your PSU
- For modular PSUs, connect the appropriate cables to the PSU first
- Route cables through the case for clean installation
Step 4: Install the Graphics Card
- Align the Card: Position the GPU over the PCIe x16 slot
- Check Alignment: Ensure the metal bracket aligns with the case slots
- Insert Firmly: Press down evenly until the card clicks into place
- Secure with Screws: Fasten the metal bracket to the case
- Connect Power: Attach all required PCIe power connectors
Step 5: Connect Display Cables
Important: Is the monitor plugged into the GPU and not the motherboard? This is a common mistake that prevents the GPU from being utilized.
- Connect your monitor to the GPU outputs (not motherboard ports)
- Use appropriate cables (HDMI, DisplayPort, DVI)
- Ensure secure connections
Post-Installation Setup
Initial Boot and BIOS Settings
- First Boot: Power on your system
- BIOS Check: Enter BIOS/UEFI to verify GPU detection
- Primary Display: Set PCIe as primary graphics adapter if needed
- Disable Integrated Graphics: Turn off onboard graphics if present
Driver Installation
- Download Latest Drivers: Get drivers from NVIDIA, AMD, or Intel websites
- Clean Installation: Use DDU first if switching brands
- Custom Installation: Choose clean install option during driver setup
- Restart: Reboot after driver installation completes
Performance Verification
- Display Output: Verify all monitors work correctly
- Resolution: Set appropriate display resolutions
- Temperature Monitoring: Check idle and load temperatures
- Stress Testing: Run benchmarks to verify stability
Professional Installation Tips
Cable Management
- Route power cables behind the motherboard tray
- Use cable ties to secure loose cables
- Ensure cables don’t obstruct fans or airflow
- Leave some slack for GPU sag adjustments
Avoiding Common Mistakes
- Insufficient Power: Ensure all power connectors are firmly seated
- Wrong Monitor Connection: Always connect to GPU, never motherboard
- Improper Seating: GPU should click firmly into PCIe slot
- Driver Conflicts: Remove old drivers before installing new hardware
Performance Optimization
- Enable GPU boost features in driver software
- Set appropriate power management settings
- Configure multi-monitor setups properly
- Update Windows and drivers regularly
Troubleshooting Common Issues
No Display Output
- Verify monitor connection to GPU (not motherboard)
- Check all power connections
- Reseat the graphics card
- Test with different display cables
- Clear CMOS if necessary
System Won’t Boot
- Check PSU capacity and connections
- Verify GPU is properly seated
- Remove and reinstall RAM
- Try booting with integrated graphics
Performance Issues
- Install latest graphics drivers
- Check Windows power settings
- Verify adequate PSU power delivery
- Monitor temperatures for thermal throttling
Maintenance and Long-term Care
Regular Maintenance
- Clean GPU fans and heatsink every 6 months
- Monitor temperatures during gaming sessions
- Update drivers regularly
- Check for driver stability issues
Warning Signs
- Unusual fan noise or vibration
- Increasing temperatures over time
- Graphics artifacts or display corruption
- System instability during GPU-intensive tasks
Advanced Considerations
Multi-GPU Setups
- Verify motherboard supports SLI/CrossFire
- Ensure adequate PSU capacity
- Check for proper spacing and airflow
- Configure drivers for multi-GPU operation
Overclocking Preparation
- Establish baseline performance and temperatures
- Use quality monitoring software
- Ensure adequate cooling
- Implement gradual overclocking steps
Conclusion
Following step-by-step instructions will ensure a smooth GPU installation process. Proper graphics card installation requires careful preparation, attention to detail, and systematic execution. By following this comprehensive guide and incorporating these professional tips, you’ll ensure optimal performance, system stability, and longevity from your new graphics card.
Remember that patience and methodical approach are key to successful installation. Take your time, double-check connections, and don’t hesitate to consult your motherboard and GPU manuals for specific requirements. With proper installation and setup, your new graphics card will provide years of excellent performance for gaming, content creation, or professional applications.
The most critical factors for success are ensuring adequate power supply capacity, proper physical installation, correct driver installation, and connecting displays to the GPU rather than motherboard outputs. Following these guidelines will help you avoid common pitfalls and achieve the best possible results from your graphics card upgrade.
A Step-by-Step Guide
Installing a video card (also called a graphics card) is a great way to take your computer’s performance to the next level. Whether you’re into gaming, video editing, or just want a smoother experience overall, here’s how to install a video card.
Before You Begin
- Check Compatibility: Make sure the video card is compatible with your motherboard (see its manual or website). Also, ensure your power supply can handle the new card.
- Uninstall Old Drivers: If you’re replacing an existing card, uninstall its drivers before installing the new one.
- Gather Tools: A screwdriver may be all you need, but having an anti-static wrist strap is a good precaution.
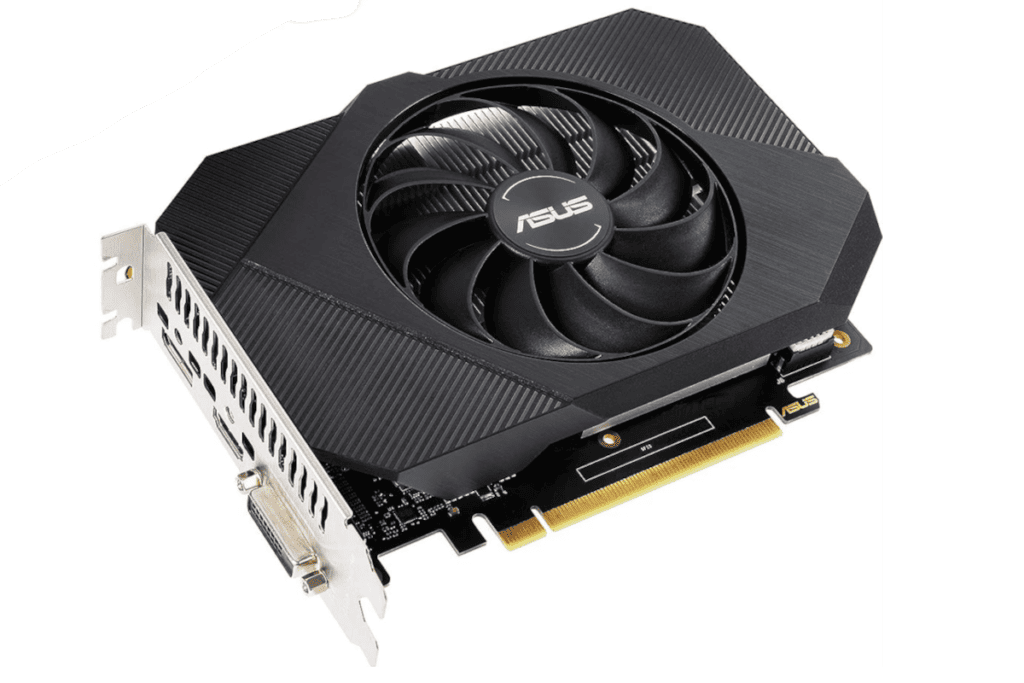
Installing Your Video Card
- Power Down and Unplug: Turn your computer off and unplug it from the wall. Open the case.
- Locate the PCIe Slot: Find the appropriate PCIe slot for your card on the motherboard. It’s often the longer slot nearest to the CPU.
- Remove Slot Covers: Remove the metal covers on the back of your case that align with the slots your new video card will occupy.
- Insert the Card: Carefully align the card with the slot, applying gentle pressure until it clicks securely into place. You may need to release a tab on the slot.
- Secure the Card: Use screws to securely fasten the card’s mounting bracket to the case.
- Connect Power: Find the appropriate power connectors on your power supply (usually PCI-E cables) and attach them to the video card.
- Close the Case: Close up your computer’s case.
- Install Drivers: After powering up your computer, download and install the latest drivers for your new video card from the manufacturer’s website.
Troubleshooting Tips
| Issue | Solution |
|---|---|
| Computer won’t boot | Ensure the video card is fully seated and all power connectors are secure. |
| No display output | Check the monitor connection to the new video card, and make sure it isn’t still plugged into old onboard graphics. |
| Performance issues | Double-check that you installed the correct drivers. |
Installing a video card is a relatively simple process for anyone with a bit of computer knowledge. By following these steps and referencing your motherboard documentation, you can upgrade your system in no time.
Key Takeaways
- Selecting the correct video card is impactful for your PC’s visual tasks.
- Careful installation enhances system performance.
- Proper driver installation and configuration are essential.
Choosing the Right Video Card for Your PC
Finding the right video card for your computer means understanding how to compare what’s out there with what you need. Let’s look at how to do this for both gaming and general computer use.
Understanding Graphics Card Specifications
When selecting a video card, key specs to consider include:
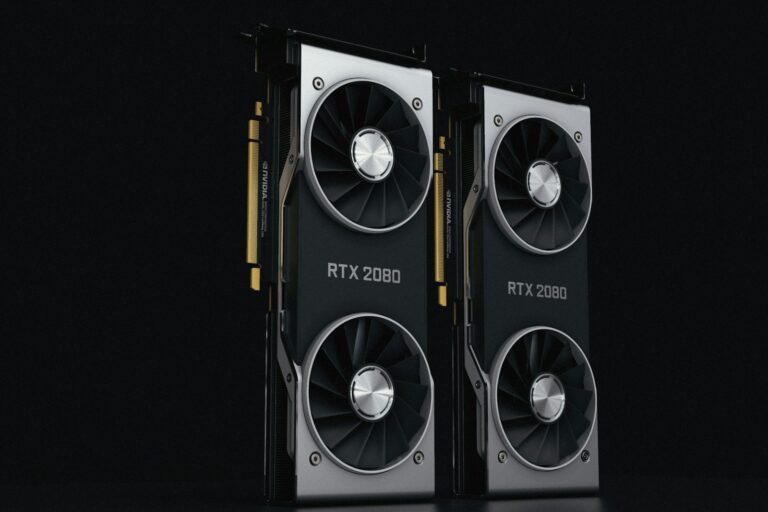
- GPU: This is the heart of the card, similar to the CPU in your computer. Nvidia and AMD are the top brands, with Nvidia’s RTX 40-series and AMD’s latest generation offering high performance.
- Memory: Measured in gigabytes (GB), more memory helps at higher resolutions like 4K.
- Resolution Support: Cards vary in their ability to handle different resolutions such as 1080p, 1440p, and 4K.
- Refresh Rate: Measured in hertz (Hz), higher rates provide smoother motion, important for gamers.
- Ray Tracing: This feature, found in newer cards like the Nvidia RTX series, adds realistic lighting effects.
Compatibility is also crucial. Ensure the card fits your PC case size, the power supply can handle the extra watts, and the motherboard has the proper slot.
Comparing Market Options
When assessing what’s available, start by looking at:
- Performance: Look for benchmarks to see how different cards perform in real-world tests.
- Price: MSRP can give a basis for comparison, but actual prices fluctuate. RTX 4090 may perform well but could be overpriced.
- Purpose: If you’re gaming, consider the types of games you’ll play and the performance they require. For example, a GTX 1650 may be sufficient for less demanding games at 1080p.
Finally, balance your budget with your performance needs. Gamers might lean toward higher-performing cards like the RTX 40-series, while those upgrading for general use could opt for cards like the GTX 1650 or Intel’s Arc Alchemist to suit their lesser demands. Always consider current reviews and recommendations to ensure getting a card that suits your specific needs.
Installation and Configuration of a Video Card
Before you start installing a new video card, it’s crucial to gather the right tools and prepare your work area to ensure a safe and successful upgrade for your PC.
Preparing for Installation
Shut down your computer and unplug it from the power source. Remove the side panel of the PC case to access the internal components. Use the manual to locate the PCIe slot on the motherboard, where the new card will go. Touch a metal part of the case to discharge any static electricity from your body to prevent damage to the PC parts.
Step-by-Step Installation Process
- Remove any existing video card by unscrewing it from the case and gently pulling it out of the PCIe slot.
- Align the new graphics card with the open PCIe slot and the expansion slots on the case.
- Firmly press the card into the slot until it clicks into place, ensuring the retaining bracket is lined up with the case’s back.
- Screw the card into the case to secure it and, if necessary, connect the power cables from the PSU to the card.
Installing and Updating Drivers
Once you boot up your computer, Windows should detect the new card and attempt to install the basic drivers. To get the most out of your graphics card, download the latest drivers from the card manufacturer’s website and follow the installation process. After installing, restart your device to ensure the changes take effect.
Performance Tuning and Troubleshooting
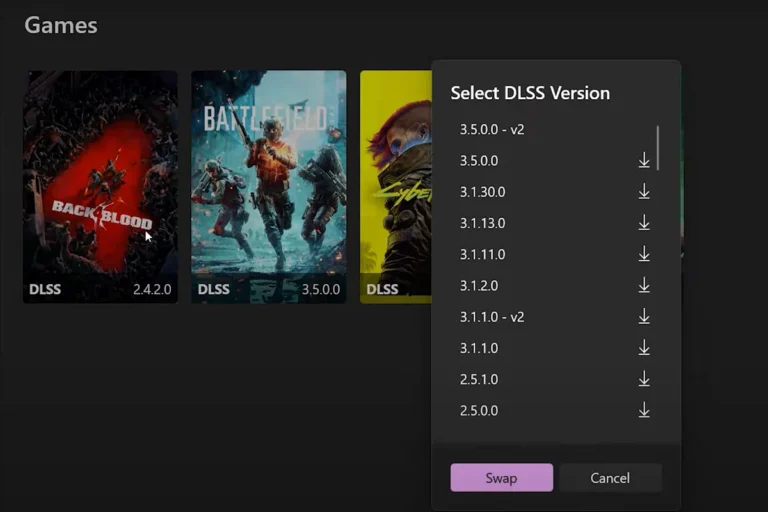
If you notice any issues like low fps or the card’s fan not spinning, shut down your PC and recheck all connections. For performance tuning, use the card’s software to adjust settings like overclocking, refresh rate, or enable technologies such as DLSS or FSR if available. If problems persist, consult the manual or seek assistance from the card manufacturer’s support.
Frequently Asked Questions
This part of the article answers commonly asked questions about video cards including installation, updating drivers, and choosing the correct card for your system.
What are the steps to install a graphics card on a desktop motherboard?
First, turn off the computer and remove the side panel. Align the new graphics card with the PCIe slot on the motherboard and gently push until it clicks into place. Secure the card to the case using screws and if needed, plug in the power connectors from the power supply.
Can you replace or upgrade the graphics card in a laptop?
Generally, laptops have integrated graphics cards that cannot be upgraded. However, some high-end gaming laptops have removable GPUs. It’s best to refer to the laptop’s manual or contact the manufacturer to check if the graphics card can be replaced.
How do you install graphics card drivers on Windows 10?
After installing the new graphics card, boot up Windows 10. It will often try to install necessary drivers automatically. If not, download the latest drivers from the GPU manufacturer’s website and follow the installation prompts.
What is the process of adding an external graphics card to a system with integrated graphics?
An external GPU (eGPU) connects to a laptop or PC via a Thunderbolt port. Connect the eGPU to the computer, install any required drivers, and ensure your system switches to the eGPU for graphics processing in display settings.
How do you properly connect a GPU to a power supply unit?
If the GPU needs more power than the PCIe slot provides, connect it to the PSU with the PCIe power cables. Please ensure the cable’s pins match the GPU’s port and firmly connect them without forcing.
What factors should be considered when choosing the right video card for my system?
Consider the required performance for your tasks, the power supply capacity, space within the case, and compatibility with the motherboard’s PCIe slots. Also, think about the video card’s ports to ensure they match your monitor’s input options.

