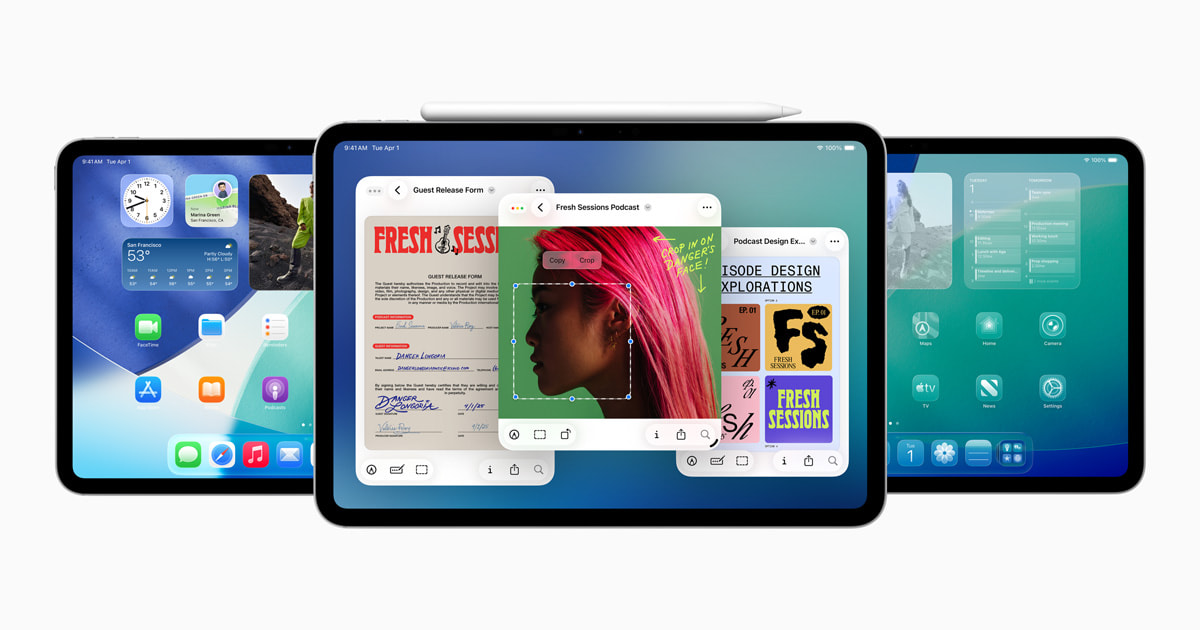
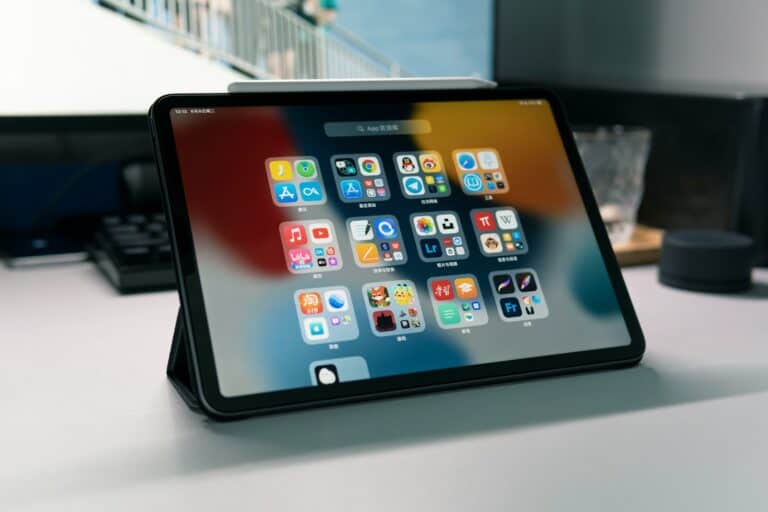
Apple’s Stage Manager is one of the most powerful productivity features ever introduced to the iPad. Designed to bring true multitasking to iPadOS, it transforms your tablet into a desktop-like workspace — allowing you to manage multiple apps, resize windows, and switch between tasks seamlessly.
In this guide, we’ll cover everything you need to know about Stage Manager on iPad: what it is, how to use it, compatible devices, and expert tips to get the most out of it.
What Is Stage Manager on iPad?
Stage Manager is a multitasking feature introduced in iPadOS 16 and refined in iPadOS 17 and 18. It allows you to open multiple apps in resizable windows, overlapping just like on a Mac or PC. You can group apps together for specific workflows — for example, Safari and Notes for research — and quickly switch between them with a single tap.
Unlike traditional Split View or Slide Over, Stage Manager offers a true windowed multitasking experience, giving you far more flexibility and control.
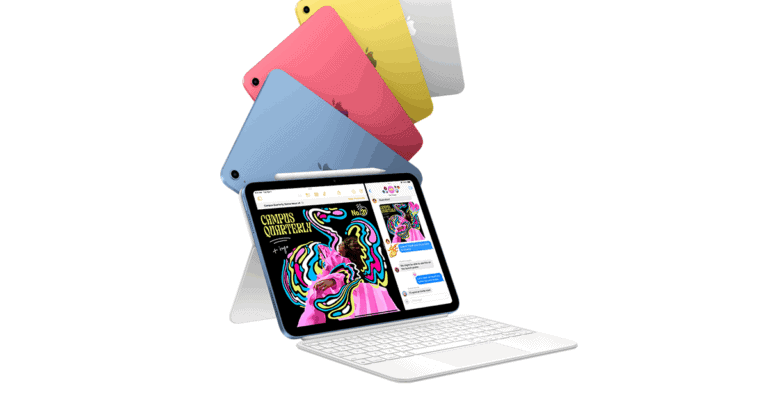
Compatible iPads
Stage Manager is available on the following iPad models:
- iPad Pro 11-inch (1st generation or later)
- iPad Pro 12.9-inch (3rd generation or later)
- iPad Air (5th generation or later)
💡 Note: Some older iPads can enable Stage Manager through unofficial methods using tools like TrollStore, but this is not supported by Apple and may affect stability (source: YouTube tutorial).
How to Enable Stage Manager on iPad
- Open Control Center by swiping down from the top-right corner of the screen.
- Tap the Stage Manager icon (three dots with a rectangle).
- Your current app will shrink into a window, and the Dock plus recent apps will appear on the left side.
- You can now drag and drop other apps into the workspace to create your multitasking setup.
Alternatively, go to:
Settings → Home Screen & Multitasking → Stage Manager and toggle it on.
How to Use Stage Manager Effectively
Here are some of the best ways to make Stage Manager work for you (source: MyNextTablet & 360-Reader):
1. Resize and Arrange Windows
Drag the edges or corners of any app window to resize it. You can overlap windows, stack them, or keep them side by side — just like on macOS.
2. Group Related Apps
Create app groups for specific workflows — for example:
- Writing: Notes + Safari + Files
- Design: Procreate + Photos + Pinterest
Each group is saved automatically, so you can switch between them easily.
3. Use Stage Manager with External Displays
If you connect your iPad to an external monitor, Stage Manager expands your workspace. You can run up to eight apps simultaneously (four on iPad, four on the external display).
4. Drag and Drop Between Apps
Move text, images, or files between windows simply by dragging them — perfect for research, editing, or creative work.
5. Customize App Layouts
You can hide the Dock and sidebar for a cleaner look or keep them visible for faster switching.
Stage Manager vs. Split View and Slide Over
| Feature | Stage Manager | Split View | Slide Over |
|---|---|---|---|
| Multiple windows | ✅ | 2 apps max | 1 floating app |
| Resizable windows | ✅ | ❌ | ❌ |
| External display support | ✅ | ❌ | ❌ |
| Custom app groups | ✅ | ❌ | ❌ |
Stage Manager is the clear winner for anyone who wants a desktop-style multitasking experience on iPad.
Expert Tips
- Use keyboard shortcuts (Command + Tab) to switch between app groups quickly.
- Combine Stage Manager with Apple Pencil for creative workflows.
- Keep your most-used apps in the Dock for faster drag-and-drop multitasking.
- If performance slows, close unused app groups to free up memory.
Final Thoughts
Stage Manager transforms the iPad from a powerful tablet into a portable workstation. Whether you’re a student, designer, or business professional, it offers a flexible and intuitive way to multitask efficiently.
With each iPadOS update, Apple continues refining Stage Manager — making it an essential tool for anyone serious about productivity on iPad.
Further Reading:

