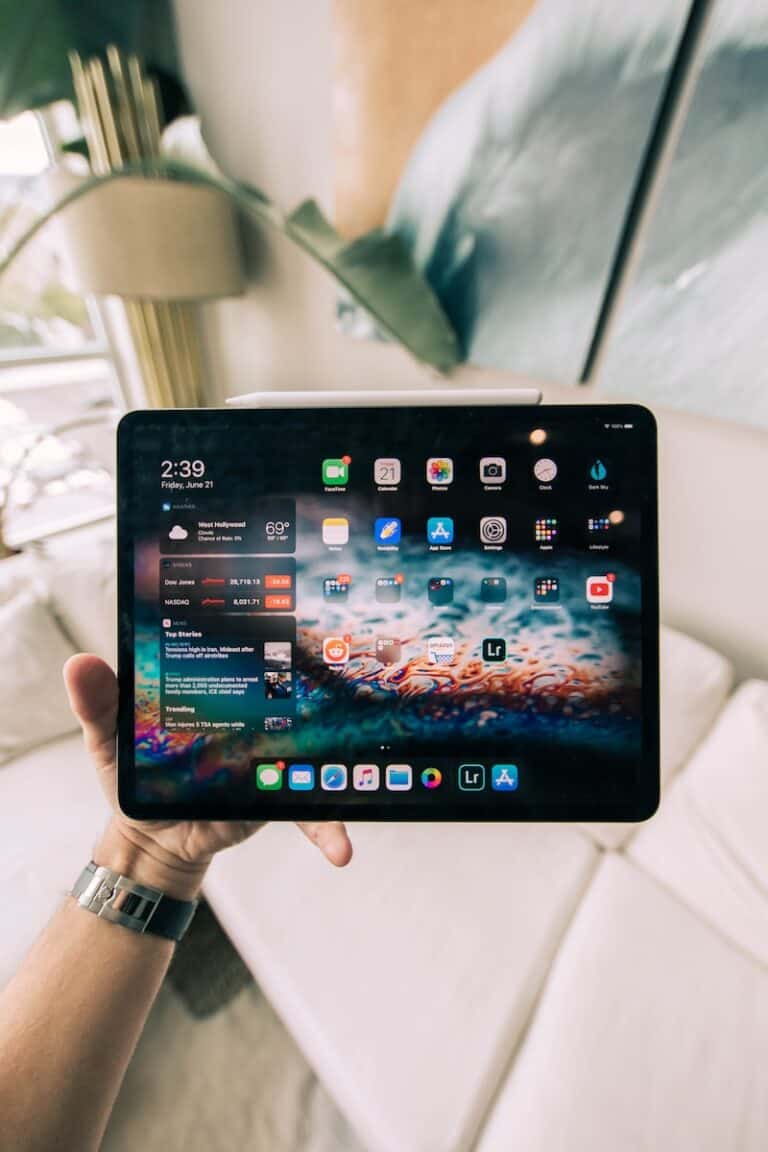
Running out of storage space or dealing with a cluttered Home Screen on your iPad? Deleting unused apps is one of the easiest ways to free up space and keep your device organized. This guide will walk you through the different methods to remove apps from your iPad.
Method 1: Delete Apps from the Home Screen
This is the quickest and most straightforward way to delete apps on your iPad.
Step 1: Find the app you want to delete on your Home Screen.
Step 2: Touch and hold the app icon until a menu appears.
Step 3: Tap “Remove App” from the menu.
Step 4: You’ll see two options:
- Remove from Home Screen – This keeps the app in your App Library but removes it from your Home Screen
- Delete App – This completely removes the app and its data from your iPad
Step 5: Tap “Delete App” to confirm the deletion.
Step 6: Tap “Delete” again in the confirmation popup to finalize.
Method 2: Delete Apps in Edit Mode
Step 1: Touch and hold any empty space on your Home Screen until the apps start jiggling.
Step 2: Look for the minus (-) sign in the top-left corner of the app you want to delete.
Step 3: Tap the minus sign.
Step 4: Select “Delete App” from the popup menu.
Step 5: Confirm by tapping “Delete.”
Step 6: Press the Home button or swipe up (on newer iPads without a Home button) to exit edit mode.
Method 3: Delete Apps Through Settings
This method is particularly useful for managing multiple apps or viewing how much storage each app uses.
Step 1: Open the Settings app on your iPad.
Step 2: Tap General.
Step 3: Select iPad Storage.
Step 4: Wait for the list of apps to load. You’ll see each app with its storage size.
Step 5: Tap on the app you want to delete.
Step 6: Tap Delete App.
Step 7: Confirm by tapping Delete App again.
Important Things to Know
What Happens When You Delete an App?
When you delete an app from your iPad, the app itself and all its associated data are removed from your device. This includes:
- User preferences and settings
- Saved files within the app
- Cache and temporary files
Deleting Built-In Apple Apps
You can also remove some built-in Apple apps like Stocks, Weather, and Books (source: Apple Support). However, note that removing built-in apps may also delete related user data and configuration files, and could affect other system functionality.
Reinstalling Deleted Apps
If you change your mind, you can easily reinstall any deleted app:
- Open the App Store
- Tap your profile icon in the top-right corner
- Go to Purchased
- Find the app and tap the download icon
For paid apps you’ve previously purchased, you won’t need to pay again.
Alternative: Using Screen Time to Restrict Apps
If you want to limit access to an app without deleting it entirely, you can use Screen Time settings to block apps and prevent their use (source: Apple Support). This is particularly useful for parental controls or self-imposed restrictions.
Tips for Managing iPad Storage
- Offload Unused Apps: In Settings > General > iPad Storage, you can enable “Offload Unused Apps” which automatically removes apps you rarely use while keeping their data.
- Review App Sizes Regularly: Check which apps take up the most space and decide if you really need them.
- Clear Cache: Some apps accumulate significant cache over time, which counts toward storage.
Conclusion
Deleting apps on your iPad is a simple process that can significantly improve your device’s performance and organization. Whether you prefer the quick Home Screen method or want more control through Settings, you now have multiple options to keep your iPad clutter-free and running smoothly.
Remember, deleting an app doesn’t mean it’s gone forever—you can always reinstall it from the App Store whenever you need it again!

