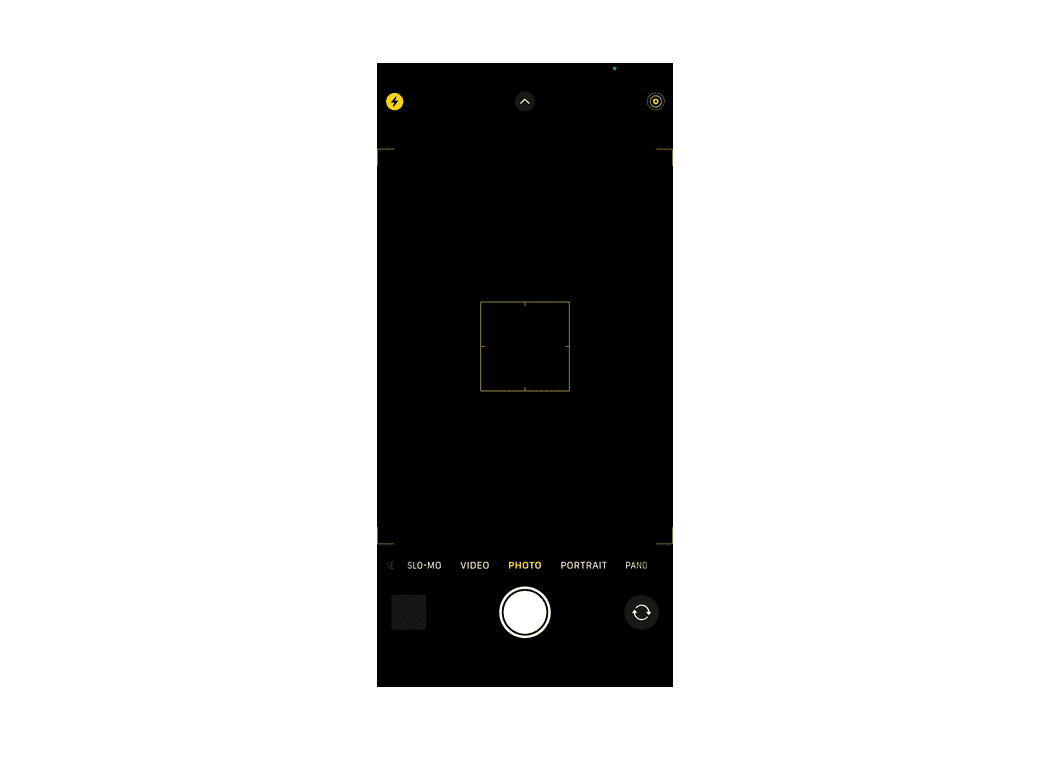
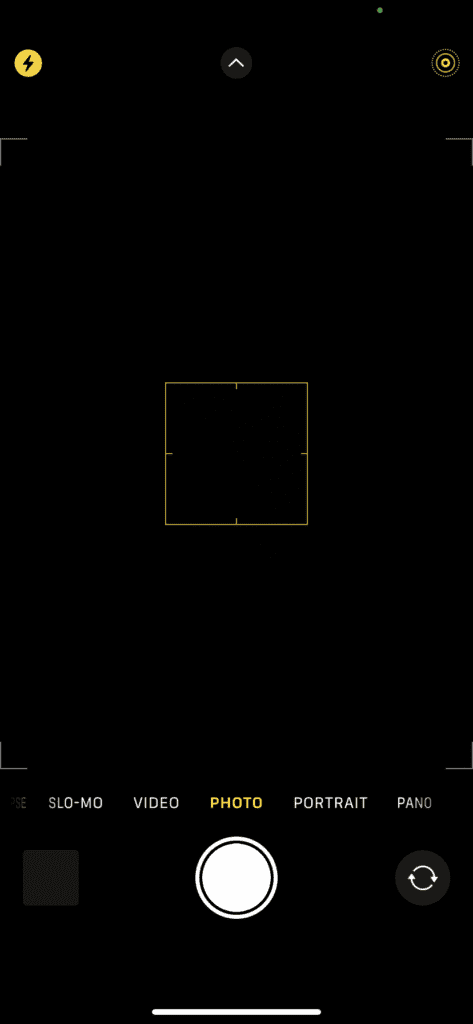
Ever grabbed your iPhone to capture a moment, only to find your camera screen as black as the night sky? You’re not alone! This pesky problem has puzzled many, but fear not, we’re here to unravel this digital dilemma.
iPhone Camera Black Screen: Troubleshooting
| Troubleshooting Step | Description | Potential Fix |
|---|---|---|
| Basic Checks | ||
| – Check for obstructions | Make sure nothing is blocking the camera lens, like a case or screen protector. | Remove any obstructions. |
| – Clean the camera lens | Gently wipe the camera lens with a microfiber cloth. | Clean the lens thoroughly. |
| – Switch between cameras | Try toggling between the front and rear cameras. | Tap the camera switch icon within the Camera app. |
| – Restart the Camera app | Close and reopen the Camera app. | Force close the app and relaunch it. |
| Software Fixes | ||
| – Update iOS | Ensure you have the latest iOS version installed. | Go to Settings > General > Software Update. |
| – Reset Camera Settings | Reset the Camera app to its default settings. | Go to Settings > General > Reset > Reset All Settings. |
| – Disable Low Power Mode | Low Power Mode might restrict camera functionality. | Disable Low Power Mode from Control Center. |
| – Try third-party camera apps | Test if the issue persists in other camera apps. | Download and use a different camera app from the App Store. |
| Hardware Troubleshooting | ||
| – Hard Reset iPhone | Force restart your iPhone based on your model. | Refer to Apple’s support page for specific instructions. |
| – Contact Apple Support | If the issue persists, contact Apple Support for further assistance. | Get in touch through their website or visit an authorized Apple store. |
Additional Tips:
- Back up your iPhone data before performing any resets.
- Note down the iOS version you’re using before updating.
- If none of the above steps work, the issue might be hardware-related. Consulting a professional at an Apple store is recommended.
Understanding the Black Screen Bug
What’s Causing the Darkness?
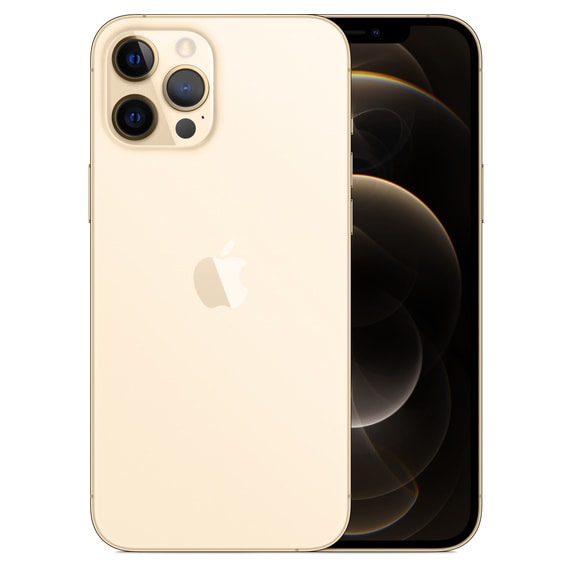
Ever since the iOS 16 and 17 updates, a bunch of iPhone users, especially those with iPhone 12, 13 Pro, and even the newer 14, have faced this head-scratcher. The camera just decides to play hide and seek, showing nothing but a black screen. Some found their selfie cameras working fine, but the rear camera? No dice. Even more baffling, the flashlight feature gives up the ghost too!
What the People Say
On Apple’s own support forums, users have shared their woes and attempted solutions. Pixie_2975, an iPhone 13 Pro user, tried every trick in the book – restarting, flipping camera modes, changing settings – but to no avail. Another user, Robmar7245, faced the same issue and was told by an Apple Store that their phone didn’t recognize the camera anymore. The solution? A not-so-small fee of $169 for repair. Ouch!
The Software-Hardware Tug-of-War
One thing’s clear from user experiences: this isn’t just a one-off. It’s a widespread issue that popped up after certain iOS updates. While some Apple Store reps point to hardware problems, users are skeptical. Why? Their cameras worked just fine before the updates. Coincidence? They think not.
DIY Fixes and Frustrations
Trying Out Solutions
Users have tried several quick fixes:
- Restarting the iPhone.
- Switching between front and back cameras.
- Tinkering with camera settings.
- Even doing a full factory reset!
Sadly, for many, these steps were more like band-aids on a broken bone.
The Apple Store Experience
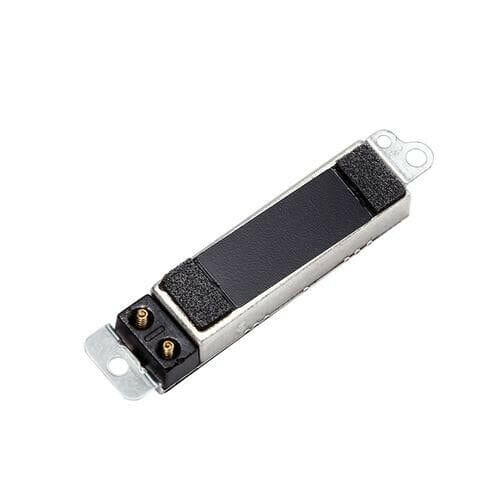
Some, like user Pixie_2975, found a ‘fix’ by shelling out almost $200 at the Apple Store for a camera replacement. But here’s the kicker: they were told it was a hardware issue uncovered by the iOS update, not caused by it. Hmm, quite the plot twist!
Behind the Scenes: What’s Really Going On?
Software Update or Hardware Fault?
The big question is: Are these black screen issues a result of faulty hardware or a glitch in the software updates? Users are in a bit of a pickle here. On one hand, Apple suggests hardware issues, but on the other, the timing with iOS updates is too suspicious to ignore.
Summary of Facts
- iPhone camera black screen issue prevalent in models post-iOS 16 and 17 updates.
- Users report both rear camera blackout and flashlight failure.
- Attempted fixes include restarts, setting adjustments, and factory resets.
- Apple Store suggests hardware issues, but timing with updates raises questions.
FAQ
What iPhones are most affected by the black screen issue?
Primarily, iPhone models 12, 13 Pro, and 14 have been reported to face this issue, especially post-iOS 16 and 17 updates.
Are there any successful user-reported fixes?
While some users have had temporary success with restarting their phones or changing settings, most fixes haven’t been permanent.
What does Apple suggest for this problem?
Apple Store representatives often point towards hardware issues, suggesting camera replacements which can be quite costly.

