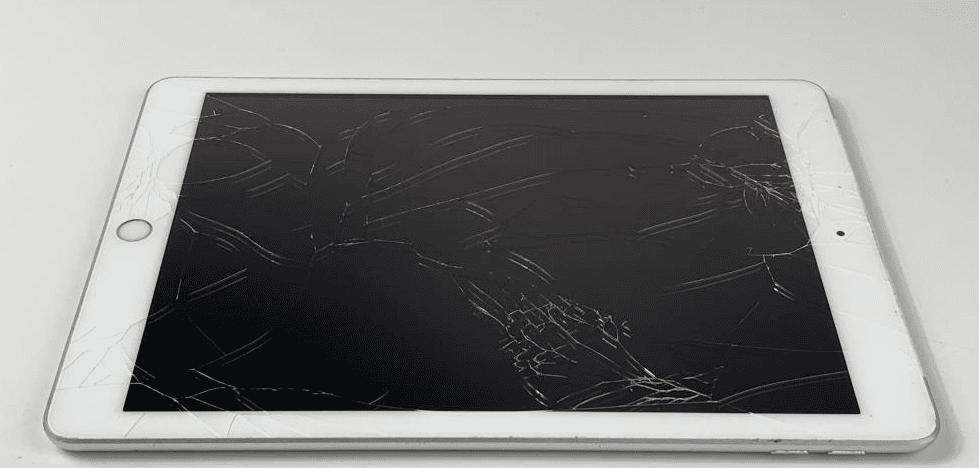
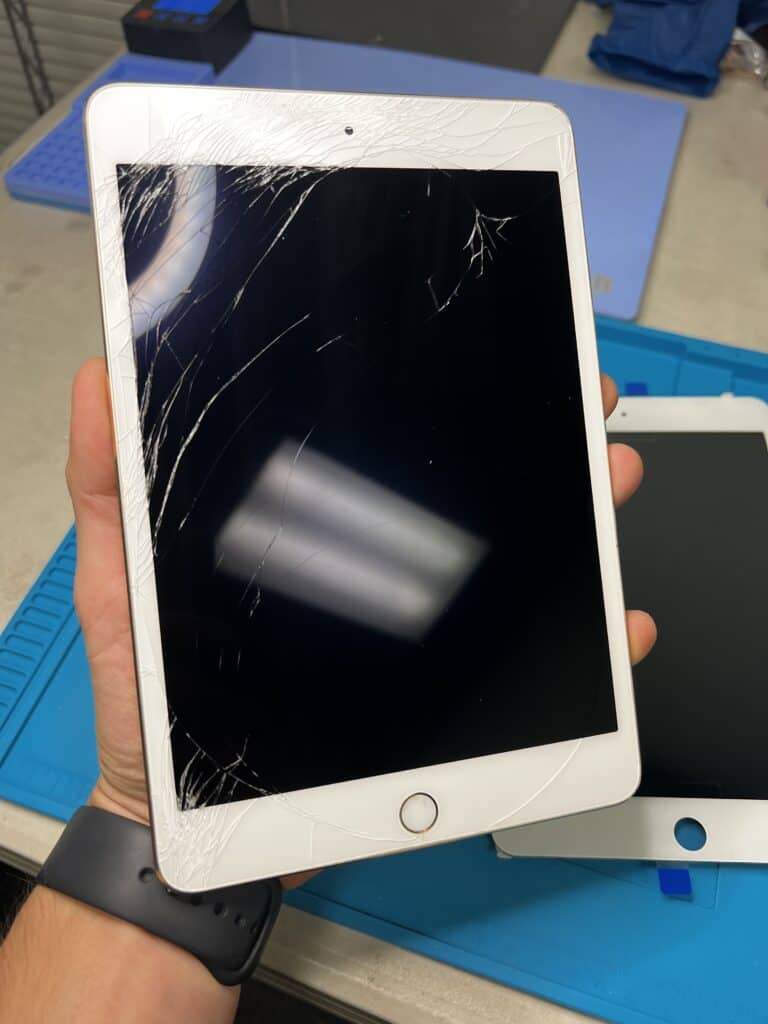
Maintaining your iPad Mini can be a smooth experience—until that dreaded moment when the screen cracks or malfunctions. Screen replacement is often the most common and costly repair for iPads, but understanding the nuances of warranty coverage, insurance options, and repair pathways can save you both time and money while preserving your device’s longevity.
Why Screen Repairs Matter More Than Ever
The iPad Mini’s compact design and vibrant Retina display make it a favorite for portability and productivity. However, its delicate glass screen is vulnerable to accidental drops and impacts. A cracked or unresponsive screen not only hampers usability but can also lead to further internal damage if left unaddressed.
How Much Does An iPad Mini Screen Replacement Cost?
Here’s a table outlining the typical costs for an iPad Mini screen replacement, considering different repair options:
iPad Mini Screen Replacement Cost Estimates
| Repair Option | Estimated Cost Range | Notes |
| AppleCare+ | $49-$99 | For existing AppleCare+ plans. Price depends on model. Apple usually charges a fixed fee for screen damage. |
| Apple Out-of-Warranty (Estimated by Apple Support or authorized repair shops) | $199 – $349+ | Prices can vary significantly by iPad Mini model and region. Newer models are generally more expensive. Some reports indicate Apple may offer whole-unit replacement for minis without AppleCare+. |
| Third-Party Repair Shops | $50 – $200+ | Generally more affordable than Apple. Quality of parts and warranty can vary widely. It’s crucial to choose a reputable shop with good reviews. Prices also depend on the specific iPad Mini generation and the extent of damage (e.g., just glass vs. LCD damage). |
| DIY (Do-It-Yourself) Replacement Kit | $20 – $100+ | This is the cheapest option, but requires technical skill, patience, and the right tools. The cost depends on whether you’re replacing just the glass (digitizer) or the entire screen assembly (glass + LCD). This option voids any remaining warranty. |
*Costs will vary heavily by area. Check your current area for more accurate costs
Important Considerations:
- iPad Mini Model: Newer generations (e.g., iPad Mini 6, 7) tend to have more expensive screens and repair processes due to advanced technology (like the Liquid Retina display). Older models (Mini 1, 2, 3) will generally be cheaper to repair.
- Type of Damage: If only the outer glass (digitizer) is cracked, it might be cheaper to replace than if the underlying LCD (the actual display) is also damaged.
- Quality of Parts: Third-party repairs might use aftermarket parts, which can be cheaper but may not be of the same quality as genuine Apple parts.
- Warranty: Repairing your iPad Mini through a third-party or DIY route will likely void any remaining Apple warranty.
- Additional Damage: If there is other damage to the iPad (e.g., bent frame, water damage), the repair cost will increase significantly, and Apple might offer a full unit replacement at a higher price.
Apple’s Official Repair Options: Warranty and Beyond
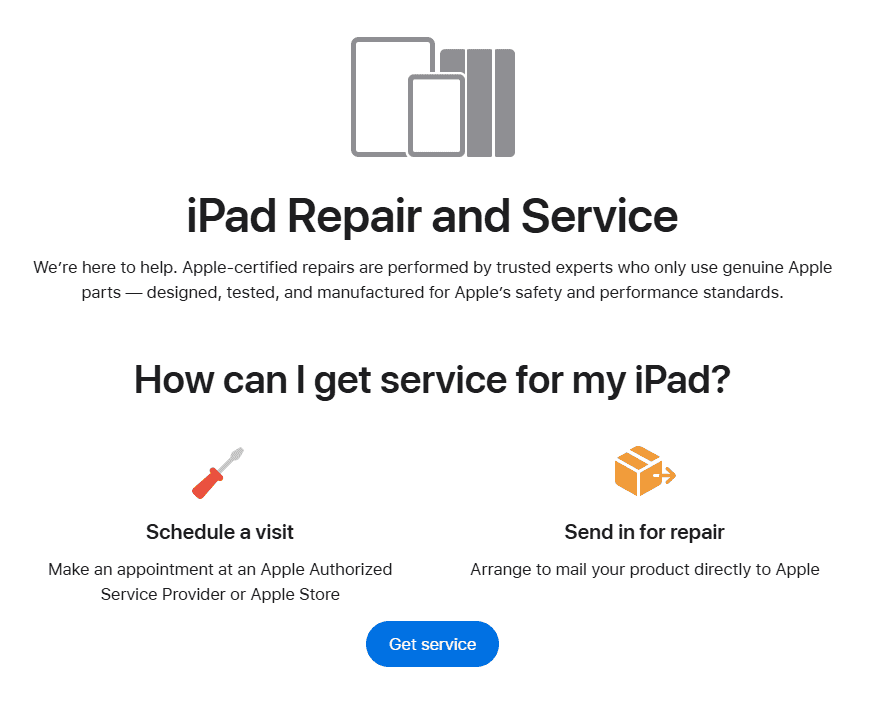
https://support.apple.com/ipad/repair
Apple offers a tiered approach to screen repairs that varies depending on your coverage status:
- Standard Warranty: Apple’s limited warranty covers manufacturing defects but does not cover accidental damage like cracked screens.
- AppleCare+: This extended coverage plan is a game-changer for iPad Mini owners. For a relatively low annual fee, AppleCare+ reduces screen repair costs to a service fee of $29 per incident—significantly cheaper than out-of-warranty repairs, which can range from $199 to $299 depending on the iPad Mini model.
- Out-of-Warranty Repairs: If you’re without AppleCare+, expect to pay a premium for screen replacements. Prices vary by model year and damage extent but can approach the cost of a new device in some cases.
Apple’s official repair services guarantee genuine parts and expert technicians, ensuring your device functions as intended post-repair. Plus, repairs completed through Apple or authorized providers generally preserve your remaining warranty.
Introducing Apple’s Self Service Repair Program: Empowering Users
In a groundbreaking move, Apple recently launched the Self Service Repair program, allowing tech-savvy users to purchase genuine Apple parts and tools to replace components like the iPad Mini screen themselves. This initiative not only lowers repair costs but also promotes sustainability by extending device lifespans and reducing electronic waste.
While this option requires a degree of technical know-how and care, Apple provides detailed manuals and support to guide users through the process. For those confident in their DIY skills, this is an exciting new way to maintain your iPad Mini without voiding warranty coverage—provided you use official parts.
Third-Party Repair Services: Convenience and Warranty Considerations
Beyond Apple, reputable third-party repair iPad Repair providers such as GadgetMates, uBreakiFix, and Best Buy’s Geek Squad offer screen replacement services often at competitive prices. Many of these providers include their own warranties—typically covering parts and labor for 90 days to 1 year—giving you peace of mind in case issues arise post-repair.
However, it’s essential to verify that repairs by third parties do not void your Apple warranty or AppleCare+ coverage. Apple’s policies can be strict about unauthorized repairs, so weigh the cost savings against potential impacts on future service eligibility.
Insurance: An Extra Layer of Protection
For those who rely heavily on their iPad Mini for work, study, or creative projects, insurance can be a valuable safeguard:
- AppleCare+ with Theft and Loss: This plan adds protection against accidental damage and loss, with screen repairs costing just $29 per incident.
- Third-Party Insurance: Many homeowners or renters insurance policies, as well as specialized electronics insurance plans, cover accidental damage to mobile devices. Some repair shops also offer insurance add-ons for repairs, providing coverage for future incidents at a nominal fee.
Before purchasing insurance, carefully review coverage details, deductibles, and claim procedures to ensure it aligns with your needs.
Practical Tips to Maximize Your iPad Mini’s Screen Longevity
- Invest in a High-Quality Case and Screen Protector: These accessories dramatically reduce the risk of screen damage.
- Handle with Care: Avoid placing your iPad Mini in precarious spots or under heavy objects.
- Regular Backups: Use iCloud or local backups via Finder/iTunes to safeguard your data before any repair or self-service attempt.
- Clean Gently: Use a microfiber cloth and avoid harsh chemicals to keep your screen pristine without damage.
iPad Mini Screen Replacement Do-It-Yourself Guide
Replacing the screen on an iPad Mini can be a delicate process, but it’s manageable for those with some technical aptitude and patience. This guide will walk you through the general steps.
Disclaimer: This guide is for informational purposes only. Attempting to repair your iPad Mini may void your warranty and could result in further damage if not performed correctly. Proceed at your own risk.
Required Tools and Materials:
- New iPad Mini Digitizer/Screen Assembly: Ensure it’s compatible with your specific iPad Mini model (e.g., iPad Mini 1, 2, 3, 4, 5, 6). Some come with the home button and camera bracket pre-installed, which can simplify the process.
- Heat Gun or Hair Dryer: To soften the adhesive.
- Small Phillips Head Screwdriver: For internal screws.
- Pentalobe Screwdriver (for some models): Some iPad models use pentalobe screws for external case closure.
- Plastic Opening Tools (Spudgers): Essential for prying without damaging the device.
- Thin Metal Spudger/Pry Tool: Can be helpful for stubborn adhesive.
- Tweezers: For handling small components and cables.
- Isopropyl Alcohol (90% or higher): For cleaning adhesive residue.
- Microfiber Cloth: For cleaning.
- Double-Sided Adhesive/Tape: Specifically designed for iPad screen reattachment (often comes with new screens, but good to have extra).
- Playing Cards or Guitar Picks: To keep the screen elevated and prevent re-adhesion in certain areas.
- Suction Cup: To help lift the screen.
- Clean, Well-Lit Workspace: Crucial for visibility and avoiding lost parts.
Before You Begin:
- Backup Your iPad: Always back up your device before any repair.
- Power Off Your iPad: Completely shut down your iPad to prevent short circuits.
- Gather All Tools: Make sure everything you need is within reach.
- Work in a Clean Area: Avoid dust and debris getting into your device.
- Static Precautions: Consider using an anti-static wrist strap or regularly touching a grounded metal object to discharge static electricity.
Step-by-Step Guide:
Part 1: Removing the Damaged Screen
- Apply Heat to the Edges: Using your heat gun or hair dryer on a low to medium setting, gently heat the edges of the iPad Mini’s screen. Focus on one section at a time. The goal is to soften the adhesive holding the screen in place. Do not overheat any single area.
- Pry Open the Screen:
- Once an area is warm, place a suction cup near an edge (avoid the home button area first).
- Gently pull up on the suction cup while carefully inserting a plastic opening tool into the seam between the glass and the metal frame.
- Work your way around the edges, slowly prying up the screen. You may need to reheat sections as you go.
- Be extremely careful around the home button and camera areas, as there are sensitive cables underneath.
- Insert playing cards or guitar picks into the gaps as you create them to prevent the screen from re-adhering.
- Lift the Screen Carefully: Once the adhesive is loosened all around, gently lift the screen. Do not pull it off completely! The digitizer cable (and sometimes the LCD cable, depending on the model and type of damage) is still connected.
- Disconnect the Digitizer Cable:
- Once the screen is partially lifted, you’ll see a metal shield or bracket covering the connectors. Remove the small Phillips head screws holding this bracket in place and carefully remove the bracket.
- Beneath the bracket, you’ll find the ZIF (Zero Insertion Force) connector for the digitizer cable. Carefully flip up the small retaining clip on the connector with a plastic spudger, then gently slide out the digitizer cable.
- Disconnect the LCD Cable (if separate): In some iPad Mini models, the LCD (the display itself) might be a separate component with its own connector. If your LCD is also damaged or if it’s separate from the digitizer, you’ll need to carefully disconnect its cable as well. This often involves a similar ZIF connector or a press-fit connector.
- Remove the Home Button (if necessary): If your new screen assembly does not come with a home button, you’ll need to carefully transfer the original home button from your old screen. It’s usually held in place by a few small screws and has a small flex cable. Be extremely careful with the home button cable, as damaging it can result in Touch ID not working.
- Clean Off Old Adhesive: Using a plastic spudger and a small amount of isopropyl alcohol on a microfiber cloth, carefully scrape and wipe away all the old adhesive residue from the iPad’s frame. This is crucial for the new screen to adhere properly.
Part 2: Installing the New Screen
- Test the New Screen (Crucial Step!):
- Before fully adhering the new screen, connect the new digitizer cable (and LCD cable, if applicable) to the iPad’s logic board. Do not remove the protective film from the new screen yet.
- Power on your iPad.
- Test the touch functionality thoroughly across the entire screen. Open apps, drag icons, type on the keyboard, and ensure there are no dead spots or ghost touches. If the LCD was replaced, check for display issues (dead pixels, lines, etc.).
- Test the home button (if transferred or new) and the front-facing camera (if applicable).
- If anything isn’t working, recheck the connections. If problems persist, the new screen might be faulty.
- Power off the iPad once testing is complete.
- Apply New Adhesive: If your new screen assembly didn’t come with pre-applied adhesive, carefully apply new double-sided adhesive tape around the perimeter of the iPad’s frame, ensuring it aligns with where the screen will sit. Cut small strips as needed.
- Reconnect Cables:
- Carefully reconnect the digitizer cable (and LCD cable, if applicable) to the logic board, ensuring the retaining clips are securely closed.
- Reinstall the metal connector shield/bracket and its screws.
- Position and Secure the New Screen:
- Carefully align the new screen with the iPad’s frame.
- Gently press down around the edges of the screen, applying even pressure to ensure the new adhesive makes full contact.
- Do not press on the center of the screen.
- Pay special attention to the corners and the area around the home button and camera.
- Final Checks:
- Clean the new screen with a microfiber cloth.
- Power on your iPad and perform a final test of all functions.
Troubleshooting Tips:
- Screen Not Responding: Recheck the digitizer cable connection. Ensure it’s fully seated and the retaining clip is closed.
- Ghost Touches: This can be due to a faulty digitizer, improper installation (e.g., something pressing on the cable), or static. Try reconnecting the cable.
- No Display (Black Screen): If you replaced the LCD, check the LCD cable connection. If only the digitizer was replaced, this indicates a deeper issue, possibly with the LCD itself or the logic board.
- Home Button Not Working: Double-check the home button cable connection. If Touch ID isn’t working, it’s often due to damage to the original home button flex cable during removal/installation, as Touch ID is tied to the original button.
- Adhesive Not Holding: Ensure all old adhesive was removed and the new adhesive was applied correctly and with sufficient pressure.
In Summary
Screen replacement for the iPad Mini no longer has to be a stressful or prohibitively expensive ordeal. By understanding Apple’s warranty and AppleCare+ benefits, exploring the new Self Service Repair program, considering trusted third-party repair options, and evaluating insurance coverage, you can make informed choices that protect your investment and keep your device running like new.
For the latest repair costs, service options, and detailed guidance, always refer to Apple’s official repair page and consider your personal comfort with DIY repairs before diving into the Self Service Repair program.
Key Takeaways
- Screen replacement services differ by provider and can include warranties.
- Repair warranties provide coverage for future issues.
- Additional insurance can protect against accidental damage.
Understanding iPad Mini Screen Replacement and Warranty Policies
When it comes to repairing a cracked iPad Mini screen, understanding warranty and insurance options is essential. Here’s a detailed look at the main considerations for owners of iPad Mini 5, iPad Mini 6, and other models.
Apple Limited Warranty and AppleCare+
The Apple Limited Warranty covers manufacturing defects for 1 year but does not cover accidental damage. For added protection, consider AppleCare+, which covers accidental damage with a service fee of $49 for up to two incidents.
AppleCare+ Features:
- Covers: Accidental damage
- Service Fee: $49 per incident (two incidents)
- Validity: Adds 2 years to standard warranty
- Support Options: 24/7 priority access to experts
Repair Service Providers and Support Options
Several options are available for screen repairs apart from Apple Stores:
- Apple Authorized Service Providers: They use genuine parts and are trained by Apple.
- UBreakiFix: Offers fast service with a Low Price Guarantee.
- Best Buy: Provides quality services with options for appointments.
- Apple Support Advisors: Can guide customers on repair processes.
Customers can schedule a visit, get a free diagnostic, and contact customer support.
Insurance Coverage and Claims Process
For those without AppleCare+, insurance can help. Check if your device insurance covers accidental damage:
- Insurance Policies: May cover accidental damage
- Claim Process: Contact your insurance provider to file a claim.
- Estimate and Service Fee: Be aware of the deductible and what’s covered.
In the end, choosing between AppleCare+, authorized repair services, or insurance depends on individual needs and circumstances. Always back up your device before seeking repairs.
Frequently Asked Questions
This section provides clear and direct answers to common questions about iPad Mini screen replacement, including costs, warranty coverage, insurance policies, and repair options.
What is the cost of replacing an iPad Mini screen?
The price of an iPad Mini screen replacement can vary. Generally, it costs between $200 and $400 at authorized service providers. The exact amount depends on the model and extent of the damage.
Does Apple’s warranty policy cover iPad Mini screen damage?
Apple’s warranty typically does not cover accidental damage like screen breaks. However, if you have AppleCare+, you are eligible for screen repairs at a reduced cost.
Are iPad Mini screen repairs covered under standard device insurance policies?
Standard device insurance policies may cover accidental screen damage. It’s advisable to check the terms of your specific policy to confirm whether screen repair is included.
Where can I find authorized service providers for iPad Mini screen repair?
Authorized service providers include Apple Stores, Best Buy, and other Apple-certified repair shops. These providers use genuine Apple parts and offer quality service.
What are my options for repairing an iPad Mini screen at third-party repair shops?
Third-party repair shops offer a range of services, often at lower prices than authorized providers. However, the quality and warranty of their repairs can vary, and using these services may void your Apple warranty.
Is investing in an iPad Screen Repair Kit a viable alternative to professional service?
Using a repair kit for an iPad Mini screen replacement can be a cost-effective option if you have the technical skills. Kits usually come with tools and adhesive, but there is a risk of further damage if not done correctly.

