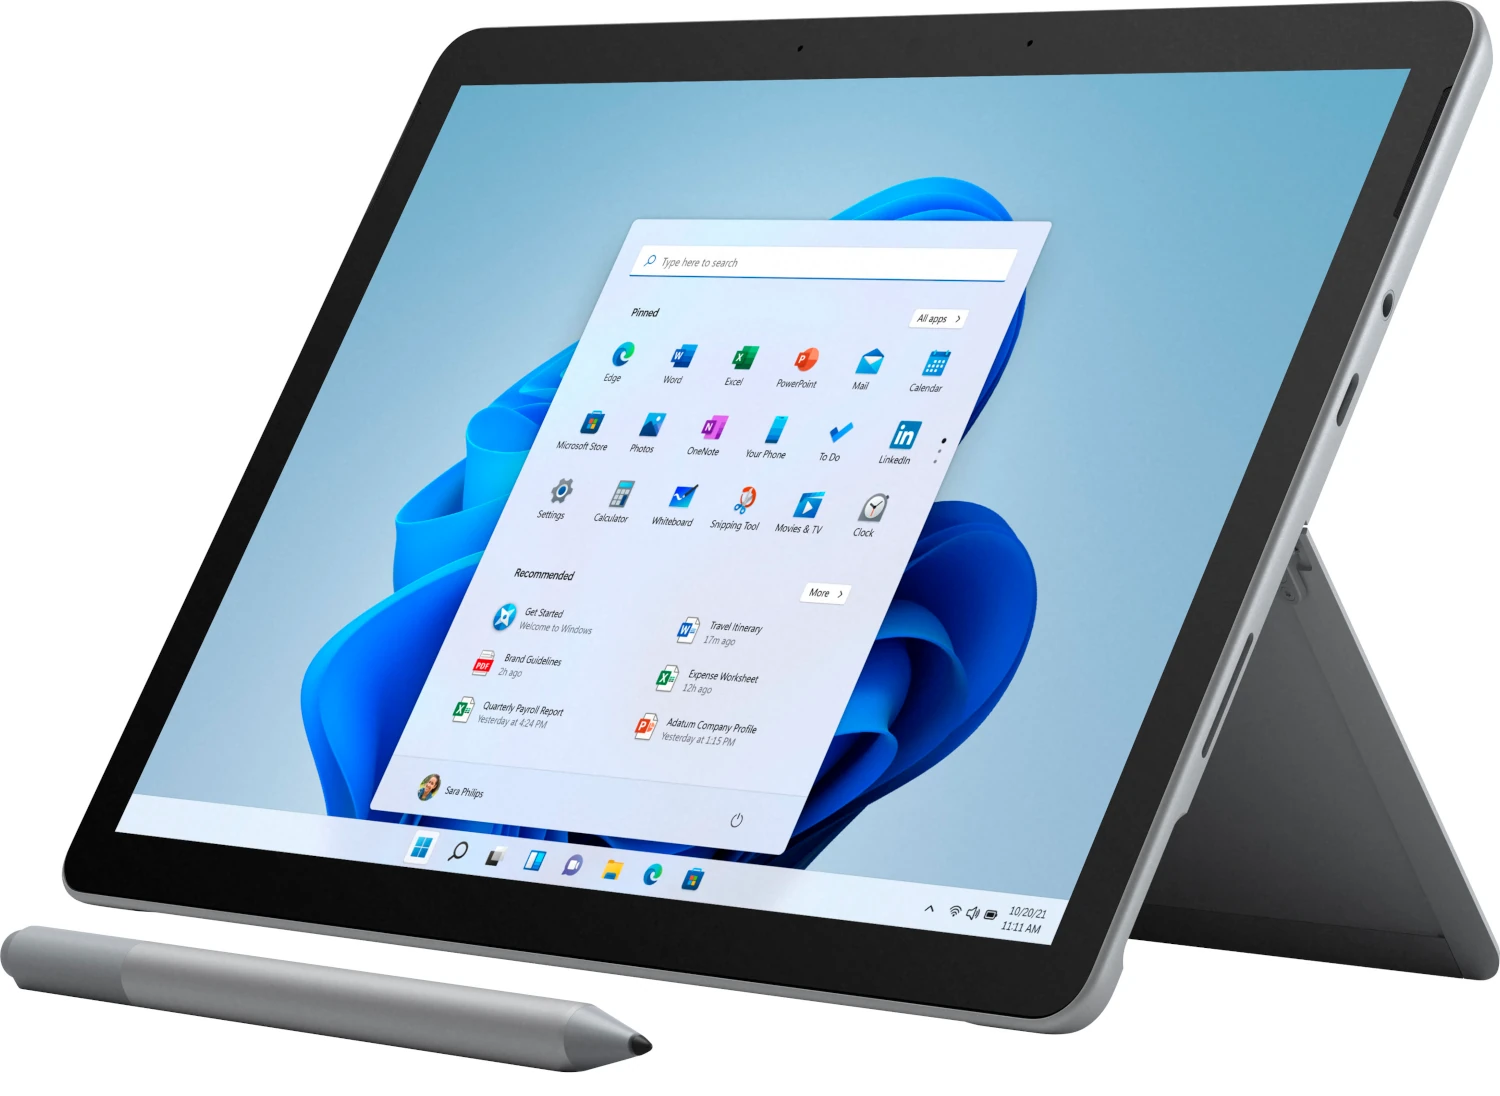
Taking a screenshot on a Microsoft Surface tablet is crucial for capturing moments and information during your tablet use. To capture a screenshot on your Surface device, simply press the Power button and the Volume Up button simultaneously. This method works for most Surface devices and is quick and efficient.
Microsoft Surface devices offer several ways to take screenshots depending on the model. For example, using the Surface Pen, you can double-click the top button to capture a screenshot of your desktop. Alternatively, keyboard shortcuts like Fn + Windows + Space can also be effective for Surface Pro models.
Understanding these methods helps you take screenshots effortlessly, whether you need to capture the entire screen or just a portion for your needs. Enjoy the flexibility of your Surface tablet by mastering these simple steps.
Capturing Your Screen Made Easy
Using Physical Buttons:
Depending on your Surface model, there are different ways to use hardware buttons:
- For Surface Pro 8 and newer:
- Press and hold the Power button and the Volume Up button simultaneously.
- The screen will dim briefly, indicating the screenshot was taken.
- For Surface Pro 7 and older:
- Press and hold the Windows logo button (located on the bezel of the screen) and the Volume Down button at the same time.
- The screen will dim briefly to indicate the screenshot was captured.
- For Surface Duo:
- Press and hold the Power button and the Volume Down button simultaneously.
- The screenshot will be saved.
Using the “PrtScn” Key:
If your Surface has a keyboard attached:
- Press the PrtScn key to capture the entire screen.
- The screenshot will be saved to your clipboard.
Using the Snipping Tool:
For more precise captures or to include annotations:
- Open the Start menu and search for “Snipping Tool.”
- Choose the type of snip you want (e.g., rectangular, free-form, window).
- Select the area of the screen you want to capture.
- Annotate or save the screenshot as needed.
Finding Your Screenshots:
Screenshots are typically saved to the “Screenshots” folder within your “Pictures” folder. You can access them through File Explorer or your preferred photo app.
| Method | Devices | Description |
|---|---|---|
| Power + Volume Up | Surface Pro 8 and newer | Captures entire screen |
| Windows logo + Volume Down | Surface Pro 7 and older | Captures entire screen |
| Power + Volume Down | Surface Duo | Captures entire screen |
| PrtScn key | All Surface devices with a keyboard | Captures entire screen and copies to clipboard |
| Snipping Tool | All Surface devices | Offers flexibility for capturing specific areas or windows, and includes annotation tools |
Key Takeaways
- The Power + Volume Up buttons capture a screenshot on most Surface devices.
- The Surface Pen offers another way to capture screenshots.
- Several keyboard shortcuts are available depending on the device model.
Methods to Take Screenshots on Your Microsoft Surface Tablet
Microsoft Surface tablets offer various ways to capture screenshots. Users can choose from hardware buttons, keyboard shortcuts, or software tools, each method designed for convenience and efficiency.
Quick Screenshot Using Hardware Buttons
For a quick screenshot, use the hardware buttons on your Surface tablet:
Surface Pro 3 and newer models: Press the Power Button and the Volume Up Button at the same time.
Surface Duo: Press and hold the Power Button, then select Screenshot from the menu.
This method saves the screenshot automatically in the Screenshots folder in File Explorer. Screenshots are typically saved as PNG files.
Using Keyboard Shortcuts
Keyboard shortcuts provide fast ways to take screenshots:
With Type Cover: On models like Surface Pro 4, Surface Book, and Surface Laptop, press the
Fn+Windows Key+Spacebarto capture the entire screen.Without Type Cover: Use the
Windows Key+Volume Down Button.
These screenshots are copied to the Clipboard, allowing users to paste them into programs like Paint or Word.
Utility and Software Tools for Screenshots
Surface tablets come with built-in utilities and software for more advanced screenshot options:
Snipping Tool: Search for Snipping Tool in the Start Menu. This tool offers modes like Rectangular and Freeform snips.
Snip & Sketch: Press
Windows Key+Shift+S. This tool provides quick options to capture part of the screen.OneNote: Press
Windows Key+Shift+Sto take a snip directly to OneNote for easy sharing and editing.
These tools are especially useful for those who need more control over their screenshots.
Saving and Sharing Your Screenshots
After taking a screenshot, find it in the Screenshots folder under Pictures in File Explorer. Screenshots can be saved in formats like PNG, JPEG, or GIF.
To share, you can use email, apps like Skype and Twitter, or cloud services like OneDrive and Google Photos. Screenshots can also be edited in the Photos app before sharing for quick annotations or enhancements.
By using these methods, users can easily capture, save, and share their screen contents on Surface tablets.
Frequently Asked Questions
This section addresses common questions about taking screenshots on various Microsoft Surface devices, offering clear and simple instructions for each method.
What are the steps to take a screenshot on a Surface Pro using a physical keyboard?
To take a screenshot using a keyboard on a Surface Pro, press the Fn + Windows + Space keys together. The screen will be captured and can be pasted into programs like Paint or Word.
Can you describe the method for capturing a screenshot on a Surface Pro 7?
On a Surface Pro 7, press the Power button and Volume Up button at the same time. The screen will dim slightly, indicating that a screenshot has been taken and saved in the Screenshots folder.
What is the process for taking a screenshot on a Surface Pro device without using the keyboard?
If you do not have a keyboard, press the Power button and Volume Up button together. The screen will briefly darken to signal that the screenshot is taken. The file will be saved in the Screenshots folder.
How do you perform a screen capture on a Surface Laptop?
To take a screenshot on a Surface Laptop, press the Windows key + Shift + S. This opens the Snipping Tool, allowing you to select the area of the screen you want to capture. The screenshot is then copied to the Clipboard.
What is the procedure to take a screenshot on a Surface Book?
For a Surface Book, you can press the Fn + Windows + Space keys to capture the entire screen. This screenshot is copied to the Clipboard and can be pasted where needed.
Is there a way to take a screenshot on a Microsoft Surface Tablet?
Yes, on a Surface Tablet, press and hold the Power button and then press the Volume Up button. The screen will briefly darken to indicate the screenshot has been taken and saved.

