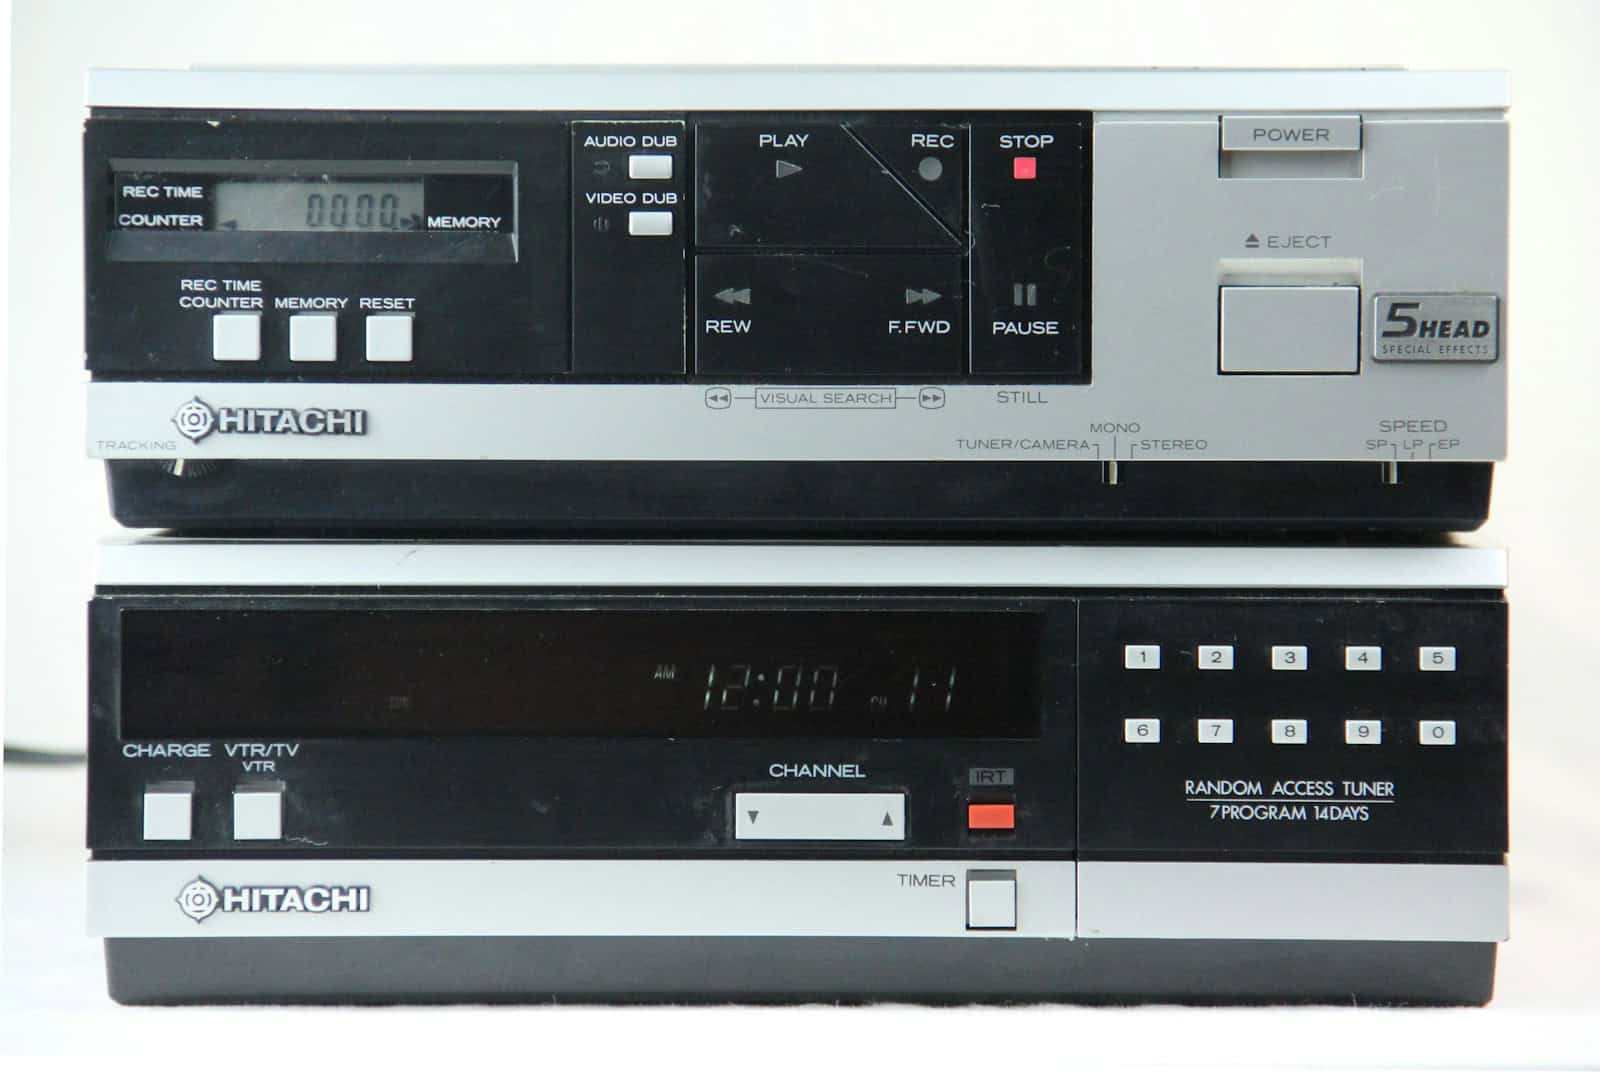
VCRs may not be the center of home entertainment anymore, but many people still rely on them to watch old VHS tapes or transfer recordings to digital formats. When a machine stops playing, chews up a tape, or refuses to rewind, it can feel like the end of the road. Most VCR repair issues come down to simple mechanical problems like worn belts, dirty heads, or dried lubrication that you can often fix without professional help.
Repairing a VCR does not always require special tools or advanced skills. Cleaning the tape path, replacing a belt, or checking the pinch roller can solve the most common problems. Taking the time to learn these basics can save money, protect valuable VHS tapes, and extend the life of equipment that is no longer easy to replace.
For anyone with a shelf full of tapes, keeping a VCR working means keeping access to personal recordings, family videos, and movies that may never be released in another format. Understanding how to troubleshoot and repair these machines gives control back to the owner instead of leaving it to costly repair shops or online replacements.
VCR Repair Guide: Actionable Tips to Fix Common Problems
VCRs may be old technology, but many are still in use for playing home videos, VHS archives, or rare tapes. Whether your VCR won’t power on, won’t accept tapes, or produces poor playback, this VCR repair guide provides practical, step‑by‑step tips you can try before seeking professional repair.
⚠️ Safety First:
Always unplug the VCR before opening it. Internal components can hold charge and moving parts can cause injury.
Tools You’ll Need
- Phillips screwdriver
- Cotton swabs
- Isopropyl alcohol (90%+)
- Compressed air
- Tweezers
- Replacement belts (model‑specific)
- Flashlight
Common VCR Problems and How to Fix Them
1. VCR Won’t Power On
Likely causes:
- Blown fuse
- Bad power cord
- Failed power supply board
Actionable fixes:
- Try a different power outlet
- Inspect the power cord for damage
- Open the case and check for a glass fuse
- Replace fuse with same rating (printed on fuse)
✅ Tip: If the fuse blows again, stop—this indicates a deeper electrical issue.
2. VCR Eats or Damages Tapes
Likely causes:
- Worn rubber belts
- Dirty or misaligned tape path
- Sticky pinch roller
Actionable fixes:
- Remove the top cover
- Carefully eject the tape manually (rotate loading gears)
- Inspect belts for slack or cracks
- Replace worn belts (search by VCR model number)
- Clean tape path with alcohol and swabs
✅ Tip: Never pull a tape out by force—it will bend internal guides.
3. No Picture or Snowy Playback
Likely causes:
- Dirty video heads
- Incorrect tracking
- Faulty cables
Actionable fixes:
- Clean video heads manually (not a wet cleaning tape)
- Adjust tracking buttons during playback
- Replace RCA or coax cables
- Test on another TV input
✅ Tip: Clean heads gently—never scrub side‑to‑side.
4. Poor Audio or No Sound
Likely causes:
- Dirty audio heads
- Loose internal connections
Actionable fixes:
- Clean audio/control heads
- Check internal ribbon cables
- Try different audio output cables
✅ Tip: Hi‑Fi audio issues often point to head alignment problems.
5. Tape Won’t Load or Eject
Likely causes:
- Dried grease
- Broken loading gears
- Mode switch failure
Actionable fixes:
- Manually rotate loading motor to reset position
- Clean old grease and apply light plastic‑safe lubricant
- Inspect loading gears for cracks
✅ Tip: Take photos before disassembly to aid reassembly.
6. Tracking Problems That Won’t Adjust
Likely causes:
- Misaligned guide posts
- Worn heads
Actionable fixes:
- Try multiple tapes to confirm issue
- Clean heads thoroughly
- Avoid adjusting guide screws unless experienced
⚠️ Tip: Head alignment requires special equipment—stop here if unsure.
Cleaning a VCR (Proper Method)
What to Clean:
- Video heads
- Audio/control heads
- Capstan
- Pinch roller
- Tape guides
How:
- Dip a lint‑free swab in alcohol
- Gently press against head drum
- Rotate drum by hand only
- Clean rubber rollers separately
✅ Clean every 20–30 hours of use.
When to Repair vs Replace
Repair If:
- Unit has sentimental value
- It’s a high‑end or professional VCR
- Only belts or cleaning are needed
Replace If:
- Video heads are worn
- Major board failure exists
- Repair costs exceed value
Where to Find Parts
- eBay (model‑specific parts)
- Vintage electronics suppliers
- Donor VCRs for belts and gears
✅ Always search by exact model number.
Preventive Maintenance Tips
- Store in a dry, dust‑free area
- Rewind tapes before storage
- Avoid leaving tapes inside
- Run the VCR at least once every few months
Final Thoughts
Most VCR problems come down to dirty heads, worn belts, or dried grease—all fixable with patience and the right tools. By following this VCR repair guide and using the actionable tips above, you can extend the life of your VCR and protect valuable VHS tapes.
Key Takeaways
- Most VCR issues come from simple mechanical wear
- Basic maintenance can extend the life of VHS tapes and machines
- Learning repair steps helps avoid costly service fees
Frequently Asked Questions
VCR repair often involves problems with power, tape handling, and worn mechanical parts. Costs vary depending on the issue, and choosing a skilled technician matters when dealing with delicate internal components.
What are common issues with VCRs that require professional repair?
Frequent problems include the unit not powering on, failure to eject or load tapes, and distorted playback. Worn belts, dirty heads, or broken gears often cause these issues. Mechanical jams and tape transport errors are also common.
How much does it typically cost to repair a VCR?
Basic repairs such as belt or gear replacement often range from $50 to $100. More complex issues, like circuit board or motor failures, may cost $150 or more. Prices depend on part availability and labor time.
What should I look for in a reliable VCR repair service?
A dependable service should have experience with VCR-specific repairs, not just general electronics. Clear pricing, warranty on repairs, and positive customer feedback are good signs. Specialized shops that still stock parts for older models are often the best option.
Can VCRs that eat tapes be fixed, and what is involved in the process?
Yes, most machines that pull in or crumple tapes can be repaired. The technician usually replaces worn pinch rollers, capstans, or belts and realigns the tape path. Cleaning and lubricating moving parts also helps prevent the issue from returning.
Are there DIY repair kits available for VCRs, and are they effective?
Kits with replacement belts, cleaning supplies, and basic tools are available. They can help with simple fixes like belt changes or head cleaning. However, complex repairs such as motor replacement or circuit troubleshooting usually require professional skills.
How can I find a reputable VCR and DVD repair shop in my area?
Start with local electronics repair shops that advertise work on vintage or legacy devices. Online directories and forums focused on audio-video equipment can also provide leads. Checking customer reviews and confirming that the shop handles VCRs specifically is important before sending equipment.


