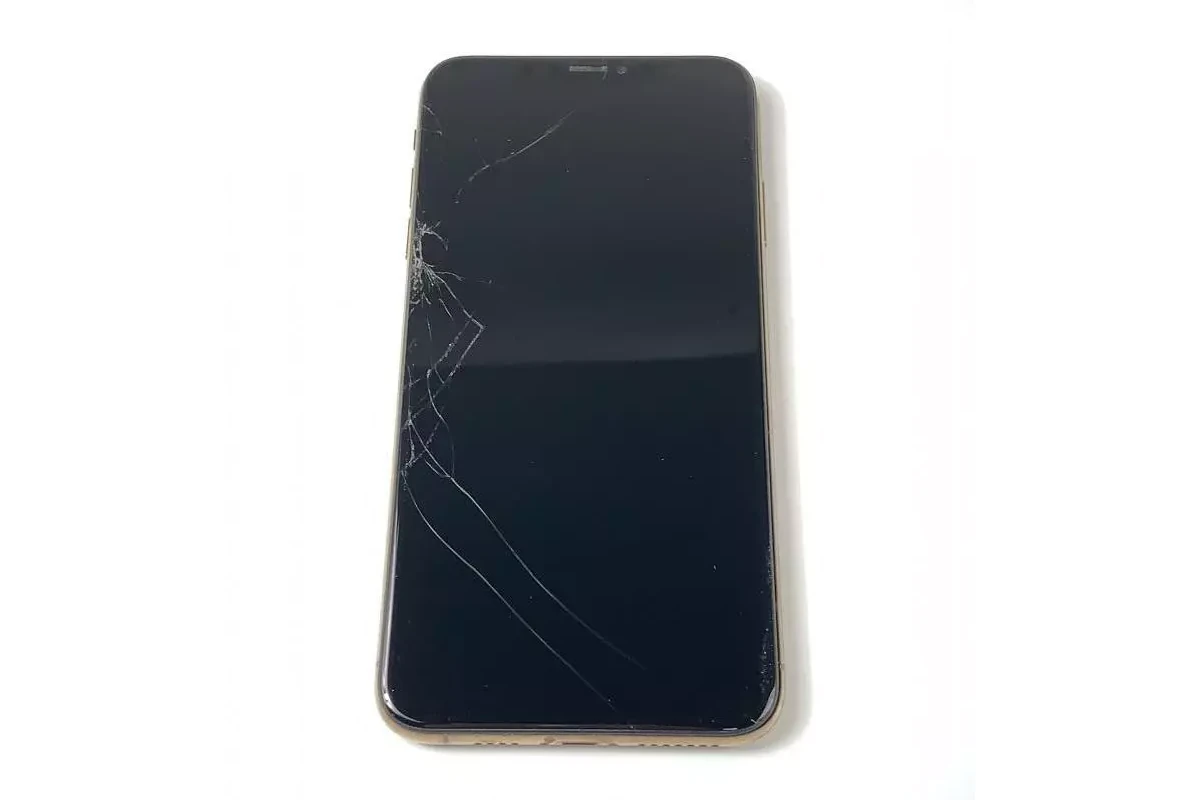
Fixing a cracked screen on an iPhone XS Max might seem daunting, but it’s a task that can be accomplished with the right guide. This guide will walk you through the process of replacing your iPhone XS Max screen, saving you from expensive repair services. Whether your screen is cracked, not responding to touch, or not displaying anything, you can restore your phone to perfect working order.
To start, you will need a few specialized tools and a new screen assembly. The steps involve removing the damaged screen, transferring certain components from the old screen to the new one, and carefully installing the new screen. By following the instructions thoroughly, even a novice can perform the repairs successfully.

Fixing Your iPhone XS Max Screen: A DIY Guide
Assessing the Damage
Before starting, check the severity of the damage. Minor cracks or scratches might not require a full screen replacement. However, if the display is unresponsive or shattered, you’ll likely need a new screen.
Gather Your Tools
You’ll need a few essential tools for the repair:
- Pentalobe screwdriver: To remove the bottom screws.
- Tri-wing Y000 screwdriver: To remove internal screws.
- Suction cup: To lift the screen.
- Plastic opening tools: To pry open the phone.
- Adhesive strips: To secure the new screen.
- New iPhone XS Max screen: Make sure it’s compatible with your device.
Step-by-Step Replacement
- Power off your iPhone: Safety first! Turn off your device before starting any repair.
- Remove the pentalobe screws: Use the pentalobe screwdriver to remove the two screws at the bottom of your iPhone.
- Apply heat: Use a heat gun or hair dryer to gently warm the edges of the screen. This will soften the adhesive.
- Open the phone: Carefully insert a plastic opening tool into the gap and gently pry up the screen. Use a suction cup for added leverage.
- Disconnect cables: Once the screen is lifted, you’ll see several cables connected to the logic board. Carefully disconnect them using a plastic tool.
- Remove the old screen: Remove any remaining adhesive and take out the old screen.
- Install the new screen: Place the new screen in position and reconnect the cables.
- Secure the screen: Apply new adhesive strips and press the screen firmly in place.
- Replace the screws: Reattach the pentalobe screws at the bottom.
- Power on: Turn on your iPhone and test the new screen.
Important Note
Replacing an iPhone screen requires precision and can be tricky. If you’re not confident, it’s best to seek professional help from an Apple Store or authorized repair shop.
Table: Repair Options
| Option | Pros | Cons |
|---|---|---|
| DIY Repair | Cheaper | Requires technical skills, risk of damage |
| Professional Repair | Expertise, warranty | More expensive |
Key Takeaways
- Learn to fix the iPhone XS Max screen yourself.
- Requires some specialized tools and careful handling.
- Restoring your device can save money and extend its life.
Screen Repair Procedure
This guide will walk you through the steps needed to replace the screen of an iPhone XS Max. It is crucial to have the right tools and follow the steps carefully to prevent further damage to the device. Let’s get started.
Preparing for the Repair
First, make sure you have all the tools needed: pentalobe screws, suction cup, heat gun, opening pick, spudger, tweezers, and Y000 screws. Gather the replacement parts like the OLED panel, front panel sensor assembly, and adhesive strips. Power off the iPhone XS Max and remove the SIM card with a paper clip or SIM-eject tool.
It’s also essential to work on a clean, well-lit surface to avoid losing any small parts. Keep your workspace organized with a parts tray or magnetic mat.
Disassembling the iPhone XS Max
Begin by removing the two pentalobe screws located near the lightning port. Next, use a heat gun to soften the adhesive seals around the edges of the screen for easier removal. Place the suction cup on the screen and gently pull up while carefully inserting an opening pick between the screen and the frame.
Move the pick along the edges to release the adhesive. Be gentle to avoid damaging the display cables inside. Once the screen is loose, lift it carefully from the back case, but do not detach it completely yet.
Removing the Damaged Screen
After opening the iPhone, carefully disconnect the battery to avoid short circuits. Then, remove the screws securing the metal shield covering the display connectors. Remove the shield and gently disconnect the OLED panel cable connector, digitizer cable connector, and front panel sensor assembly connector.
Detach the earpiece speaker, microphone, and front sensor assembly from the old screen. These components are necessary for proper functionality and must be transferred to the new screen.
Installing the New Screen
Prepare the new OLED panel by ensuring it is free from dust and debris. Reinstall the earpiece speaker, microphone, and front sensor assembly onto the new screen.
Gently attach the OLED panel cable connector, digitizer cable connector, and front panel sensor assembly connector. Make sure all connections are secure before continuing. This step is crucial to prevent issues like the touch screen not working properly.
Reassembling the Phone
Reattach the metal shield over the display connectors and secure it with the original screws. Carefully reconnect the battery.
Align the new screen with the frame of the iPhone XS Max and gently press down along the edges to resecure the adhesive. Replace the two pentalobe screws near the lightning port. Make sure the screen sits flush with the frame to maintain the phone’s waterproof seals.
Testing the New Screen
Power on the iPhone XS Max to test the new screen. Check for responsiveness, color accuracy, and brightness. Ensure the earpiece speaker, microphone, and front sensor assembly are functioning correctly.
If the screen does not respond or has display issues, recheck all the connections. If everything works, your phone is now repaired and ready for use.
By following these steps, you should be able to replace your iPhone XS Max screen successfully. If any issues arise, consider reaching out to an Apple Authorized Service Provider or a service such as Ubreakifix for professional help.
Frequently Asked Questions
This guide addresses common concerns about replacing a broken iPhone XS Max screen, including costs, the feasibility of restoring touch functionality, and necessary tools.
What are the steps to replace a broken iPhone XS Max screen?
To replace the screen, first, power off the device and remove the screws near the charging port. Use a suction cup to lift the screen, then carefully disconnect the cables. Replace the broken screen with a new one by reversing these steps.
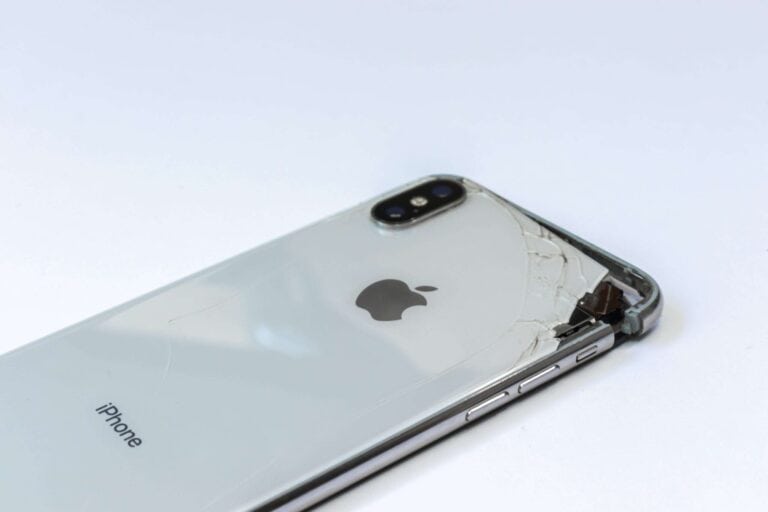
How do you perform an iPhone XS Max back glass replacement?
Replacing the back glass involves heating the adhesive to soften it. Use a plastic or metal tool to lift and remove the damaged glass. Apply adhesive to the new back glass and press it firmly into place.
Is it possible to fix the iPhone XS Max touch screen functionality?
Yes, if the touch screen is not responding, replacing the entire display assembly often resolves the issue. Ensure all connectors are secure when installing the new screen. If the problem persists, internal damage might be present.
What is the average cost to repair an iPhone XS Max screen?
The average cost for screen repair varies. DIY repair kits generally cost between $100 to $250, depending on the quality. Professional services may charge more, based on labor and parts used.
Can the iPhone XS Max screen be replaced with an original LCD?
Yes, it is possible to replace the screen with an original LCD. However, original parts are harder to find and usually more expensive. Ensure the part’s authenticity before purchasing.
What tools are needed for an iPhone XS Max screen repair and teardown?
For this repair, essential tools include a suction cup, plastic picks, a Phillips screwdriver, and a spudger. Additional tools like tweezers and adhesive strips can also be helpful for a more efficient repair process.

