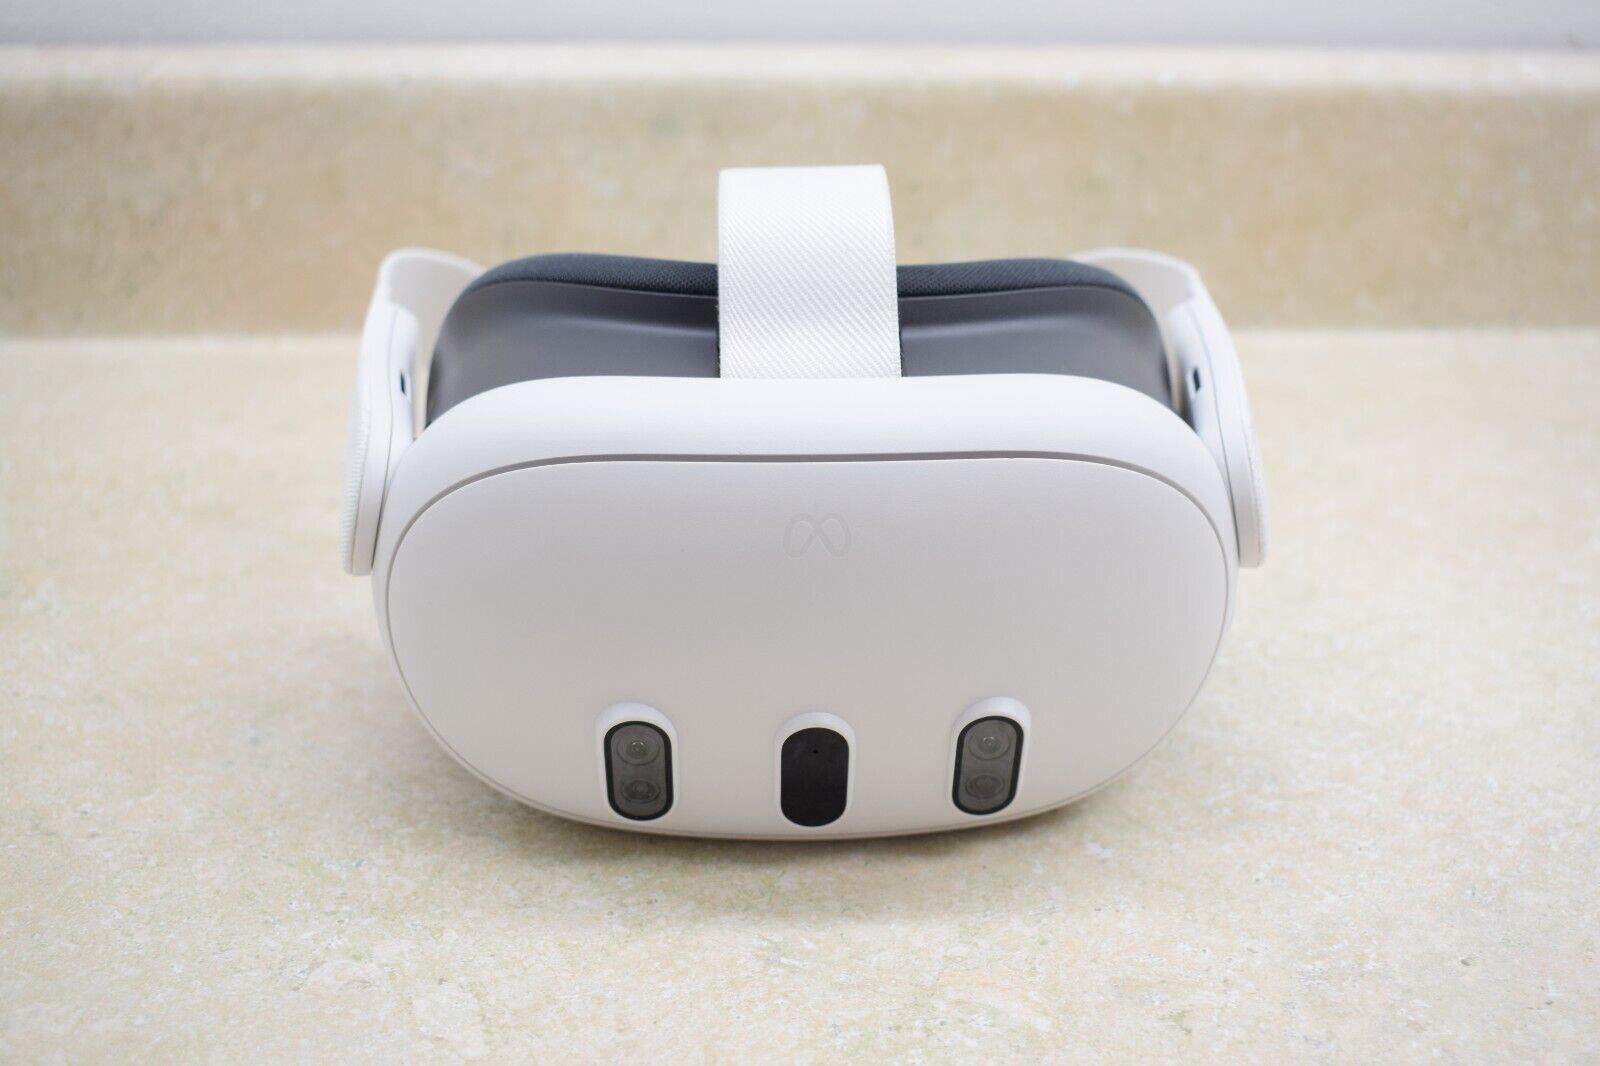
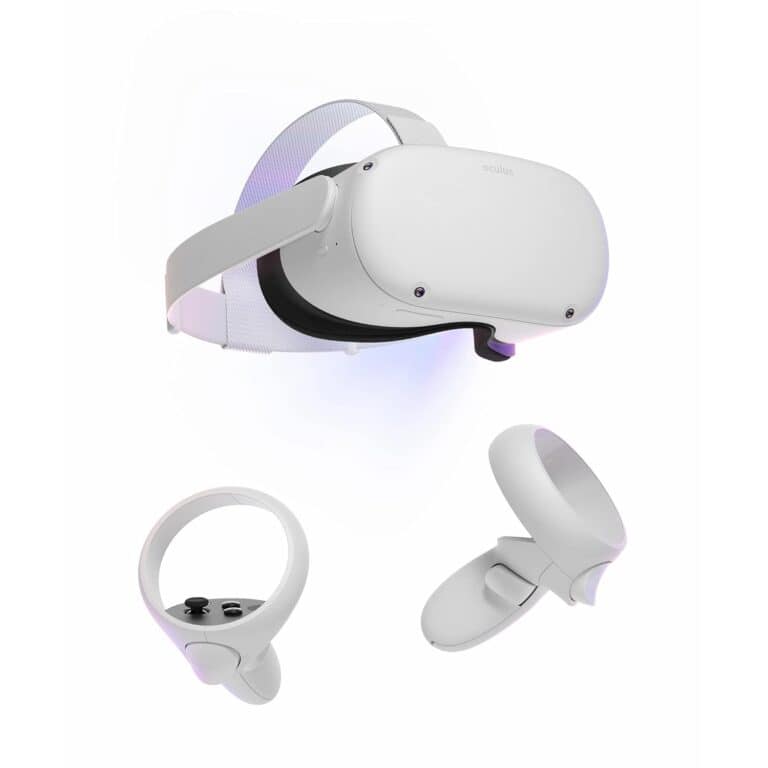
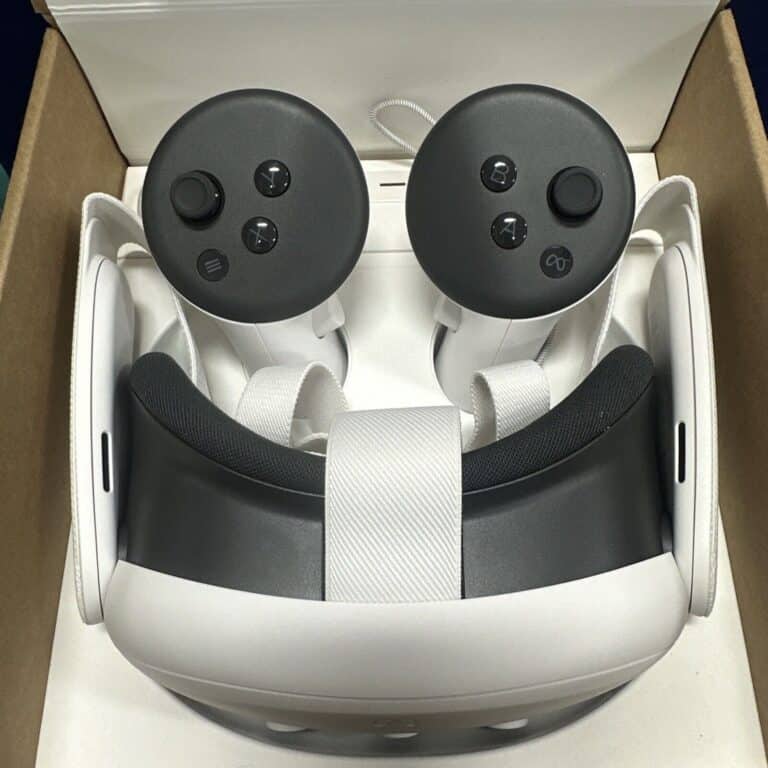
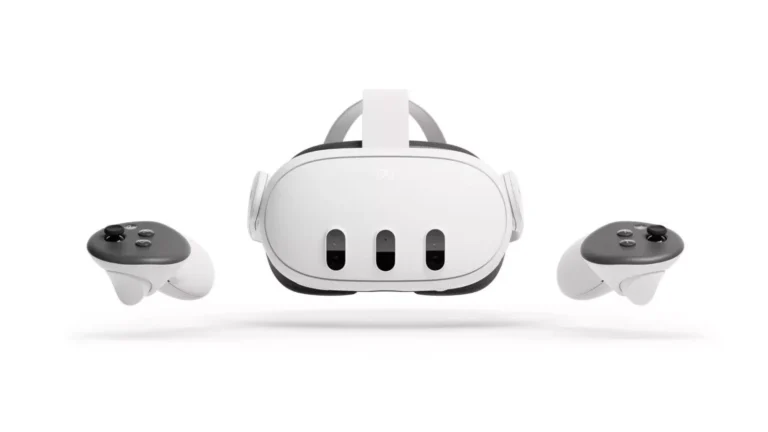
The Meta Quest 3 works as both a standalone headset and a way to access PC VR. Many want the bigger library of PC VR games and the extra power a computer provides. You can connect the Quest 3 to a PC with a USB-C cable, Air Link over Wi-Fi, or Virtual Desktop software.
Each method has its own setup steps and requirements. A wired USB 3.0 cable gives a stable connection, while Air Link and Virtual Desktop let the headset connect wirelessly if the network is strong. These options make it possible to switch between standalone VR and PC VR without much hassle.
Knowing the right steps helps avoid common issues and saves time. With the right setup, the Quest 3 can deliver smooth VR gaming whether it runs on its own or through a computer.
✅ Requirements
Before you begin, make sure you have:
- A Windows PC with a VR-ready GPU (NVIDIA GTX 1060 or higher recommended).
- The Meta Quest app installed on your PC (download here).
- A USB-C cable (for wired connection) or a Wi-Fi 6/6E router (for wireless).
- Your Quest 3 headset fully charged.
🔌 Option 1: Wired Connection (Meta Quest Link Cable)
This method gives the most stable performance.
- Install the Meta Quest PC app on your computer.
- Connect your Quest 3 to your PC using a USB-C cable (ideally 5Gbps+).
- Put on your headset → Accept the “Enable Link” prompt.
- In the PC app, go to Devices → Add Headset → Quest 3 → Link (Cable).
- Launch the Oculus PC library or open SteamVR to play PC VR games.
📶 Option 2: Wireless Connection (Air Link)
This is the most popular method for freedom of movement.
- Make sure your PC and Quest 3 are on the same Wi-Fi network (preferably Wi-Fi 6/6E, 5 GHz band).
- Open the Meta Quest app on your PC and enable Air Link in the settings.
- On your headset:
- Go to Quick Settings → Settings → System → Quest Link → Air Link.
- Select your PC from the list and click Pair.
- Once paired, launch Air Link → You’ll see your PC desktop in VR.
- Open SteamVR or Oculus PC games directly.
🖥️ Option 3: Wireless with Virtual Desktop (Alternative)
Some users prefer Virtual Desktop (purchased from the Quest Store) for smoother streaming.
- Install Virtual Desktop on your Quest 3.
- Install the Virtual Desktop Streamer app on your PC.
- Launch Virtual Desktop in your headset → Connect to your PC.
- Start SteamVR from within Virtual Desktop.
⚡ Tips for Best Performance
- Use Ethernet to connect your PC to the router (reduces latency).
- Keep the headset close to the router for strong Wi-Fi signal.
- Enable 120 Hz refresh rate in Quest settings for smoother gameplay.
- Adjust render resolution in the Oculus PC app for better visuals.
🎮 Start Exploring PC VR
Once connected, your Quest 3 becomes a full-fledged PC VR headset. You can:
- Play SteamVR titles (via Steam).
- Access Oculus Rift PC games from the Oculus library.
- Use VR productivity apps, simulators, and mods.
✨ With just a few steps, your standalone Quest 3 transforms into a powerful PC VR headset, giving you access to the best VR experiences available today
Key Takeaways
- The Quest 3 connects to PC with cable or wireless options
- Each method has different requirements and benefits
- Proper setup ensures smooth VR gaming on PC
The Meta Quest 3 is a fantastic standalone headset, but when connected to a gaming PC, it can run PC VR titles like Half-Life: Alyx, Asgard’s Wrath 2 (PC version), or any SteamVR game with higher fidelity graphics and performance. You can connect in two ways: wired (Link cable) or wireless (Air Link / third-party apps like Virtual Desktop).
Frequently Asked Questions
Users can connect the Meta Quest 3 to a PC through a wired USB-C cable, wireless Air Link, or third-party apps like Virtual Desktop. Each method requires specific setup steps, software, and in some cases, meeting certain system requirements.
What steps are required to set up a wireless connection for the Meta Quest 3 to a PC?
Enable Air Link in the Meta Quest settings on the headset. Make sure the PC and headset share the same high-speed Wi-Fi network. Pair the headset with the PC through the Meta Quest software, then confirm the connection inside the headset.
Can you use Meta Quest Link to connect the Quest 3 to a PC, and if so, how?
Yes, Meta Quest Link works with a USB-C cable. Install the Meta Quest software on the PC, connect the headset with the cable, and allow the connection when prompted in the headset. This method provides stable performance with low latency.
Is there a specific cable needed to connect the Quest 3 to a PC, and what is the setup process?
A high-quality USB-C cable that supports USB 3.0 or higher is required. Plug one end into the headset and the other into a USB 3.0 port on the PC. Once connected, the Meta Quest software will detect the headset and complete setup.
How do you download and install the Meta Quest app on a PC?
Go to the official Meta website and download the PC version of the Meta Quest software. Run the installer, follow the on-screen instructions, and log in with a Meta account to finish setup.
What are the system requirements for running the Meta Quest app on a PC?
The PC should meet minimum VR specifications. A compatible Windows 10 or newer system, a modern graphics card such as NVIDIA GTX 1060 or better, at least 8GB of RAM, and a USB 3.0 port are typically required. A stable internet connection is also needed.
How can I use the Meta Quest Remote Desktop feature with my Quest 3?
Install the Meta Quest Remote Desktop app on the PC. Open the app in the headset and select the PC from the list of available devices. Once connected, the headset can access the desktop environment wirelessly.

