Applying thermal paste may look like a small step in PC building, but it plays a major role in keeping a processor cool and stable. Thermal paste, also called thermal compound or TIM, fills tiny gaps between the CPU’s integrated heat spreader and the cooler’s base. The correct way to apply thermal paste is to place a small amount on the CPU surface so the cooler can spread it evenly for efficient heat transfer.
Without proper application, heat cannot move effectively from the processor to the heatsink, which can cause higher CPU temperatures, throttling, or even system instability. Different CPUs, such as Intel and AMD models, may require slightly different application patterns, but the principle stays the same: use enough paste to cover the surface without creating excess that spills over.
Anyone replacing a cooler, upgrading a CPU, or troubleshooting overheating will benefit from knowing how to apply thermal paste correctly. This simple step ensures the cooling system works as intended and helps extend the life and performance of the computer.
🧰 What You’ll Need
- CPU (installed in motherboard socket)
- CPU cooler (air cooler or liquid cooler block)
- Thermal paste (new, good quality)
- Isopropyl alcohol (90% or higher) + microfiber cloth or coffee filter (for cleaning)
- Lint-free paper towel or cotton swab
- Small plastic card (optional, for spreading method)
⚠️ Before You Start
- Work on a clean, static-free surface.
- If reapplying paste, remove the old paste first (see Step 1).
- Don’t use too much paste — it can spill over the edges and trap heat.
📝 Step-by-Step Guide
Step 1: Clean the CPU & Cooler Surface
- If old paste is present, gently wipe it off with a paper towel.
- Apply a few drops of isopropyl alcohol to a microfiber cloth or coffee filter.
- Wipe the CPU heat spreader (the metal top) and the cooler base until shiny and residue-free.
- Let them dry completely.
Step 2: Apply the Thermal Paste
There are several methods, but the pea-sized dot method is the most common and effective:
- Hold the thermal paste syringe vertically.
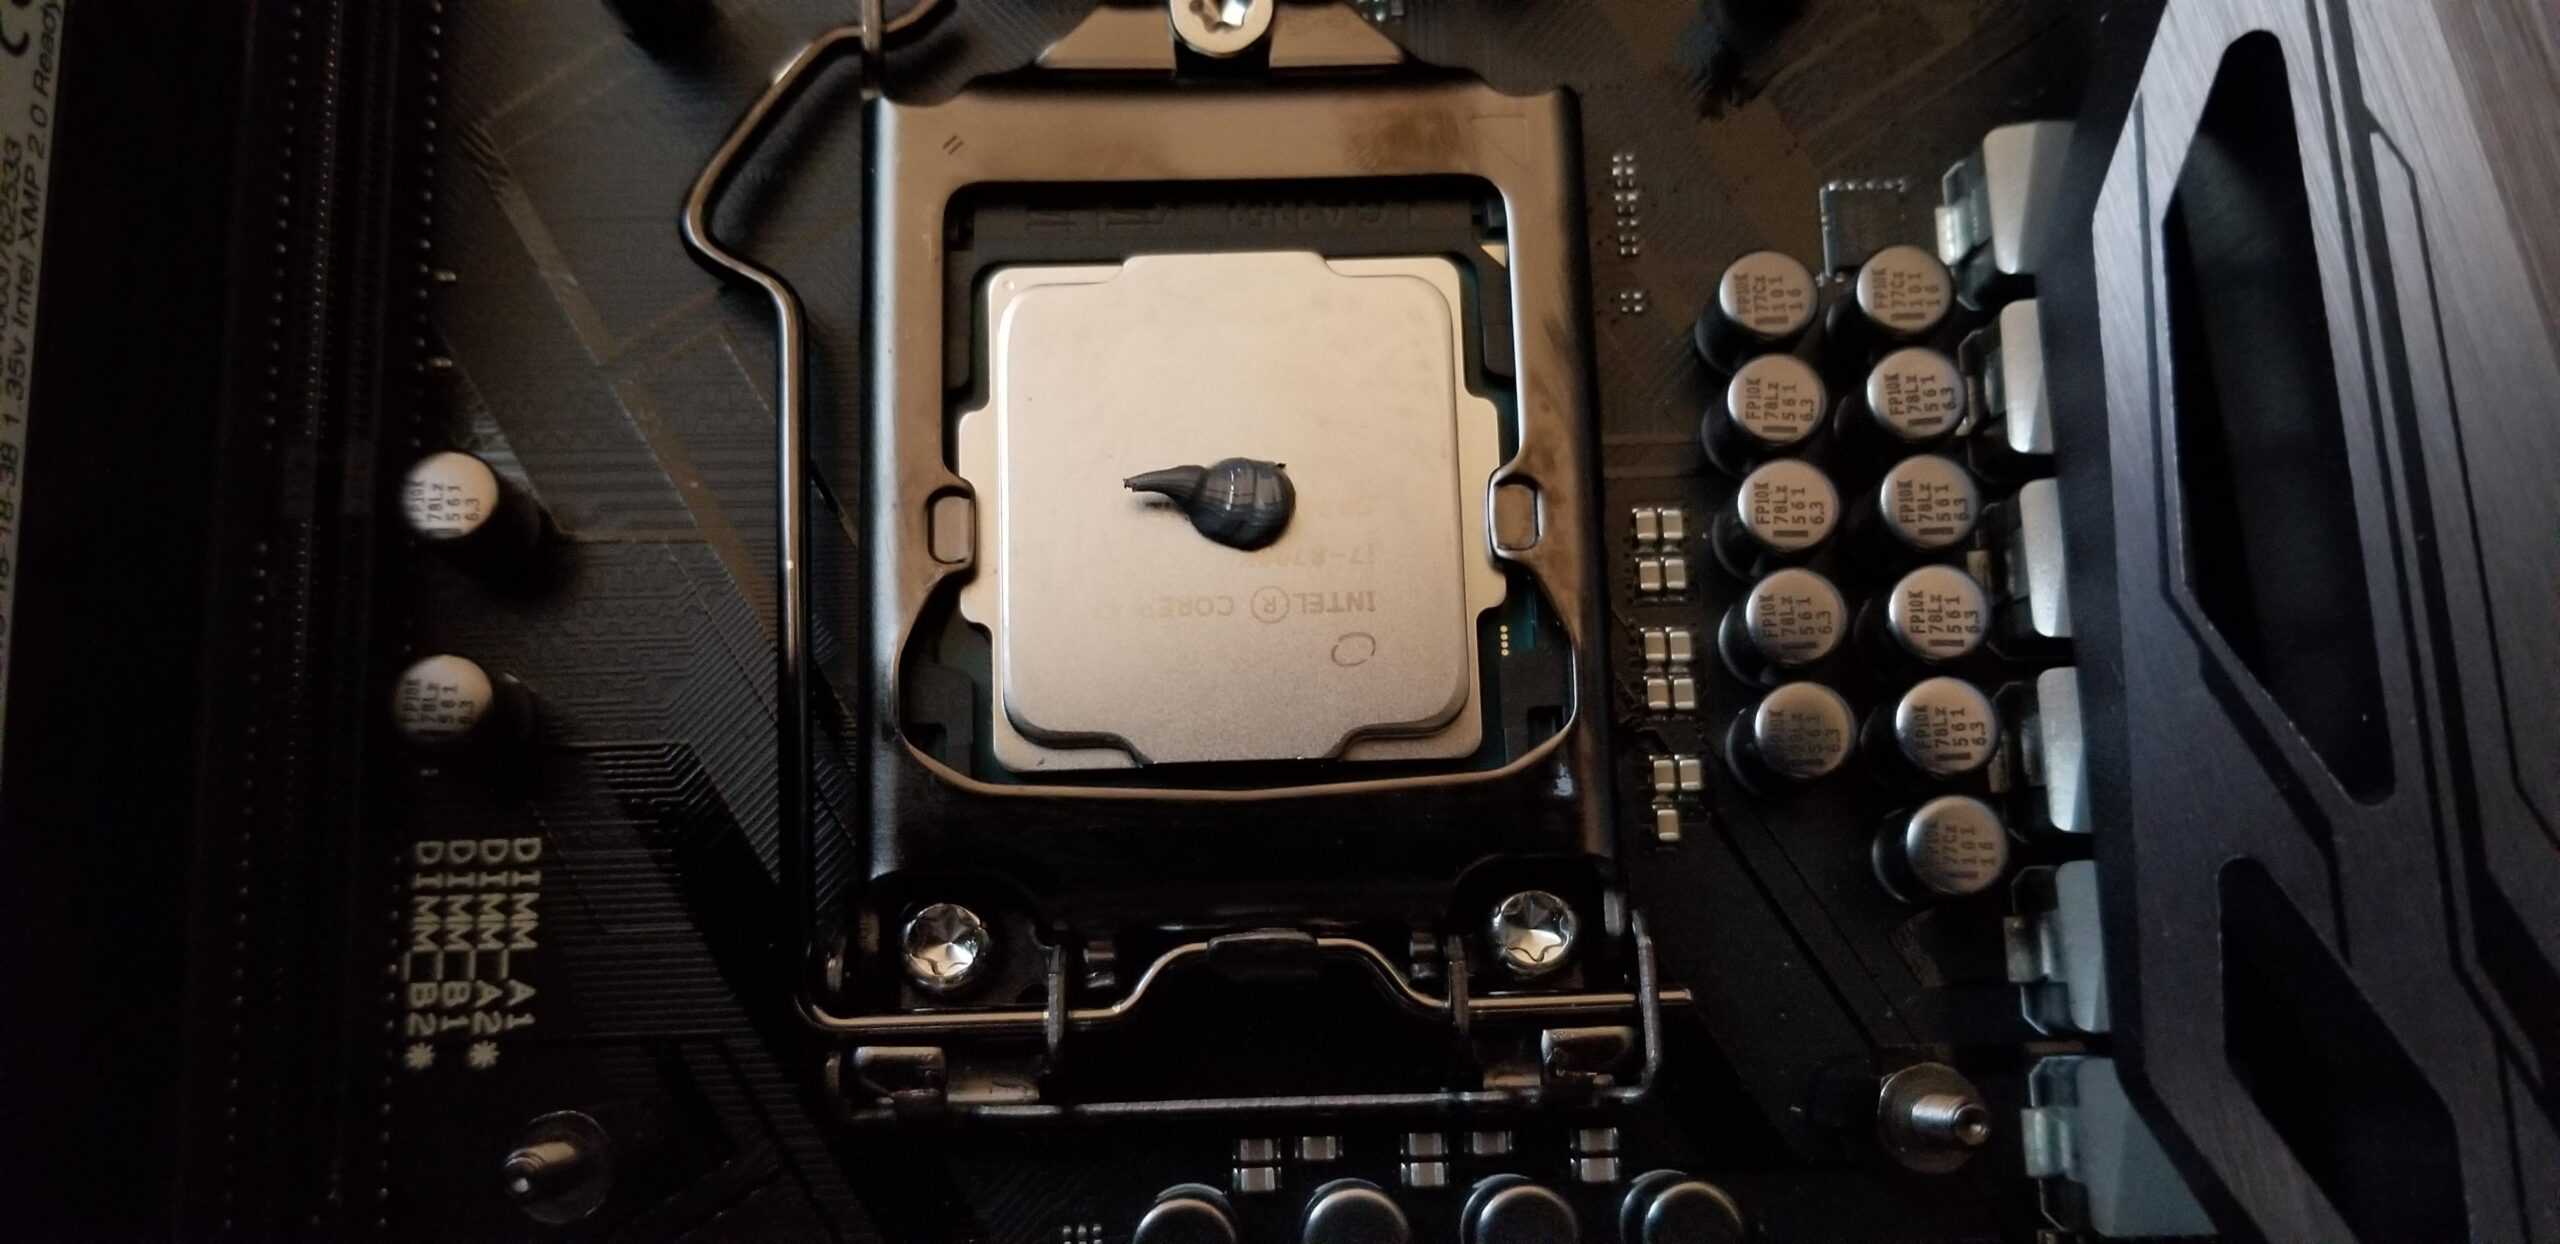
- Squeeze out a small pea-sized dot (about 4–5mm across) in the center of the CPU.
- For large CPUs (like AMD Threadripper), use a thin line or several small dots instead.
💡 Why this works: When the cooler is mounted, pressure spreads the paste evenly across the CPU surface.
Step 3: Mount the Cooler
- Carefully align your CPU cooler over the CPU.
- Lower it straight down — avoid sliding it around too much.
- Secure the cooler using its mounting brackets or screws, tightening in a cross pattern (diagonal sequence) for even pressure.
Step 4: Check Your Work
- You don’t need to remove the cooler to check — if mounted correctly, the paste will spread evenly.
- Boot into BIOS or use monitoring software (like HWMonitor, HWInfo, or Ryzen Master) to check CPU temps.
- Idle temps should usually be 30–45°C (depends on CPU/cooler/room temp).
🔄 When to Reapply Thermal Paste
- Every 2–3 years for most PCs.
- Anytime you remove the cooler.
- If you notice unusually high CPU temperatures.
✅ Quick Tips
- Less is more: Too much paste can insulate rather than conduct.
- Don’t spread with your finger: Oils and dirt can contaminate the paste.
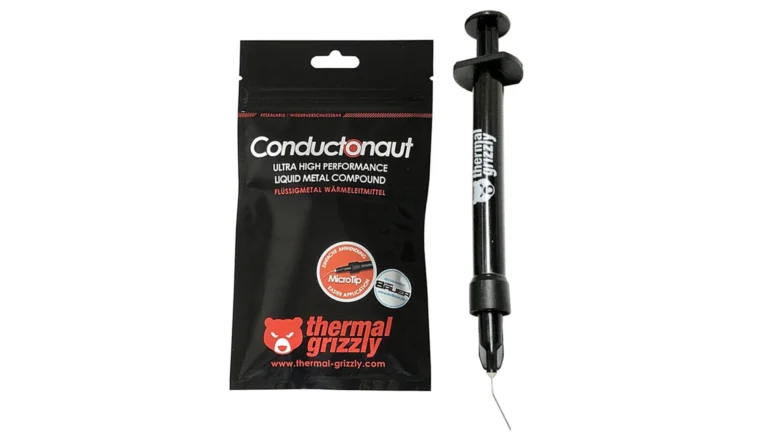
- Use quality paste: Arctic MX-6, Noctua NT-H1, or Thermal Grizzly Kryonaut are popular choices.
⚡ Bottom line: A pea-sized dot in the center, mount the cooler evenly, and you’re good to go.
Key Takeaways
- Thermal paste improves heat transfer between the CPU and cooler
- Correct application prevents overheating and stability issues
- Different CPUs may need slightly different application methods
Frequently Asked Questions
Applying thermal paste requires the right amount, correct placement, and clean surfaces. Using proper techniques helps ensure efficient heat transfer and stable CPU performance.
What is the recommended method for applying thermal paste to a CPU?
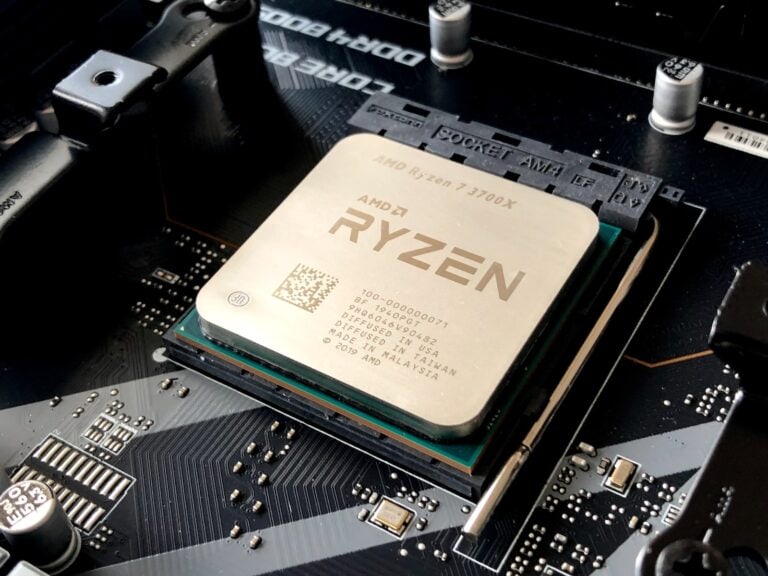
Most CPUs work best with a small dot of paste in the center. Intel’s newer rectangular chips may need a center dot plus smaller dots near the corners. AMD’s AM5 and older AM4 chips usually only need a single center dot. Large CPUs like Threadripper require multiple dots to cover the surface.
Should thermal paste be applied to the CPU or the heatsink?
Thermal paste should be applied to the CPU’s heat spreader. The cooler’s base will spread the paste when mounted. Some coolers come with paste pre-applied to the heatsink, which is also fine to use if installed correctly.
How much thermal paste is necessary for optimal CPU performance?
A pea-sized dot, about 3–4mm, is enough for most CPUs. Using too much can cause spillage onto the motherboard. Using too little can leave gaps that reduce heat transfer.
What are the steps to properly remove old thermal paste from a CPU?
First, power down and disconnect the system. Remove the cooler and wipe away old paste with a lint-free cloth. Use isopropyl alcohol (90% or higher) on the cloth to clean both the CPU and cooler surfaces. Allow them to dry before applying new paste.
Can the same techniques for applying thermal paste to a CPU be used for a GPU?
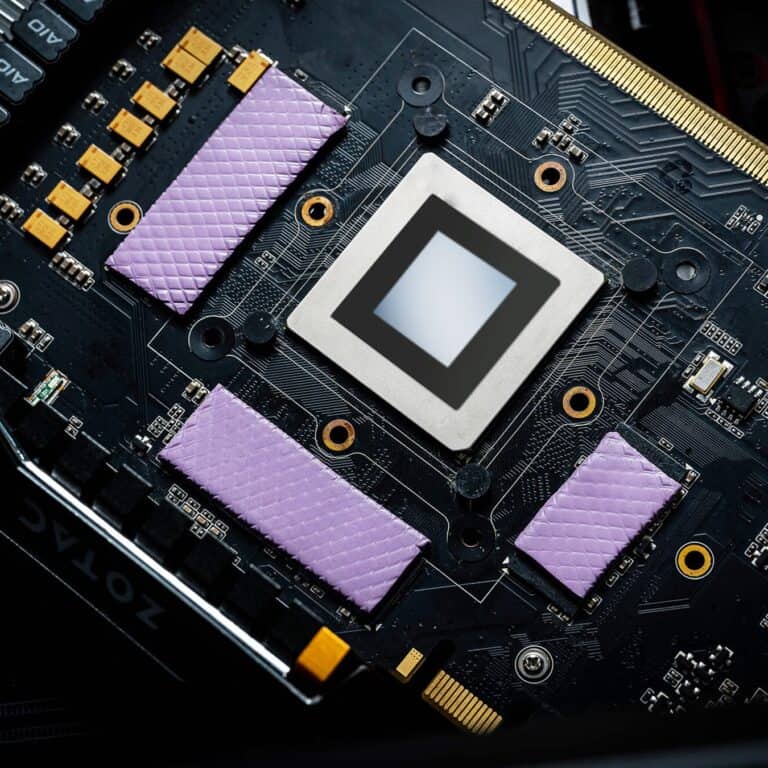
Yes, the same dot method works for most GPUs since they also use a flat heat spreader. However, GPU dies are often smaller, so use less paste. Always check the cooler design, as some GPUs may have unique layouts.
What are the characteristics of high-quality thermal paste for CPU cooling?
Good thermal paste has high thermal conductivity, is non-conductive electrically, and spreads evenly under pressure. It should not dry out quickly and should be easy to clean. Popular options include ceramic or silicone-based pastes for general use, while liquid metal is best left to advanced users.

