Thermal paste plays a crucial role in preventing your processor and graphics card from overheating by efficiently transferring heat. While it starts working immediately after application, some thermal pastes can improve their performance over a few days as they settle and air bubbles dissipate. Unlike a cake needing time to cool, most modern thermal pastes require little to no curing time, so you can use your computer right away.
This guide explains what “settling” means, the types of thermal paste, and best application practices to help you maximize cooling efficiency.
What is Thermal Paste and Why is it Needed?
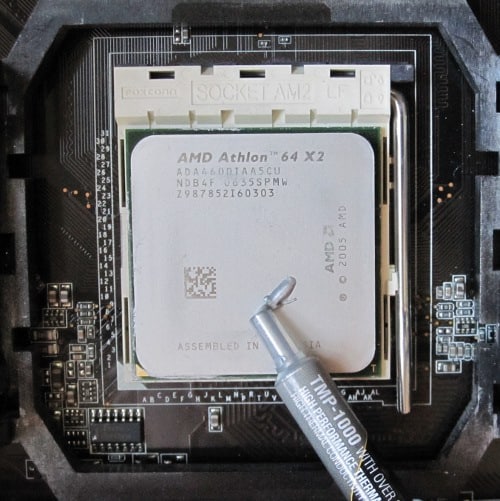
Thermal paste, also known as thermal compound or thermal grease, is a substance applied between a CPU (or GPU) and its heatsink. The purpose of thermal paste is to fill the microscopic gaps and imperfections on the surfaces of both the processor and the heatsink. Without it, these tiny air pockets would act as insulators, hindering heat transfer. By filling these gaps, thermal paste creates a more efficient path for heat to travel from the CPU to the heatsink, which then dissipates the heat away from the component.
The “Settle” or “Cure” Myth
The idea that thermal paste needs to “settle” is largely a misconception rooted in older formulations. In the past, some thermal pastes had a much thicker, more viscous consistency. It was believed that running the system under load for a few hours would heat up the paste, causing it to become more fluid and spread more evenly, thus filling any remaining microscopic voids.
However, modern thermal pastes are designed to be much more effective from the moment they are applied. They are engineered to have a low viscosity and high thermal conductivity, so they fill the gaps effectively as soon as the heatsink is mounted and pressure is applied.
Different Types of Thermal Paste
The concept of a settling time can vary slightly depending on the type of thermal paste you use.
- Standard Thermal Paste (Silicone-based): These are the most common and affordable types. They have a consistency that allows for easy spreading and require no settling time.
- Carbon-based Thermal Paste: These pastes, often containing microscopic carbon particles, offer excellent thermal conductivity. Like silicone-based pastes, they don’t require a settling period.
- Liquid Metal Thermal Paste: This type is a high-performance option, but it’s also electrically conductive and can be challenging to apply. While it offers superior thermal transfer, it also doesn’t have a settling time. The key with liquid metal is careful application to avoid short-circuiting components. It’s generally not recommended for beginners.
- Phase-Change Pads: These are pre-formed pads that are solid at room temperature but become fluid when heated. While not a paste in the traditional sense, they do require the first few heat cycles to properly melt and fill the gaps. The initial heating and cooling cycles will “set” the pad, after which it performs at its best.
Best Practices for Applying Thermal Paste
Since a settling period isn’t necessary, your focus should be on proper application to ensure maximum performance.
- Clean the Surfaces: Before applying new thermal paste, make sure both the CPU and the heatsink surfaces are completely clean. Use a lint-free cloth and a cleaning solution like 90% isopropyl alcohol or a dedicated thermal paste remover.
- Use a Small Amount: A common mistake is to apply too much paste. A pea-sized or grain-of-rice-sized dot in the center of the CPU is generally sufficient. The pressure from the heatsink will spread it out evenly.
- Mount the Heatsink Correctly: Follow the manufacturer’s instructions for mounting the heatsink. Apply even pressure and ensure all screws or clips are securely fastened. This pressure is what ensures the paste spreads correctly and fills the gaps.
- Run a Temperature Test: After installation, it’s a good idea to run a program like HWMonitor or Core Temp to check your CPU temperatures under both idle and load conditions. This will confirm that the paste was applied correctly and the cooling system is working as intended.
In summary, for the vast majority of thermal pastes on the market today, you can power on your computer and begin using it immediately after installation. The effectiveness of the paste depends on proper application and a secure heatsink mounting, not on a waiting period.
Settling Time for Thermal Paste
High-Quality Pastes: Instant
For high-quality thermal pastes like Arctic MX-4 or Thermal Grizzly Kryonaut, you’ll experience optimal performance almost immediately. There’s no curing or settling period needed for these pastes. Once applied correctly, they effectively transfer heat from your CPU or GPU to the heatsink.
Lower-Quality Pastes: A Waiting Game
Lower-quality thermal pastes, however, might require a settling period. This is often due to a curing process where the paste’s consistency changes slightly as it heats up and cools down. The settling time can range from a few hours to a couple of days.
Burn-In Period: The Key to Peak Performance
While high-quality pastes work well right away, even they might benefit from a “burn-in” period. This involves running your computer under load (e.g., gaming or stress testing) for a few hours to allow the paste to fully spread and fill any microscopic air gaps.
Monitoring Temperatures: A Practical Approach
The best way to determine if your thermal paste has settled is to monitor your CPU or GPU temperatures. Use software like HWMonitor or Core Temp to track temperatures during idle and load scenarios. If temperatures stabilize after a few hours of use, your thermal paste is likely settled and working optimally.
Reapplication: When and Why
Thermal paste doesn’t last forever. Over time, it can dry out or lose its effectiveness. Generally, you should consider reapplying thermal paste every 3-5 years, or sooner if you notice a significant increase in temperatures.
Table: Settling Times for Popular Thermal Pastes
| Thermal Paste | Settling Time |
|---|---|
| Arctic MX-4 | None |
| Thermal Grizzly Kryonaut | None |
| Noctua NT-H1 | None |
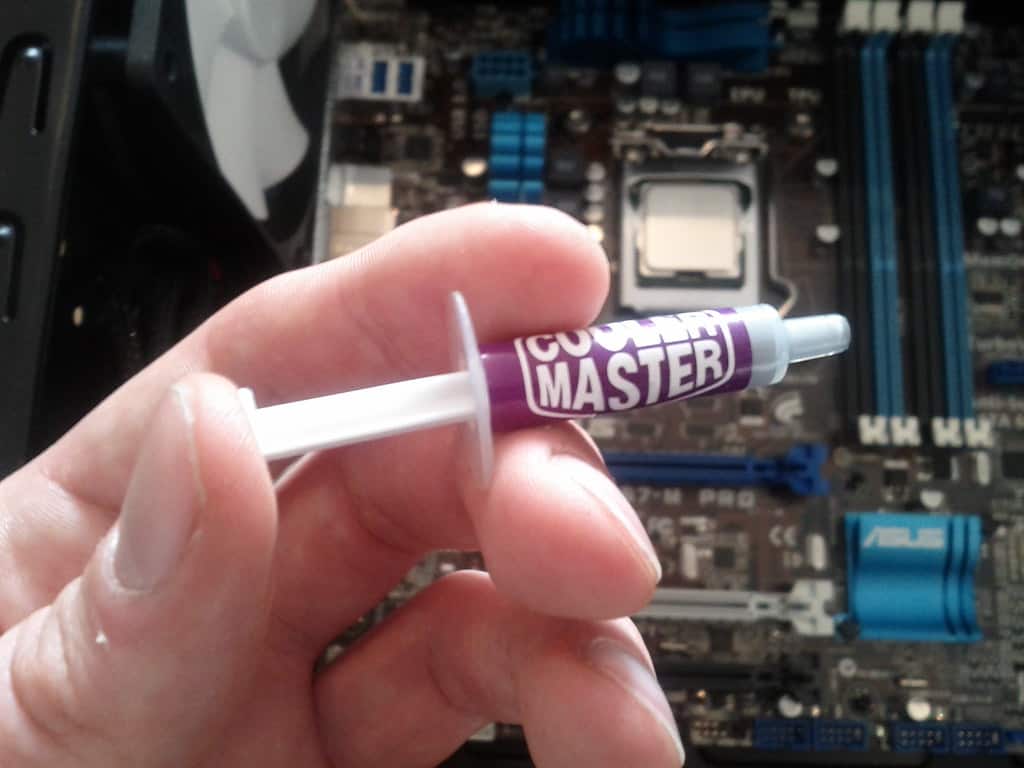
| Cooler Master MasterGel Maker | None |
| Arctic Silver 5 | Up to 200 hours |
Thermal Paste Curing Process
1. The Quick Overview
- Thermal paste starts working immediately to bridge the microscopic gaps between your CPU and cooler.
- However, a curing time allows it to reach peak thermal conductivity for the most efficient heat transfer.
2. What’s Curing Time?
- It’s the time needed for thermal paste to fully settle and achieve its best possible heat transfer capabilities.
Expert Insight: “Think of the paste’s initial application like spreading butter. Curing time allows those microscopic air bubbles to work out, making that contact even smoother.” – Linus Sebastian, Linus Tech Tips

3. Typical Curing Time
| Paste Type | Typical Curing Time |
|---|---|
| High-Quality Ceramic | Hours to Days |
| Metal-Based | Days to Weeks |
| Carbon-Based | Varies by Formula |
- Important: Always refer to the manufacturer’s instructions for your specific paste.
4. Factors Affecting Curing Time
- Composition: Materials in the paste (ceramic, metal, carbon) play a role.
- Heat Cycles: Regular computer use speeds up curing due to heating and cooling phases.
- Application Amount: A thin, even layer cures faster than excess paste.
5. When to Reapply
- Degradation: Thermal paste loses effectiveness over time due to drying out.
- Temperature Spikes: If CPU temperatures rise unexpectedly, consider reapplication.
- Maintenance: Reapply every 2-3 years for optimal performance, even without issues.
- Some enthusiast-grade pastes can take up to 200 hours of regular use to fully cure.
- Overly thick paste application can significantly hinder curing and heat transfer.
6. Conclusion: Patience Pays Off
Applying thermal paste is a small but crucial step in PC building and maintenance. Understanding curing time ensures you get the most out of your cooling system and protect your CPU’s longevity.
FAQs
Q: Do all pastes need curing?
A: Most do, but always check the product information.
Q: Can I use my computer right away?
A: Yes, but performance may improve over time.
Q: How do I know if I’ve used the right amount of paste?
A: Aim for a pea-sized amount in the CPU’s center. See visual guides online.
Q: Can I mix pastes?
A: Not recommended due to potential incompatibility.
Q: Does thermal paste expire?
A: Yes, even unopened. Check expiration dates.


