Managing files effectively is one of the most important parts of using a Mac. Whether you’re a casual user who just needs to keep documents organized, or a power user juggling large projects, understanding how file management works on macOS can save you time and frustration.
This guide will walk you through the built-in file manager on Mac, introduce advanced options, and compare third-party alternatives.
What Is the Default File Manager on Mac?
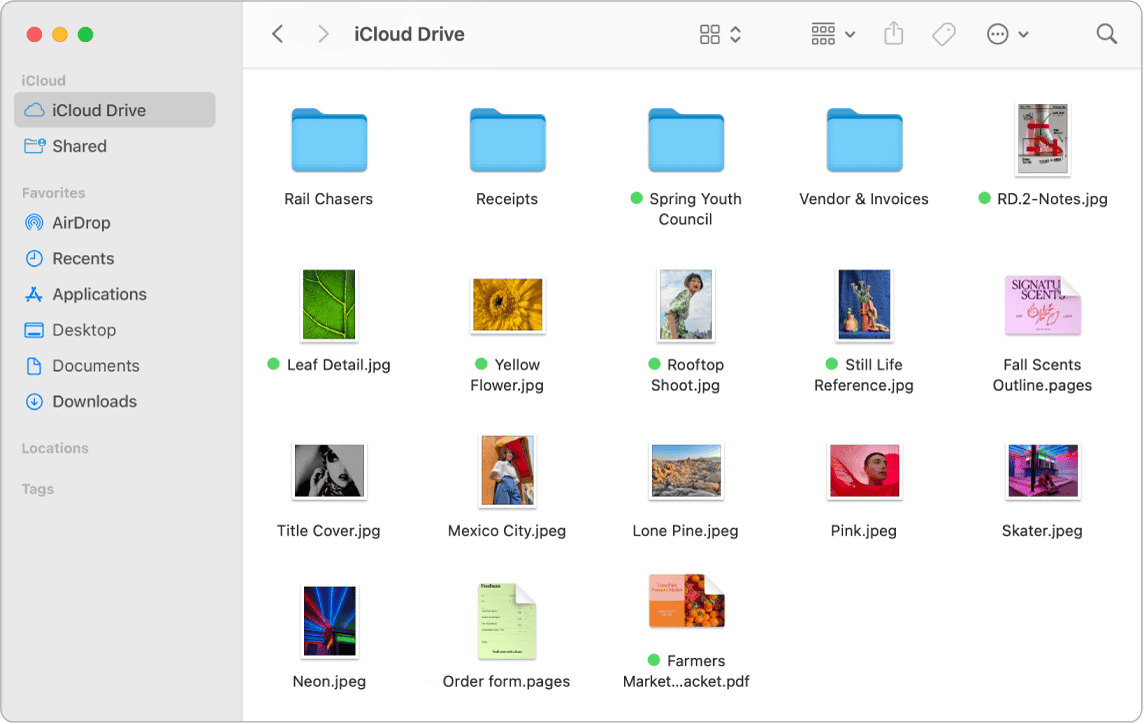
On macOS, the built-in file manager is called Finder. It’s the central hub for browsing, organizing, and managing files, folders, and drives. Finder is always running in the background and can be accessed by clicking the smiling blue-and-white face icon in the Dock.
Key Features of Finder:
- Sidebar Navigation – Quick access to Desktop, Documents, Downloads, Applications, and external drives.
- Multiple Views – Choose between Icon, List, Column, and Gallery views to suit your workflow.
- Search with Spotlight – Quickly find files by name, type, or content.
- Tags & Smart Folders – Organize files with color-coded tags and create dynamic folders that update automatically.
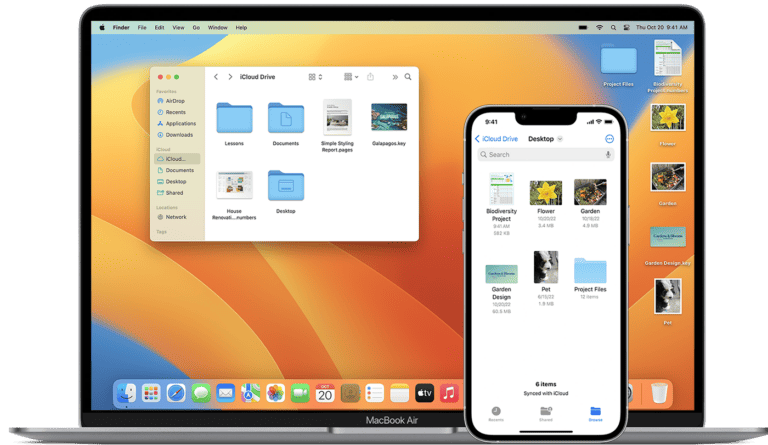
- iCloud Integration – Sync and access your files across Mac, iPhone, and iPad.
How to Browse the File System on a Mac
If you’re coming from Windows, Finder may feel different from File Explorer. Here’s how to get around:
- Open Finder – Click the Finder icon in the Dock.
- Show Your Hard Drive – Go to Finder > Preferences > General and select Hard disks to display your Mac’s drive on the desktop (source: SuperUser).
- Navigate with Column View – This view is especially useful for seeing the folder hierarchy, similar to Windows Explorer’s tree view.
- Use Go Menu – The Go menu in Finder lets you jump to important directories like Library, Utilities, or even a custom folder path.
Advanced File Management with Terminal
For users comfortable with command-line tools, macOS includes Terminal. Using commands like ls, cp, mv, and rm, you can manage files with precision. Developers often use Apple’s FileManager API for programmatic access to files and directories (source: Apple Developer Docs).
Best Third-Party File Managers for Mac
While Finder is powerful, some users prefer alternatives that offer more customization, dual-pane layouts, or advanced automation. Here are popular options:
- Path Finder – A feature-rich Finder replacement with dual-pane browsing, folder merging, and advanced search.
- Commander One – A dual-pane file manager inspired by Total Commander, great for power users.
- ForkLift – Combines local file management with robust FTP, SFTP, and cloud storage integration.
- muCommander – A free, open-source dual-pane file manager.
- Folders – A Windows-like file manager with tree view navigation (source: Reddit).
Tips for Better File Management on Mac
- Use Tags – Color-code files by project or priority.
- Leverage Smart Folders – Automatically group files by type, date, or keyword.
- Enable iCloud Drive – Keep important files synced across devices.
- Try Automations – Tools like Hazel can automatically sort, rename, or archive files based on rules.
Conclusion
The default Finder app is more than enough for most Mac users, offering intuitive navigation, powerful search, and seamless iCloud integration. However, if you need advanced features like dual-pane browsing, FTP support, or automation, third-party file managers can take your workflow to the next level.
Whether you stick with Finder or explore alternatives, mastering file management on Mac will make your digital life more organized and efficient.
✅ Next Step: If you’re new to Mac, start by customizing Finder’s sidebar and experimenting with different views. Power users should try Path Finder or Commander One for a productivity boost.


