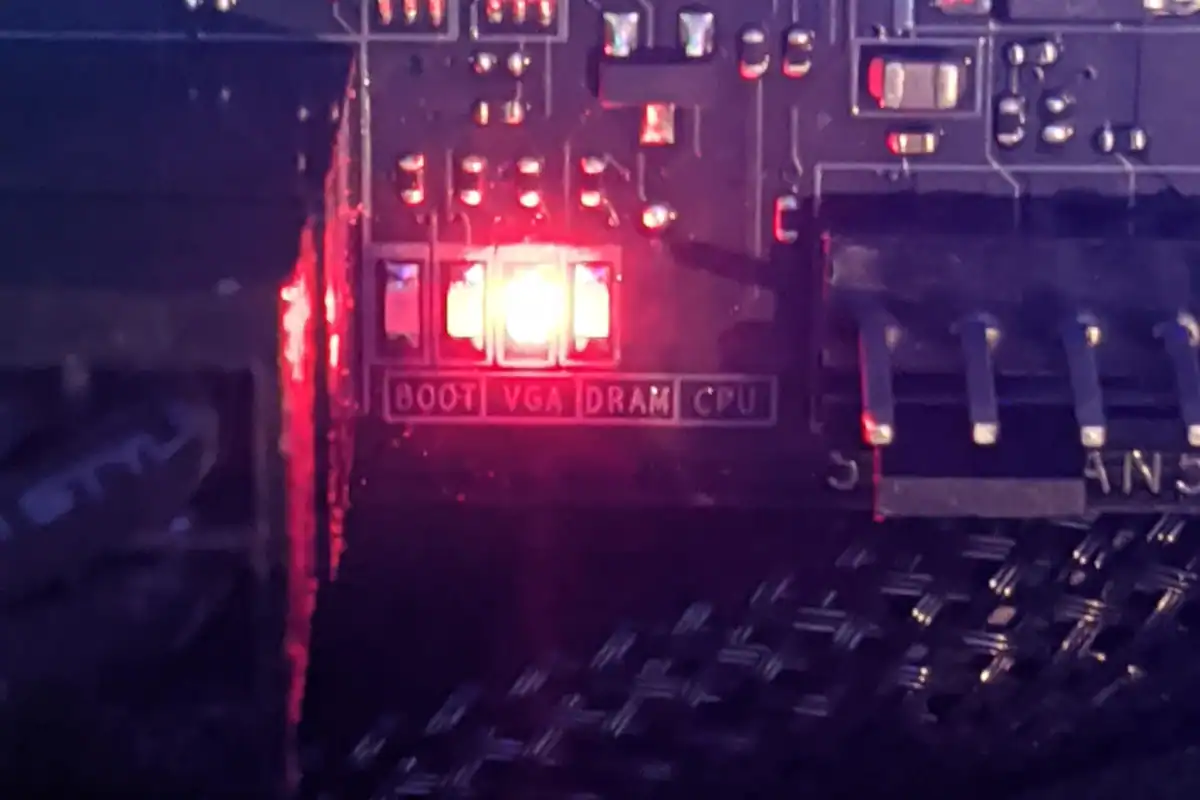
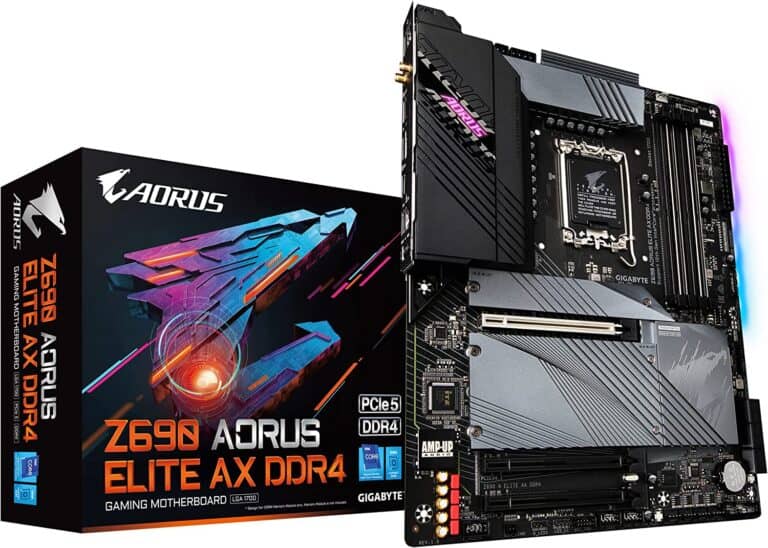
A glowing VGA light on your motherboard paired with a black screen can stop your computer dead in its tracks. This light serves as your motherboard’s way of telling you something has gone wrong with your graphics card or its connection. The VGA light on a motherboard signals a graphics card issue, which can stem from loose connections, improper seating, power problems, or hardware failure.
Most users panic when they see this light, but the problem often has simple fixes. The graphics card might just need to be reseated properly, or a cable connection could be loose. Sometimes dust buildup or BIOS settings cause the issue.
This guide walks through the most effective solutions to get your display working again. You’ll learn how to identify the root cause and fix it step by step. Most VGA light problems can be solved at home without professional help.
VGA Light on Motherboard and No Display
If your PC powers on but shows no display and the VGA light on your motherboard stays lit, it indicates a problem related to your graphics output. The VGA light is a diagnostic LED that signals issues with the GPU or video connection. This guide explains common causes and how to fix them.
What Does the VGA Light Mean?
The VGA light on a motherboard usually turns on when the system detects a problem with the graphics card or video output. It can be white, red, or another color depending on the motherboard brand, but the meaning is similar: the PC cannot initialize the GPU or send a video signal to the monitor.
Common Causes of VGA Light On and No Display
- Graphics Card Not Properly Seated
- The GPU may have loosened from the PCIe slot during transport or maintenance.
- Faulty or Incompatible Graphics Card
- The GPU itself might be defective or incompatible with your motherboard.
- Power Supply Issues
- PCIe power cables to the GPU might be unplugged or faulty.
- Monitor or Cable Problems
- The video cable (HDMI, DisplayPort, VGA, DVI) might be damaged or connected to the wrong port.
- BIOS or Firmware Issues
- Incorrect BIOS settings or outdated firmware can cause detection problems.
- Overheating or Dust Buildup
- Excessive dust or overheating can prevent the GPU from functioning properly.
- Integrated Graphics vs Dedicated GPU Conflicts
- Sometimes the system tries to use integrated graphics instead of the dedicated GPU.
Step-by-Step Solutions
1. Check Physical Connections
- Turn off your PC and unplug it.
- Open the case and carefully remove the graphics card.
- Re-seat the GPU firmly into the PCIe slot.
- Reconnect all PCIe power cables securely.
- Inspect video cables and replace if damaged.
- Try connecting the monitor to different GPU ports.
2. Test with Another GPU or Integrated Graphics
- If your CPU has integrated graphics, remove the dedicated GPU and connect the monitor to the motherboard’s video output.
- If the display works, your GPU might be faulty.
- Alternatively, test your GPU in another computer.
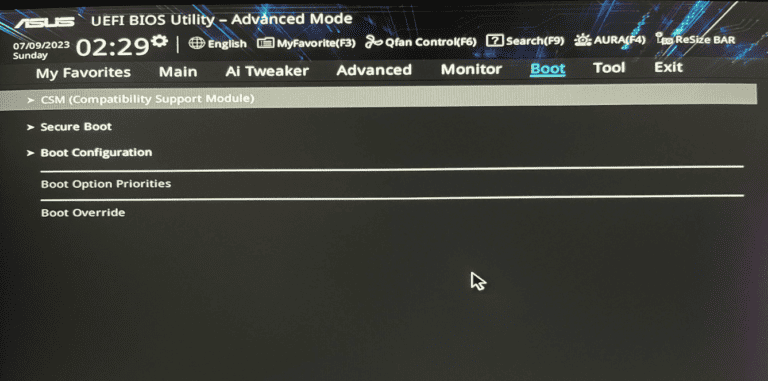
3. Clear CMOS and Reset BIOS
- Reset BIOS settings by clearing CMOS (refer to your motherboard manual).
- This can resolve conflicts or incorrect settings causing the VGA light to stay on.
4. Update BIOS Firmware
- Download and flash the latest BIOS firmware from your motherboard manufacturer’s website.
5. Clean Dust and Check Cooling
- Use compressed air to clean dust from the GPU, PCIe slot, and fans.
- Ensure all fans spin properly and the GPU is not overheating.
6. Try a Different Power Supply
- If possible, test with another power supply to rule out insufficient or faulty power delivery.
When to Seek Professional Help
- If you have tried all the above steps and the VGA light remains on with no display, the GPU or motherboard may be defective.
- Consider professional diagnostics or repairs.
Key Takeaways
- VGA lights indicate graphics card connection or hardware problems that prevent display output
- Simple fixes like reseating the GPU or checking cables solve most VGA light issues
- Professional help may be needed if basic troubleshooting steps don’t resolve the problem
Frequently Asked Questions
These questions address specific VGA light colors, motherboard brands, and troubleshooting scenarios that users commonly encounter when dealing with display issues.
What steps should I take when I notice a solid white VGA light on my MSI motherboard without any display output?
Turn off the computer and unplug the power cable. Remove the graphics card from the PCIe slot and check for dust or damage on the gold contacts.
Clean the contacts with rubbing alcohol on a cotton swab if needed. Reseat the graphics card firmly until it clicks into place.
Check that all power cables connect properly to the graphics card. MSI motherboards show a solid white VGA light when the system cannot detect the graphics card.
Verify the monitor cable connects to the graphics card ports, not the motherboard ports. Try a different cable or monitor to rule out display hardware issues.
How can I troubleshoot the issue of a red VGA light on my motherboard, especially when there’s no display on the monitor?
A red VGA light typically indicates a more serious graphics card problem than other colors. Start by checking the power supply wattage to ensure it meets the graphics card requirements.
Remove the graphics card and inspect it for physical damage like burnt components or swollen capacitors. Test the graphics card in another computer if possible.
Check the PCIe slot for damage or debris. Try installing the graphics card in a different PCIe slot if your motherboard has multiple slots.
Update the motherboard BIOS to the latest version. Some newer graphics cards need updated BIOS versions to work properly.
What does a yellow VGA indicator mean on my motherboard, and how does it affect display functionality?
Yellow VGA lights often indicate initialization problems during startup. The motherboard detects the graphics card but cannot establish proper communication.
This color usually appears when the graphics card drivers are corrupted or incompatible. Boot into Safe Mode and uninstall the current graphics drivers.
Download fresh drivers from the graphics card manufacturer’s website. Avoid using generic Windows drivers for dedicated graphics cards.
Yellow lights can also signal memory conflicts. Remove all RAM sticks except one and test each stick individually in different slots.
Why is the VGA light on my motherboard illuminated even though my GPU appears to be functioning normally?
The graphics card may not sit completely in the PCIe slot even if it appears secure. Remove and reinstall the card with firm pressure until it clicks.
Power connectors might be loose despite appearing connected. Unplug and reconnect all power cables to the graphics card.
The power supply may provide insufficient power under load. Calculate total system power requirements and compare to PSU capacity.
BIOS settings might prioritize integrated graphics over the dedicated card. Check BIOS settings and set PCIe as the primary graphics source.
What are the common causes for both VGA and BOOT lights being on, and what troubleshooting methods can I apply?
Multiple lights indicate systemic hardware problems rather than isolated graphics issues. Check RAM installation first by reseating all memory modules.
Test with one RAM stick at a time in different slots. Faulty memory can prevent both graphics initialization and proper boot sequences.
Inspect the CPU installation and ensure the cooler mounts properly. Overheating can trigger multiple error lights during startup.
Check all power connections including the 24-pin motherboard connector and 8-pin CPU power. Loose power connections cause cascading hardware failures.
Clear the CMOS by removing the battery for 30 seconds or using the motherboard’s clear CMOS jumper.
For issues related to a VGA light being on with a Gigabyte motherboard, what are the recommended steps to diagnose and resolve the no display problem?
Gigabyte motherboards often show specific LED sequences during startup. Consult the motherboard manual to decode the exact light pattern meaning.
Use Gigabyte’s Q-Flash feature to update BIOS without display output if available. Some models support USB BIOS updates without video.
Check Gigabyte’s EZ Debug LED panel if present. This provides more detailed diagnostic information than single VGA lights.
Try the integrated graphics if your CPU supports it. Connect the monitor to motherboard video ports and disable the dedicated graphics card temporarily.
Reset BIOS settings to defaults using the Load Optimized Defaults option. Custom overclocking settings sometimes cause graphics initialization failures.

