If you’ve recently updated your BIOS or made major hardware changes and now see a message like:
“There is an issue with Trusted Platform Module (TPM) data.
Press [Y] – Reset whole TPM
Press [N] – Boot with current TPM data.”
— don’t worry. This is a common message that appears when your computer detects a mismatch or corruption in the Trusted Platform Module (TPM) data.
In this guide, we’ll explain what TPM is, why this message appears, and how to safely reset your TPM or boot with the current TPM data without risking your files or system security.
🧠 What Is the TPM?
The Trusted Platform Module (TPM) is a small, dedicated security chip built into most modern computers. It securely stores cryptographic keys, passwords, BitLocker encryption data, and other sensitive credentials used by Windows and hardware security features.
TPM is essential for:
- BitLocker drive encryption
- Windows Hello PINs and biometrics
- Secure Boot and hardware-based authentication
- Microsoft Pluton and Windows 11 security compliance
When the TPM’s stored data doesn’t match what your system expects — for example, after a BIOS update, motherboard replacement, or TPM firmware reset — Windows may flag an issue.
⚠️ Why You See the “Issue with TPM Data” Message
This message usually appears:
- After a BIOS update that modifies TPM settings.
- When switching between TPM 1.2 and TPM 2.0 modes.
- If the TPM was cleared or reset inadvertently.
- When BitLocker encryption detects changes in system hardware or firmware.
Your system is essentially asking whether it should:
- Reset the TPM (erase all existing TPM keys and data), or
- Use the current TPM data (keep existing keys and continue booting).
🧩 Option 1: Boot with the Current TPM Data (Press N)
If you choose “N”, your computer will retain the existing TPM data and attempt to boot normally.
This is the safest option if:
- You use BitLocker and don’t have your recovery key handy.
- You recently updated your BIOS but didn’t change any security settings.
- You want to avoid losing saved credentials or encryption keys.
Steps:
- When prompted, press N on your keyboard.
- Allow Windows to boot normally.
- Once in Windows, open Windows Security → Device Security → Security Processor Details to ensure TPM is functioning.
- If you still see TPM errors, you can clear it later via Windows (see below).
✅ Recommended for most users unless you’ve intentionally changed security settings or TPM ownership.
🔄 Option 2: Reset the TPM (Press Y)
If you choose “Y”, your system will clear and reinitialize the TPM, removing all previously stored keys. This is useful if:
- You’ve replaced your motherboard or CPU.
- You’re setting up a new Windows installation.
- You suspect TPM corruption or malfunction.
However, resetting TPM will erase all stored encryption keys, meaning:
- BitLocker-protected drives will require the recovery key to unlock.
- Windows Hello PINs and biometric data will be reset.
- Some secure credentials may need to be re-entered.
Steps:
- When prompted, press Y to reset the TPM.
- Confirm the action if asked.
- Your computer will reboot and reinitialize the TPM.
- Once back in Windows, reconfigure BitLocker, Windows Hello, and other security features.
🔐 Important: Before resetting TPM, make sure you have your BitLocker recovery key saved in your Microsoft account or elsewhere.
🪟 How to Clear or Reset TPM from Windows (Alternative Method)
If you want to reset TPM manually within Windows instead of during boot:
- Open Settings → Privacy & Security → Windows Security → Device Security.
- Under Security Processor, click Security Processor Details.
- Select Security Processor Troubleshooting → Clear TPM.
- Follow the on-screen instructions and restart your PC.
Alternatively, you can do it via TPM Management Console:
- Press Windows + R, type
tpm.msc, and hit Enter. - In the right panel, click Clear TPM.
- Restart your PC to complete the process.
🧰 Troubleshooting Tips
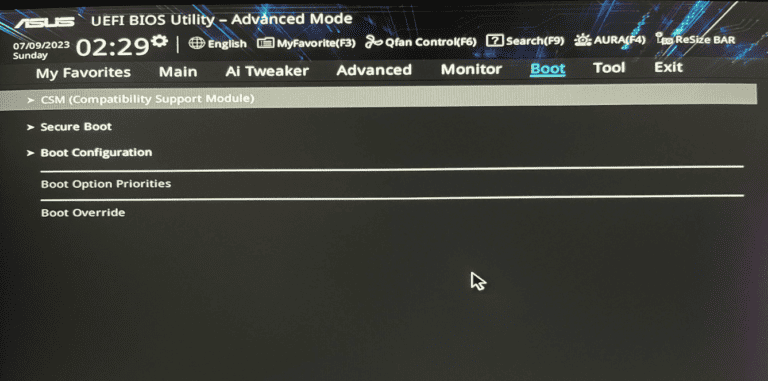
- If your system doesn’t boot after pressing N, try entering BIOS and ensuring TPM or PTT (Platform Trust Technology) is enabled.
- For BitLocker users, always back up your recovery key before making TPM or BIOS changes.
- If you’re using a company-managed device, contact your IT admin before clearing TPM.
- If TPM remains unrecognized, update your BIOS/UEFI firmware and chipset drivers.
🧾 Summary: Which Option Should You Choose?
| Scenario | Recommended Option |
|---|---|
| You just updated BIOS and Windows still boots | Boot with current TPM data (N) |
| You’re reinstalling Windows or replaced major hardware | Reset TPM (Y) |
| You use BitLocker and don’t have recovery key | Do NOT reset TPM |
| TPM data appears corrupted or causes boot errors | Reset TPM |
🏁 Final Thoughts
The TPM is a cornerstone of modern PC security — but it can occasionally cause confusion after system updates or hardware changes.
When you see the “issue with TPM data” message, remember:
- Press N to safely boot with your existing TPM data.
- Press Y to reset TPM only if you understand the consequences and have your recovery keys backed up.
By following the steps above, you can restore your system’s security features and ensure your PC continues to boot safely and securely.

