A smartphone battery rarely lasts as long as the device itself, and over time it begins to show signs of wear. Sudden shutdowns, slow charging, or swelling cases are often the first warnings. Repairing or replacing a mobile phone battery restores performance, extends the device’s life, and prevents safety risks linked to failing lithium-ion batteries.
Many people assume a weak phone battery means it is time for a new device, but that is not always true. With the right steps, it is possible to clean contacts, calibrate charging, or swap in a new battery without replacing the entire smartphone. Knowing when repair is possible and when replacement is necessary saves both money and time.
This guide explains how to identify common battery problems, how to carry out safe repair methods, and when to seek professional help. It also covers practical care tips to slow down battery aging and keep smartphones reliable for longer.
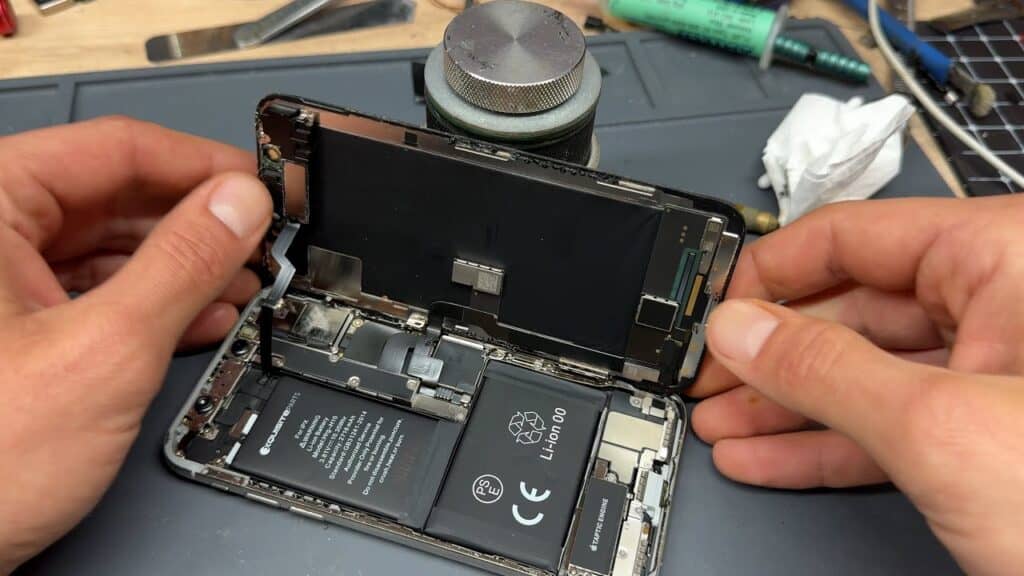
1. Signs Your Battery Needs Repair or Replacement
- 🔋 Rapid draining (e.g., losing 20–30% in an hour with light use)
- 🔥 Overheating during charging or normal use
- 📉 Swollen battery (screen lifting or back cover bulging)
- ⏱️ Slow charging or stuck at a certain percentage
- ⚡ Unexpected shutdowns even with charge left
2. Safety Precautions
- Power off the phone before opening.
- Work on a clean, static-free surface.
- Avoid using metal tools directly on the battery.
- If the battery is swollen, do not puncture it—this can cause fire.
3. Tools You’ll Need
- Small Phillips screwdriver
- Plastic opening tools or guitar pick
- Suction cup (for screen removal)
- Tweezers
- Adhesive strips (for resealing)
- Replacement battery (OEM recommended)
4. Step-by-Step Battery Replacement
Step 1: Prepare the Device
- Power off the smartphone.
- Remove SIM tray and memory card (if any).
Step 2: Open the Back or Screen
- For phones with removable backs → simply pry open.
- For sealed phones → use a heat gun or hairdryer to soften adhesive, then carefully lift with a suction cup and plastic tool.
Step 3: Disconnect the Battery
- Locate the battery connector (usually near the bottom or side of the battery).
- Use a plastic spudger to disconnect it from the motherboard.
Step 4: Remove the Battery
- If adhesive strips are present, gently pull them out.
- If glued, carefully pry the battery out without bending or puncturing it.
Step 5: Install the New Battery
- Place the replacement battery in the same position.
- Reconnect the battery connector.
- Reassemble the phone (apply new adhesive if necessary).
Step 6: Test the Phone
- Power on the device.
- Check charging and battery percentage behavior.
5. Battery Care Tips (After Replacement)
- Avoid letting the battery drain to 0% often.
- Keep charge between 20%–80% for longer lifespan.
- Avoid exposing the phone to extreme heat.
- Use certified chargers and cables.
6. When to Seek Professional Help
- If your phone has a sealed glass back/front and you lack tools.
- If the battery is swollen or leaking.
- If you notice damage to connectors or flex cables.
Key Takeaways
- Learn how to spot signs of a failing phone battery
- Understand safe repair and replacement options
- Gain simple steps to extend battery lifespan
iPhone Battery Replacement
Tools Needed
- Pentalobe screwdriver (for bottom screws)
- Suction cup + plastic spudger
- Tri-point screwdriver (for internal shields)
- Adhesive strips (for new battery)
Steps
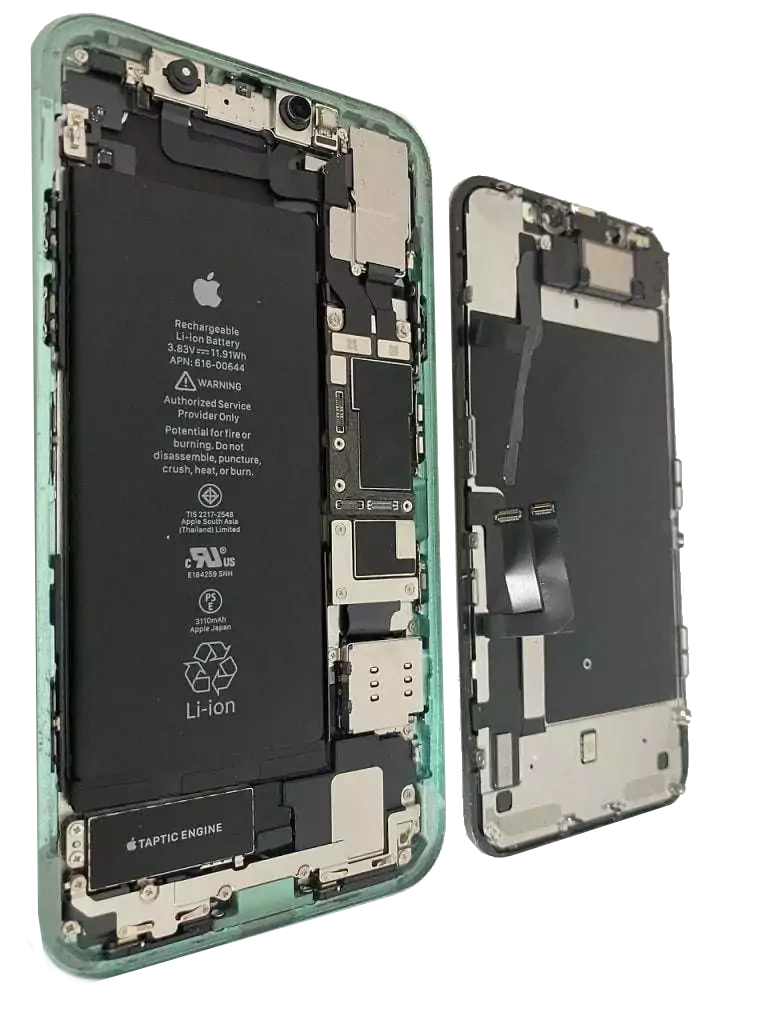
- Remove Screws → Take out the two pentalobe screws near the charging port.
- Open the Screen → Use a suction cup at the bottom edge, insert a plastic pick, and carefully lift.
- Disconnect Battery → Unscrew the shield over the battery connector and disconnect it.
- Remove Old Battery → Pull the adhesive strips under the battery. If they break, gently warm the back and pry.
- Install New Battery → Place the new one, reconnect, and reapply adhesive.
- Reassemble → Close the screen carefully and replace screws.
⚠️ Note: iPhones have waterproof seals that may be weakened after opening.
Samsung Galaxy Battery Replacement
Tools Needed
- Phillips screwdriver
- Heat gun or hairdryer
- Plastic picks + suction cup
- Adhesive strips
Steps
- Heat the Back Glass → Warm edges to soften adhesive.
- Remove Back Cover → Use suction cup + pick to lift the glass carefully.
- Disconnect Battery → Remove screws securing the mid-frame, then disconnect the battery cable.
- Remove Old Battery → Heat slightly if glued, then pry out carefully.
- Install New Battery → Place it firmly, reconnect, and reassemble.
- Seal Back Cover → Apply new adhesive before pressing the glass back into place.
⚠️ Note: Samsung batteries are often heavily glued — patience and heat help prevent damage.
Google Pixel Battery Replacement
Tools Needed
- iOpener (heat pack) or hairdryer
- Suction cup + opening picks
- Phillips screwdriver
- Adhesive strips
Steps
- Heat the Screen → Gently warm edges to soften adhesive.
- Lift the Screen → Use suction cup + pick to carefully separate the display (Pixel screens are fragile).
- Disconnect Battery → Unscrew shields and unplug the battery connector.
- Remove Battery → Pull adhesive strips or gently pry if necessary.
- Install New Battery → Place it securely, reconnect, and screw shields back.
- Reattach Screen → Apply new adhesive and press the display back into place.
⚠️ Note: Pixel screens are prone to cracking — go slow and avoid deep prying.
Pro Tips for All Models
- Always test the phone before sealing it back up.
- If adhesive strips break, use isopropyl alcohol to loosen glue.
- Keep replacement batteries at 40–60% charge before installation.
Smartphone Battery Replacement Costs (2025)
iPhone
- DIY Cost:
- Replacement battery: $25–$45 (OEM or high-quality aftermarket)
- Tools/adhesive kit: $15–$25 (if you don’t already have them)
- Total DIY: ~$40–$70
- Professional Repair:
- Apple Store (out-of-warranty): $89–$99 (flat fee for most models)
- Third-party repair shops: $60–$100
✅ Worth DIY if you’re comfortable opening the phone and want to save ~$30–$50.
⚠️ Consider Pro if your iPhone is under AppleCare+ — battery swaps may be free.
Samsung Galaxy
- DIY Cost:
- Replacement battery: $30–$50
- Tools/adhesive kit: $20–$30
- Total DIY: ~$50–$80
- Professional Repair:
- Samsung Authorized Service: $90–$120 (varies by model)
- Third-party repair shops: $70–$110
✅ Worth DIY if you have patience for back-glass removal (most cost savings here).
⚠️ Consider Pro if your phone has waterproofing you want preserved.
Google Pixel
- DIY Cost:
- Replacement battery: $25–$45
- Tools/adhesive kit: $15–$25
- Total DIY: ~$40–$70
- Professional Repair:
- Google Authorized Service (uBreakiFix / iFixit partners): $79–$99
- Third-party repair shops: $60–$90
✅ Worth DIY if you’re comfortable removing the display carefully.
⚠️ Consider Pro if you’re worried about cracking the screen (common issue).
Quick Comparison Table
| Brand | DIY Cost (avg) | Pro Repair Cost (avg) | Savings Potential |
|---|---|---|---|
| iPhone | $40–$70 | $89–$99 | $30–$50 |
| Samsung | $50–$80 | $90–$120 | $40–$50 |
| Google Pixel | $40–$70 | $79–$99 | $30–$40 |
✅ Bottom line (2025):
- DIY saves you ~$30–$50 across all brands.
- Professional repair is safer if you want to keep waterproofing, avoid screen damage, or still have warranty coverage.
Frequently Asked Questions
Battery repair involves identifying signs of wear, using the right tools, and following safe steps. Some devices require special care due to design differences, while software settings can also affect performance.
What are the common steps to diagnose smartphone battery issues?
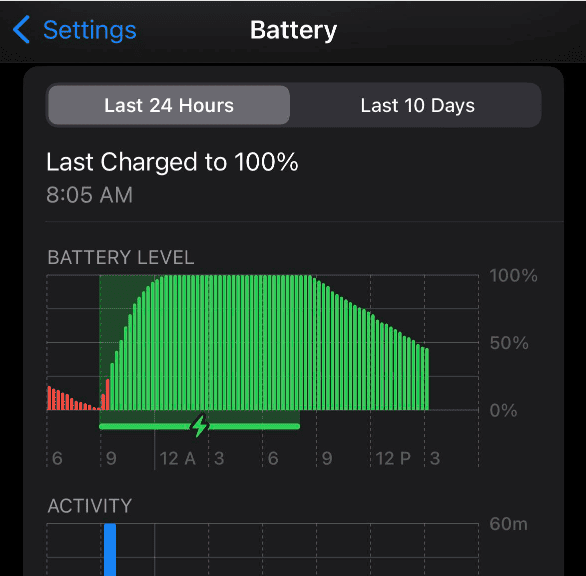
Users should first check how quickly the phone loses charge. They can also look for sudden shutdowns, overheating, or swelling of the battery. Built‑in diagnostics in settings or third‑party apps can show charge cycles and battery health.
How can I safely open my smartphone for battery inspection or replacement?
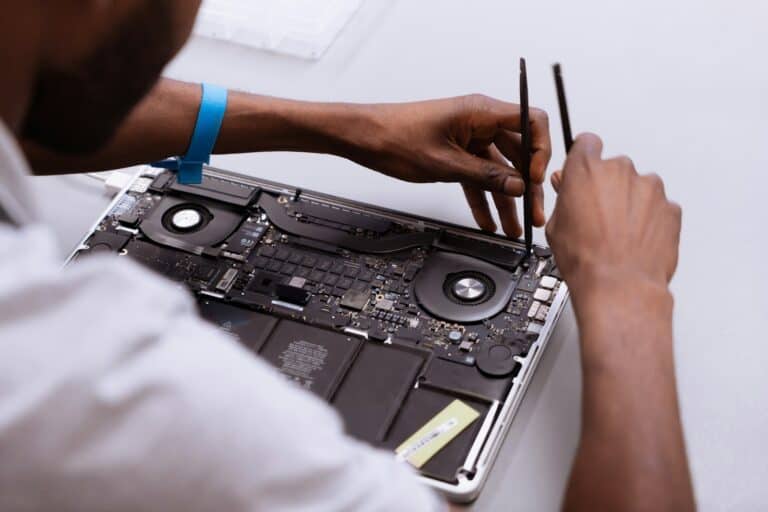
Power off the phone before starting. Remove screws with the correct driver and use a plastic prying tool to separate the case. Avoid using metal tools near circuits to reduce the risk of shorting components.
What tools are required for DIY smartphone battery repair?
A small Phillips or Torx screwdriver is often needed. Plastic prying tools, tweezers, and a suction cup help open the device without damage. Replacement adhesive strips may be required to secure the new battery.
Are there any model-specific considerations for repairing iPhone batteries?
iPhones often use strong adhesive and proprietary screws. Opening them without the right tools can damage the device or void the warranty. Apple recommends professional service, though repair kits exist for those with experience.
Can Android battery performance be improved with software tools?
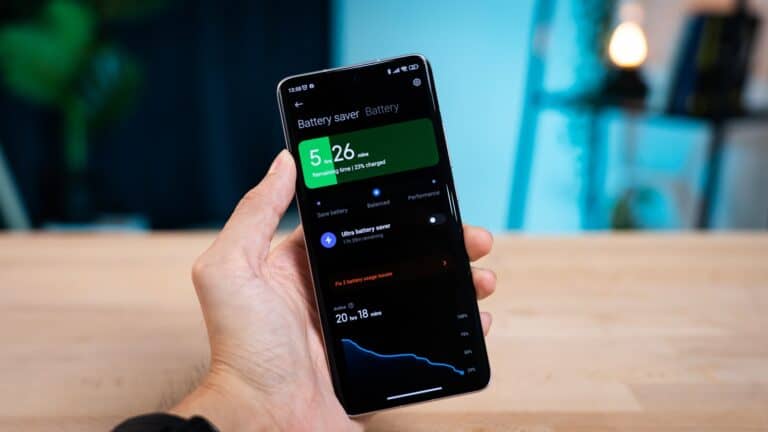
Yes. Users can enable battery saver modes, reduce screen brightness, and limit background apps. Software updates may also improve power efficiency. These steps do not repair the battery but can extend daily usage.
What safety precautions should be taken when repairing a smartphone battery?
Work on a clean, well‑lit surface. Wear anti‑static gloves if available and avoid using sharp metal tools on the battery. Never puncture or bend the battery, as this can cause leaks or fire.

