A damaged HDMI port on a PlayStation 5 can stop the console from sending video or audio to the screen. Bent pins, loose connections, or physical damage often cause the issue. The only reliable fix for a broken PS5 HDMI port is to replace it with a new, compatible port.
Replacing the port takes care and the right tools, but it can restore the console to full function. The process involves opening the PS5, removing the faulty port, soldering a replacement in place, and reassembling the system. While it requires technical skill, the repair can save money compared to professional service.
Anyone dealing with no signal, flickering screens, or HDMI errors can benefit from understanding how the repair works. Knowing the steps, tools, and risks helps decide whether to attempt the repair at home or seek professional help.
PS5 HDMI Port Replacement Guide
A faulty HDMI port on your PlayStation 5 can cause no display, distorted video, or “no signal” errors. Replacing it requires some technical skill, but with the right tools and patience, you can do it yourself.
🛠️ Tools & Materials You’ll Need
- Replacement PS5 HDMI port (make sure it’s the correct model)
- Precision screwdriver set (Torx T8/T9, Phillips)
- Plastic pry tools / spudger
- Tweezers
- Soldering iron with fine tip (temperature‑controlled)
- Desoldering braid or solder sucker
- Flux and leaded solder (easier to work with than lead‑free)
- Isopropyl alcohol & cotton swabs (for cleaning)
- Anti‑static wrist strap (recommended)
⚡ Safety First
- Unplug the PS5 completely and discharge static electricity before working.
- Work on a clean, well‑lit surface.
- If you’re not confident with soldering, consider professional repair (most shops charge $80–$150).
📝 Step‑by‑Step Instructions
1. Disassemble the PS5
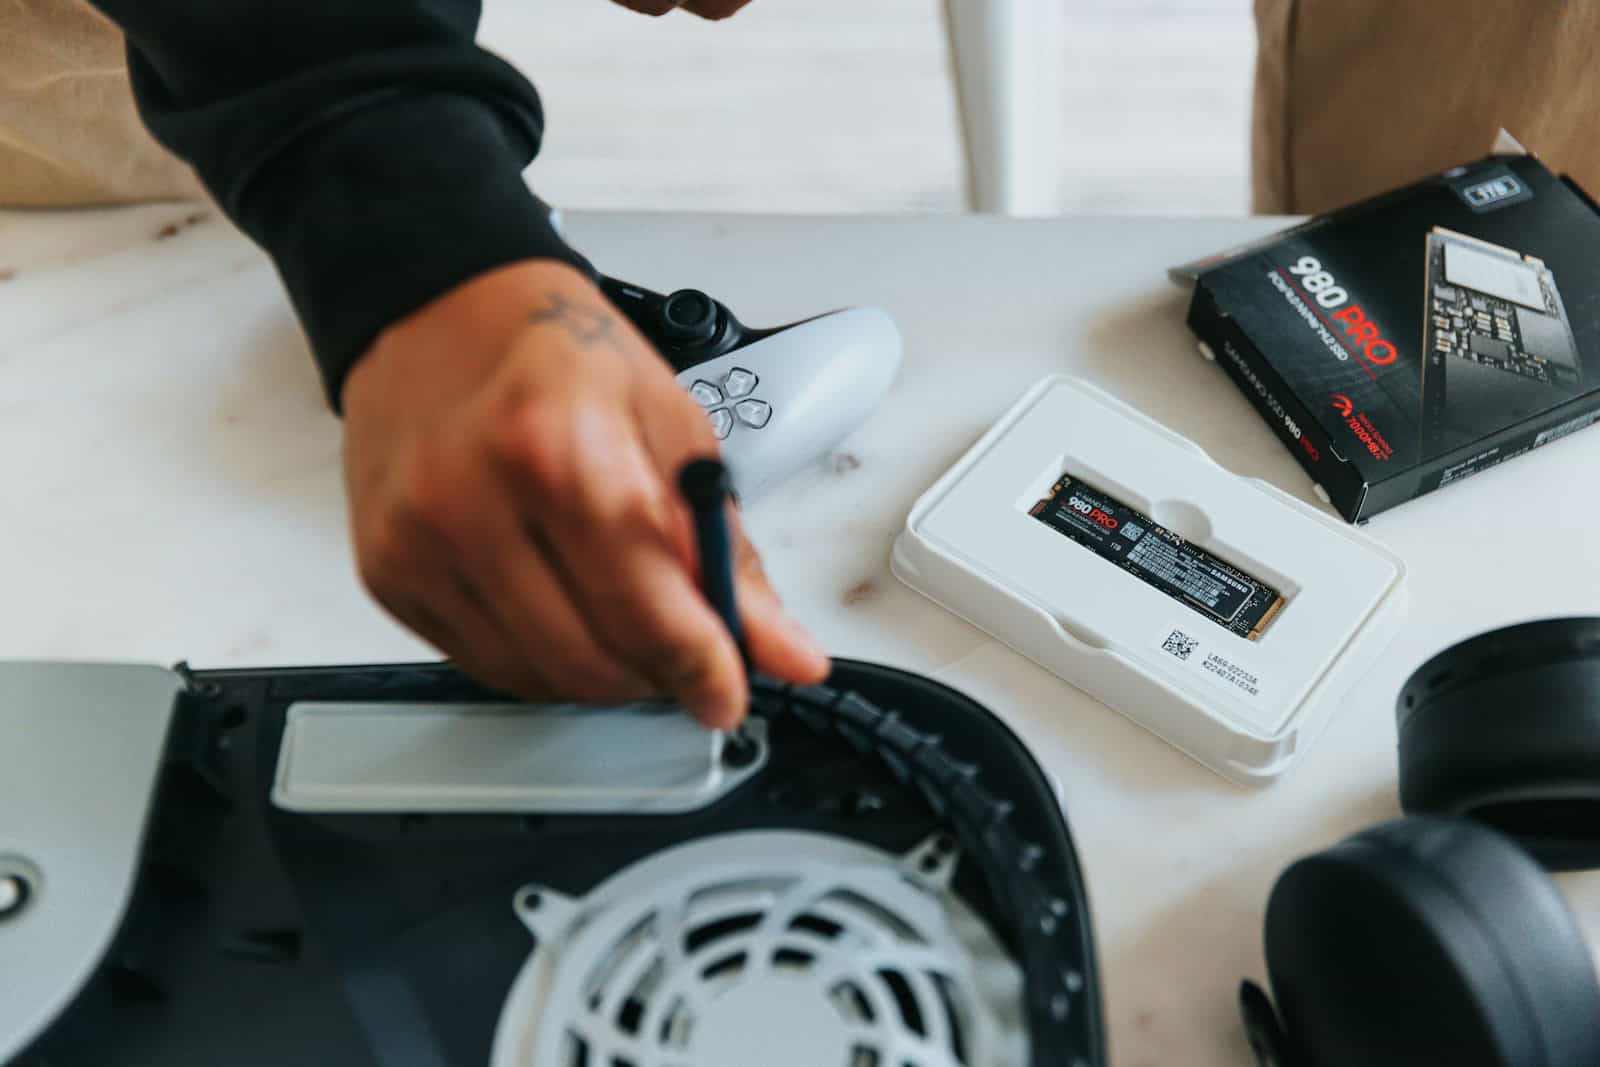
- Remove the side panels by gently lifting and sliding them off.
- Unscrew and remove the metal shielding.
- Take out the Blu‑Ray drive (if present), fan, and power supply carefully.
- Remove the motherboard from the chassis.
👉 Keep screws organized—there are many different sizes.
2. Locate the HDMI Port
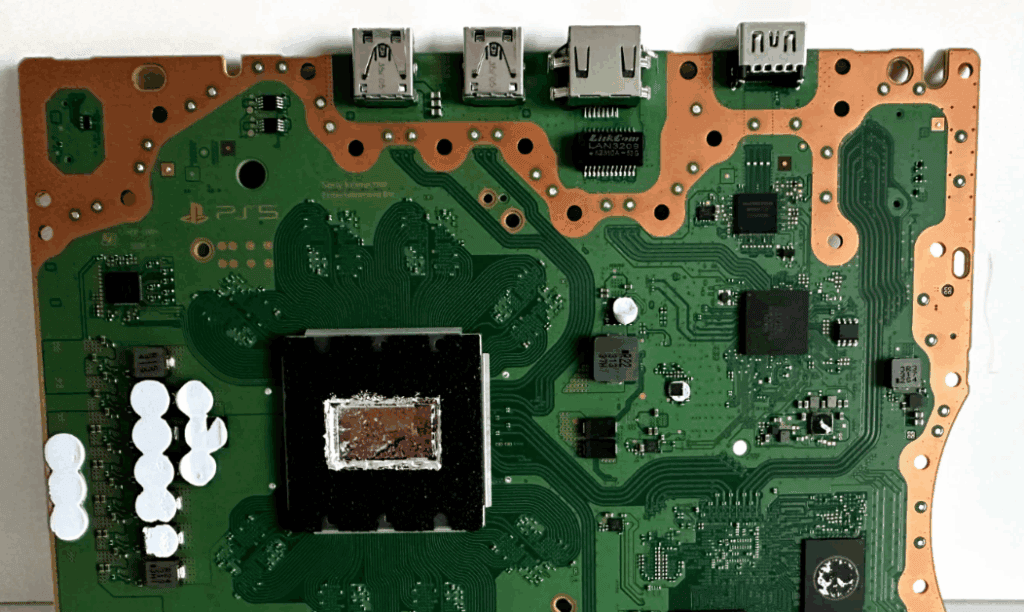
- The HDMI port sits at the back of the motherboard, near the Ethernet and USB ports.
- Inspect it for bent pins, cracks, or broken solder joints.
3. Remove the Damaged HDMI Port
- Apply flux around the HDMI port pins.
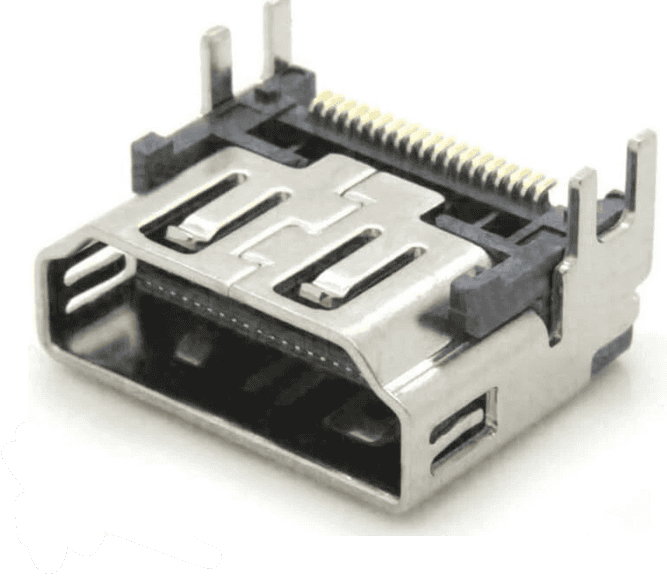
- Use your soldering iron and desoldering braid/sucker to remove solder from the pins and anchor points.
- Gently heat the HDMI port legs until you can lift the port off the board.
- Do not force it—if it’s stuck, more solder needs to be removed.
4. Clean the Pads
- Use flux and solder wick to clean leftover solder from the motherboard pads.
- Wipe with isopropyl alcohol to remove residue.
5. Install the New HDMI Port
- Place the new HDMI port onto the board, aligning all pins with the pads.
- Tack down the anchor legs first to hold it in place.
- Carefully solder each pin, ensuring no bridges (shorts) form between pins.
- Inspect with a magnifying glass to confirm clean, shiny solder joints.
6. Reassemble the PS5
- Reinstall the motherboard, power supply, fan, and drive.
- Replace the shielding and screw everything back in place.
- Slide the side panels back on.
7. Test the Console
- Connect the PS5 to a monitor/TV with a known good HDMI cable.
- Power it on and check for a stable display output.
✅ Tips & Warnings
- Using flux is essential—it makes soldering cleaner and prevents bridges.
- Don’t overheat the board; too much heat can lift pads and permanently damage the motherboard.
- If you see bent pins inside the HDMI port, sometimes replacing the port isn’t necessary—just cleaning or straightening may help.
🔧 Alternatives
- If you’re not comfortable soldering:
- Take it to a repair shop (average cost: $80–$150).
- If under warranty, contact Sony for official repair (may take longer but ensures OEM parts).
Key Takeaways
- A broken PS5 HDMI port requires full replacement
- The repair involves careful disassembly and soldering
- Knowing the process helps decide between DIY and professional repair
Frequently Asked Questions
Replacing or repairing the HDMI port on a PS5 often requires technical skill, specific tools, and careful handling. Costs, repair options, and troubleshooting steps can vary depending on the damage and whether the repair is done at home or by a professional.
What are the steps involved in replacing the HDMI port on a PS5?
The process involves disassembling the console, removing the motherboard, and desoldering the damaged HDMI port. A new port must then be soldered in place with precise alignment. After installation, the console is reassembled and tested to confirm the repair.
How much does it typically cost to repair the HDMI port on a PS5?
Professional repair usually costs between $100 and $200, depending on the shop and the extent of the damage. DIY repair may cost less, but it requires buying tools and a replacement port, which can still add up.
Can I fix a loose HDMI port on my PS5 without disassembling it?
No. A loose or damaged HDMI port cannot be fixed externally. The console must be opened to access the port, and proper soldering is required to secure or replace it.
Where can I find a reliable service center for PS5 HDMI port repair?
Look for repair centers that specialize in console hardware. Check reviews, confirm the technicians have experience with PS5 repairs, and ask if they provide a warranty for their work. Authorized or well-rated independent shops are the safest options.
What should I do if my PS5 HDMI port is not working?
First, test the console with another HDMI cable and another display. If the issue continues, inspect the port for bent pins or visible damage. If damage is present or the signal still fails, the port likely needs replacement.
Is it possible to replace the HDMI port on a PS5 Slim, and how does it differ from the standard model?
Yes, the HDMI port on the PS5 Slim can be replaced. The process is almost the same as the standard model, but the Slim has a slightly different internal layout. The tools and soldering steps remain the same, though disassembly may vary in screw placement and panel design.

