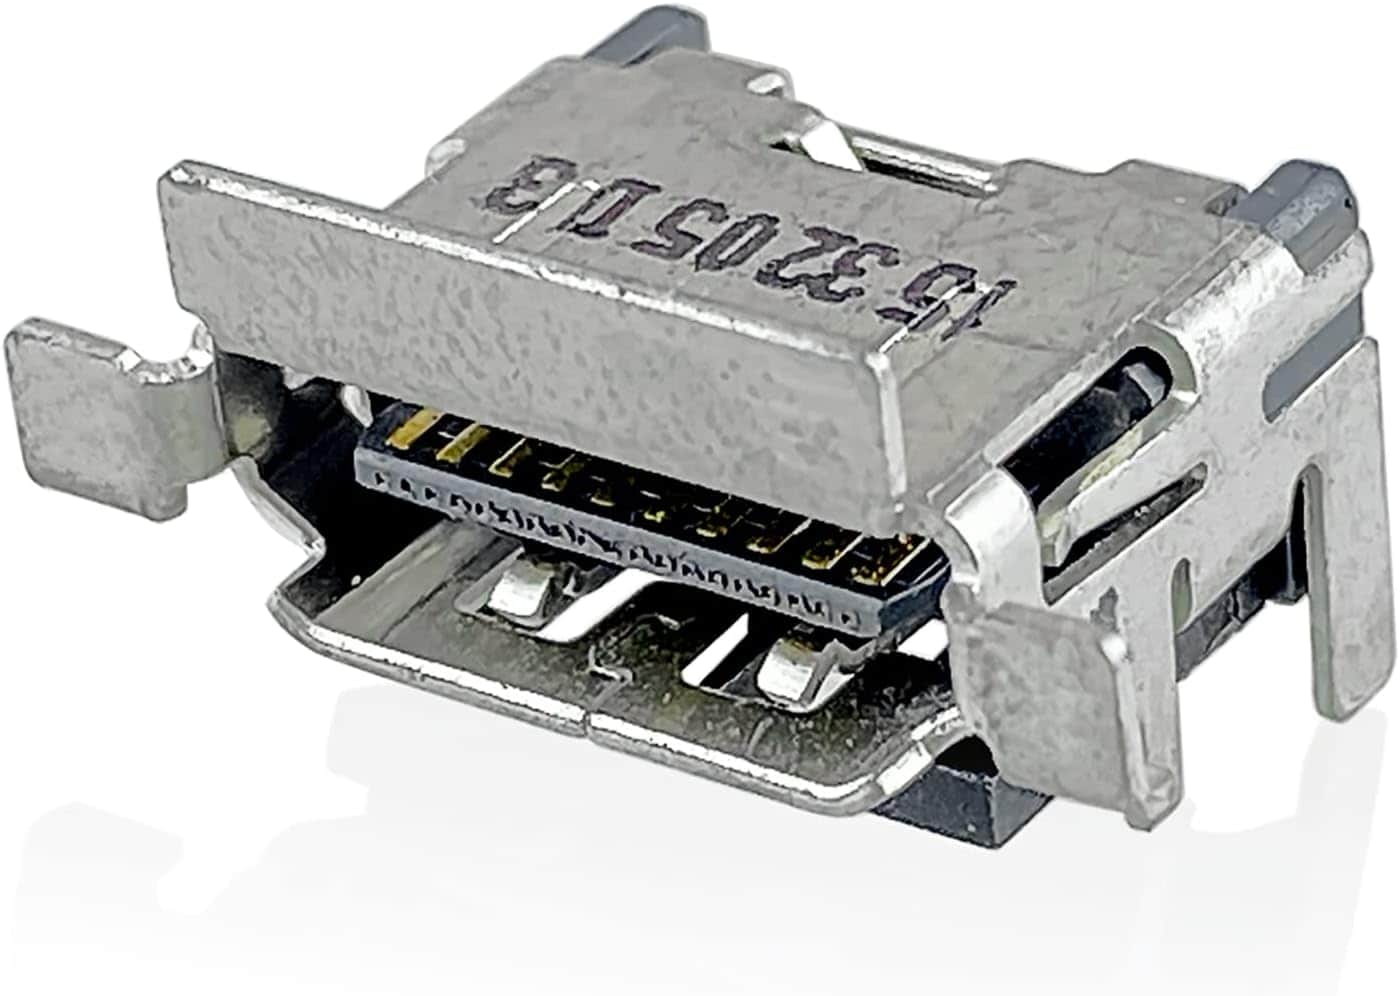
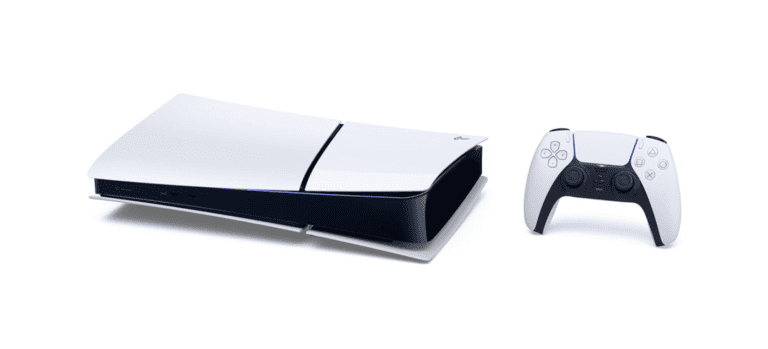
A broken HDMI port can stop a console from showing video or sending sound, leaving the system useless until the issue is fixed. HDMI ports wear down from frequent cable swaps, loose connections, or physical damage, and these problems often show up as flickering screens, distorted images, or no signal at all. Repairing or replacing the HDMI port restores seamless connectivity and brings the console back to full performance.
Repair work may involve cleaning out debris, checking for bent pins, or replacing the port entirely. Skilled technicians use proper tools and parts to make sure the repair lasts, while do-it-yourself attempts often risk further damage. Knowing the signs of a failing port and acting quickly helps prevent bigger problems and keeps the console running smoothly.
🎮 Why HDMI Ports Fail
HDMI ports are one of the most common failure points in gaming consoles. They can become damaged due to:
- Frequent plugging/unplugging of cables
- Bent or broken pins inside the port
- Loose solder joints on the motherboard
- Power surges or static discharge
- Physical damage from dropped consoles
When the HDMI port fails, you might see:
- “No Signal” or “No Input” on your TV
- Flickering or distorted video
- Sound but no picture
- A visibly damaged or loose port
🧰 What You’ll Need
If you plan to attempt a repair yourself, gather these tools first:
Basic tools:
- Small Phillips screwdriver
- Plastic prying tools
- Tweezers
- Isopropyl alcohol and microfiber cloth
For soldering repair (advanced):
- Soldering iron or hot air rework station
- Flux and solder wick
- Replacement HDMI port (specific to your console model)
- Magnifying glass or microscope
⚠️ Important: HDMI port replacement involves delicate soldering work. If you’re not experienced with electronics repair, it’s best to take your console to a professional technician.
🧩 Step 1: Diagnose the Problem
Before opening your console, confirm that the HDMI port is actually the issue.
- Test the HDMI cable — Try a different cable or TV input.
- Inspect the port — Shine a flashlight into the HDMI slot. Look for bent pins or debris.
- Check for loose connections — Wiggle the cable gently; if the screen flickers, the port may be loose or damaged.
- Test with another device — Connect a different console or device to the same HDMI input to rule out TV issues.
If you’ve confirmed the console’s port is the problem, proceed to the next step.
🔧 Step 2: Disassemble the Console
Each console has a slightly different teardown process. You can find model-specific guides on iFixit.
General steps:
- Power off and unplug your console.
- Remove the outer case screws and carefully lift off the shell.
- Locate the motherboard — the HDMI port is usually mounted near the rear panel.
🧲 Step 3: Remove the Damaged HDMI Port
If you’re comfortable with soldering:
- Apply flux around the HDMI port’s solder joints.
- Use a hot air rework station to heat the solder evenly until it melts.
- Gently lift the damaged port using tweezers. Avoid pulling too hard to prevent PCB damage.
- Clean the pads with solder wick and isopropyl alcohol.
💡 Tip: Some technicians use low-melt solder to make removal easier and safer for the board.
⚙️ Step 4: Install the New HDMI Port
- Align the replacement HDMI port with the solder pads.
- Secure it in place with a small amount of solder on the anchor points.
- Solder each pin carefully, ensuring no bridges (shorts) between them.
- Inspect under magnification to verify good connections.
🧪 Step 5: Reassemble and Test
- Reinstall the motherboard and reconnect all internal cables.
- Reattach the outer casing and screws.
- Plug the console into your TV and power it on.
- Check for a stable video signal and sound output.
If you still see “No Signal,” double-check your solder joints or cable connections.
🧯 Step 6: When to Seek Professional Help
If you’re not confident in your soldering skills or the damage is extensive (e.g., lifted pads, burnt traces), take your console to a professional repair shop.
According to ParcelPlay, professional HDMI port replacement typically costs:
- $80–$150 for PlayStation or Xbox consoles
- 1–3 days turnaround time
Look for certified repair centers or local electronics shops that specialize in console board-level repairs.
🧼 Step 7: Prevent Future HDMI Damage
- Avoid frequently unplugging the HDMI cable.
- Use angled HDMI adapters to reduce strain on the port.
- Keep cables organized to prevent accidental tugs.
- Use a surge protector to guard against power spikes.
✅ Final Thoughts
Repairing a console’s HDMI port can restore your system to full functionality and save you from buying a new one.
If you’re experienced with electronics, it’s a manageable DIY project. Otherwise, a professional repair is the safest route.
For detailed tutorials and diagrams, check out:
- Tech-Wonders: Game Console Repair 101
- FirstCoast Tech: HDMI Port Replacement Guide
- iFixit: Game Console Repair Help
Key Takeaways
- HDMI port issues often cause no signal or poor video output
- Repair or replacement restores full function and stability
- Professional service ensures safe, lasting results
Frequently Asked Questions
Game console HDMI ports often fail due to loose connections, bent pins, or internal damage. Users can try simple troubleshooting steps at home, but serious physical damage usually requires professional repair or full port replacement. Preventive care can extend the lifespan of the port and reduce repair costs.
What are the common signs that my game console’s HDMI port needs repair?
Frequent signs include a blank screen, flickering video, distorted images, or no audio. A cable that feels loose when inserted or a port that looks bent or cracked also points to damage.
How do I safely troubleshoot an HDMI connection issue with my game console?
Check that the HDMI cable is firmly connected on both ends. Swap the cable with another one to rule out cable failure. Test the console on a different TV or monitor to confirm if the issue is with the port.
Can I repair my game console’s HDMI port at home, and what tools will I need?
Minor fixes like cleaning dust or gently straightening a bent pin can be done at home with tweezers or compressed air. Full port replacement requires soldering tools, a heat gun, and experience with circuit boards. Without skill, the risk of further damage is high.
What should I do if my game console’s HDMI port is physically damaged?
If the port is cracked, detached, or has broken pins, professional repair is the safest option. Attempting to solder or replace the port without training can damage the motherboard. Contacting a repair shop or the console manufacturer is recommended.
How much does it typically cost to get a game console HDMI port repaired by a professional?
Repair costs usually range from $80 to $150, depending on the console model and the shop. Some repair centers may charge more if the motherboard also needs work. Warranty coverage may lower or remove the cost if the console is still under protection.
Is it possible to prevent future damage to my game console’s HDMI port, and if so, how?
Avoid yanking or bending the HDMI cable when removing it. Keep cables away from heat and sharp bends. Use surge protection to reduce power-related damage. Cleaning the port with compressed air a few times a year helps maintain a stable connection.


