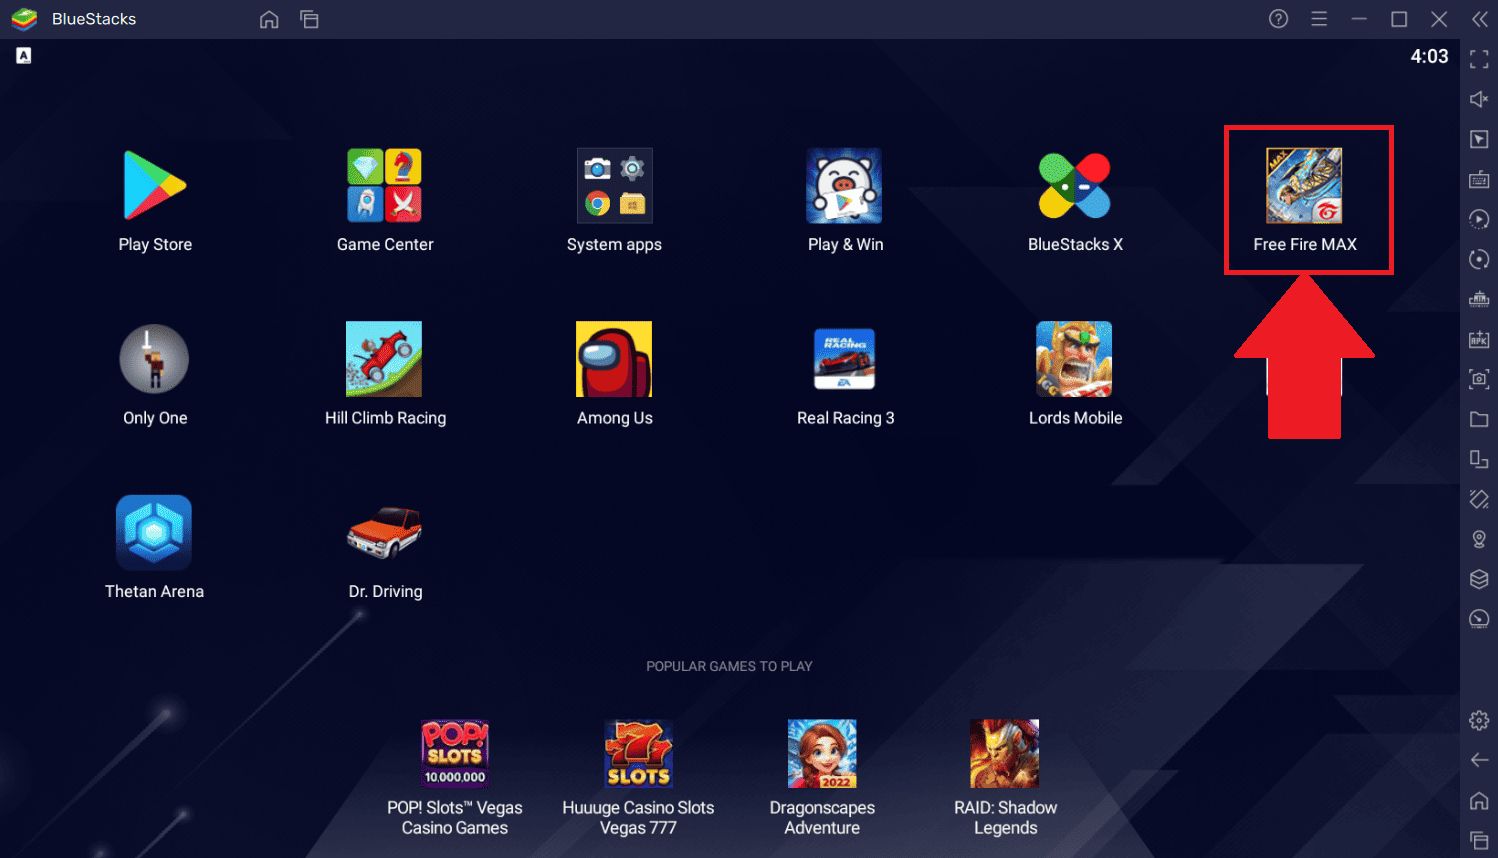
BlueStacks is a popular Android emulator that lets a Windows PC run mobile apps and games. While it can be useful, it also takes up storage and system resources. To uninstall BlueStacks, remove it through Windows settings or Control Panel, delete leftover files, and use the official BlueStacks cleaner tool if needed.
Many uninstall attempts leave behind services, folders, or registry entries that slow the system. A complete removal ensures no background processes keep running. This is especially important if switching to another emulator or freeing up space.
Knowing the right steps prevents errors and saves time. A straightforward process will clear BlueStacks and its related data without affecting other programs.
Steps To Fully Uninstall Bluestacks
Here’s a step-by-step guide to completely uninstall BlueStacks from your PC, including removing leftover files and services.
1. Close BlueStacks and Related Processes
Before uninstalling, make sure BlueStacks is not running.
- Right-click the taskbar and select Task Manager.
- End all processes named BlueStacks, HD-Player, or similar.
2. Uninstall BlueStacks via Settings or Control Panel
Windows 10/11:
- Press Windows + I to open Settings.
- Go to Apps → Installed apps (or Apps & Features).
- Find BlueStacks App Player (and BlueStacks X if installed).
- Click Uninstall and follow the prompts.
Windows 7/8:
- Open Control Panel → Programs and Features.
- Select BlueStacks and click Uninstall.
3. Use the Official BlueStacks Cleaner Tool (Recommended)
BlueStacks provides a cleanup utility to remove all versions and associated services.
- Download the cleaner tool from the official support page: BlueStacks Uninstall Tool.
- Run the tool and follow the on-screen steps.
- Restart your PC when prompted.
4. Manually Delete Leftover Files and Folders
If you don’t use the cleaner tool, you should manually remove residual files:
Delete these folders (if they exist):
C:\Program Files\BlueStacks
C:\ProgramData\BlueStacks
C:\Users\<YourUsername>\AppData\Local\BlueStacks
C:\Users\<YourUsername>\AppData\Roaming\BlueStacks
Note: You may need to enable Show hidden files in File Explorer to see
AppDataandProgramData.
5. Remove Registry Entries (Advanced)
Only do this if you’re comfortable editing the registry:
- Press Windows + R, type
regedit, and press Enter. - Navigate to:
HKEY_LOCAL_MACHINE\SOFTWARE\BlueStacks HKEY_CURRENT_USER\Software\BlueStacks - Delete any BlueStacks-related keys.
- Close the Registry Editor.
6. Restart Your Computer
After completing the steps, restart your PC to ensure all services and files are removed.
✅ You have now completely uninstalled BlueStacks from your system.
If you plan to reinstall it later, download the latest version from the official BlueStacks website.
Key Takeaways
- BlueStacks can be fully removed from a Windows PC with built-in tools and the official cleaner
- Leftover files and services may remain if not deleted manually or with a removal tool
- A clean uninstall can improve performance and free up storage
Frequently Asked Questions
Removing Bluestacks depends on the operating system and version in use. Some methods require built‑in uninstallers, while others work best with a dedicated cleanup tool to remove leftover files and settings.
What are the steps to remove Bluestacks from a Mac computer?
On macOS, quit Bluestacks completely.
Open the Applications folder and drag the Bluestacks app to the Trash.
Delete any leftover folders in ~/Library and /Library related to Bluestacks, then empty the Trash.
Can you guide me through the process of uninstalling Bluestacks on Windows 11?
Open Settings from the Start menu.
Go to Apps > Installed apps, find Bluestacks, and select Uninstall.
Follow the prompts to remove it, then delete any leftover files in the %ProgramData% and %AppData% folders.
What is the procedure to fully uninstall Bluestacks 5?
Download the official Bluestacks 5 cleaner tool from their support site.
Run the tool and allow it to remove all Bluestacks 5 files.
Once complete, restart the computer to ensure all services are gone.
How do I completely remove Bluestacks from my Windows 10 system?
Open Control Panel and go to Programs and Features.
Select Bluestacks and click Uninstall.
After removal, clear leftover files from %Temp%, %ProgramData%, and %LocalAppData%.
Where can I find the Bluestacks uninstaller for download?
The uninstaller is available on the official Bluestacks support website.
Choose the correct version for your installation before downloading.
Is there a specific tool or cleaner to ensure Bluestacks is entirely removed from my computer?
Yes. Bluestacks offers a dedicated cleanup tool for Windows.
It removes all program files, services, and registry entries related to Bluestacks.
This tool is the recommended method for a complete uninstall.


