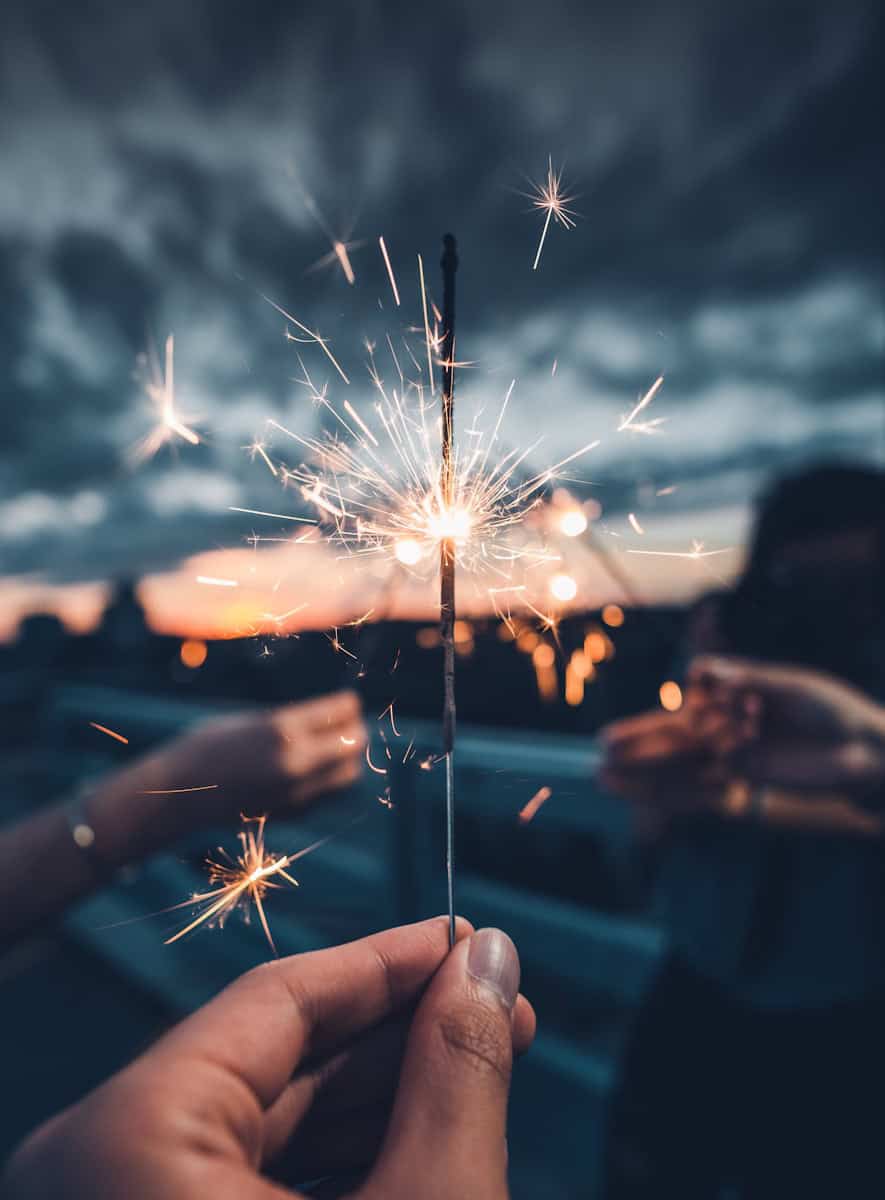
Capturing the transient glow of sparklers with an iPhone can transform a simple photograph into a vivid memory. With the advent of advanced camera technology available in mobile devices, taking high-quality sparkler photos has become accessible to everyone. You no longer need sophisticated equipment to freeze those fleeting moments of light; your iPhone is all you need.
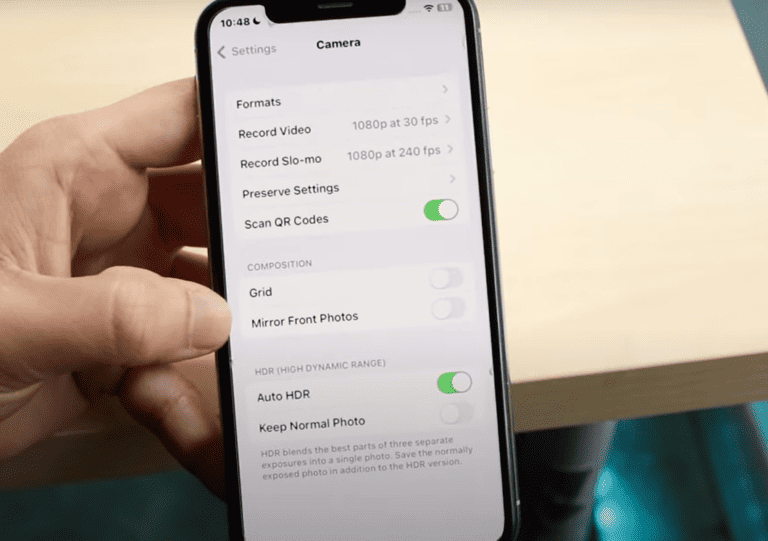
The process begins with preparing your iPhone by making sure it’s charged and has sufficient storage. Enabling specific settings can also significantly improve photo quality. For example, activating the Live Photo mode captures motion, setting the stage for a dynamic image. For those with an eye for detail and a bit of patience, leveraging manual control over shutter speed and ISO settings allows for even more finely-tuned results.
A tripod can be a valuable asset for stability, and choosing the right environment plays a crucial role in the outcome. When the stage is set, capturing the bright streaks of a sparkler in motion can be achieved by using a combination of long exposure and careful timing. Even those new to photography can enjoy the creative process and end up with stunning photos to share or keep as personal treasures.
Top Tips for Stunning Sparkler Photos
Taking photos with sparklers can add a magical touch to any occasion, and your iPhone is a surprisingly capable tool to capture those moments. Here’s how to get the best sparkler photos:
Get Your Settings Right
- Manual mode (if available): If your iPhone has a manual camera mode, use it. This gives you full control over shutter speed and ISO.
- Long exposure: The key to capturing sparkler trails is a slow shutter speed. Start with 2-3 seconds and adjust as needed. If your iPhone doesn’t have manual settings, download a slow shutter speed app.
- Low ISO: Aim for an ISO between 100-400 to minimize noise in your photos.
Composition Matters
- Include a subject: A person holding the sparkler adds context to the photo.
- Framing: Give yourself space to capture the full movement of the sparkler.
- Use negative space: A dark background will make the sparkler trails pop.
Extra Tips
- Tripod: Use a tripod for sharper images, especially with longer shutter speeds.
- Focus: Tap the screen to focus on the sparkler.
- Burst mode: Capture multiple shots in quick succession for a higher chance of a perfect moment.
- Experiment: Have fun experimenting with writing words or making shapes with the sparklers.
Key Camera Settings
Here’s a table summarizing the settings mentioned:
| Setting | Recommended Range | Notes |
|---|---|---|
| Shutter Speed | 2-3 seconds | Adjust higher or lower based on desired trail length |
| ISO | 100-400 | Lower is better to reduce noise |
| Mode | Manual | Use a third-party app if your iPhone doesn’t have manual mode |
Key Takeaways
- Use an iPhone’s advanced camera settings to capture dynamic sparkler photos.
- Stabilize the phone and adjust settings for improved photo quality.
- Experiment with timing and long exposure to create memorable images.
Preparing Your iPhone for Sparkler Photography
Taking photos of sparklers with your iPhone requires a bit of setup. Here’s how to make sure your iPhone is ready to capture those bright, magical moments clearly.
Understanding Your iPhone’s Camera Capabilities
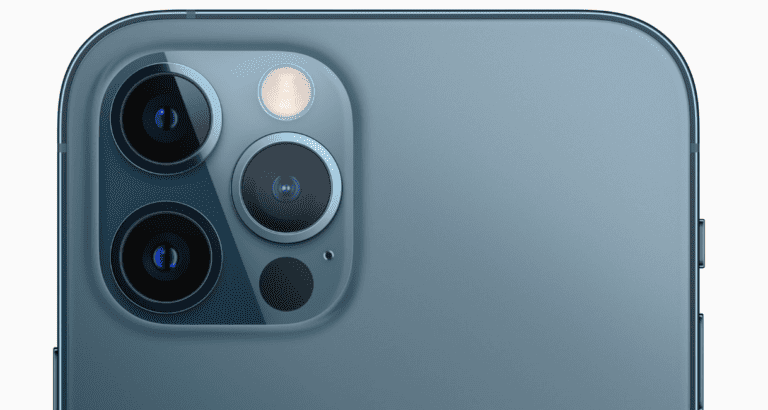
Your iPhone comes with a camera fit for photography tasks, even in low light like sparkler scenes. The newer the iPhone, the better the camera performance tends to be. It’s smart to know the features your model offers. Look for manual settings if your device runs iOS 11 or newer. These settings let you control things like exposure time essential for sparkler photos.
Setting Up Camera Mode and Resolution
For the best sparkler pictures, use Live Photo mode. This setting records what happens 1.5 seconds before and after you take the photo. Also, check if your iPhone has a manual or ‘pro’ mode. Here, you can adjust the shutter speed to between 1-3 seconds and set ISO levels from 100 to 400 depending on lighting.
Ensuring Stability with Tripods and Holders
Stability is key in photography, especially for the long exposure shots needed with sparklers. So, get a tripod. It keeps your iPhone still, ensuring the focus stays sharp. If you don’t have a tripod, any stable surface can help. Or a holder designed for iPhones can offer a good grip.
Capturing the Perfect Sparkler Photo
Creating the perfect sparkler photo with your iPhone involves managing a few settings to deal with low light conditions. Here’s how to adjust your device for the best results.
Adjusting Exposure and Shutter Speed for Darkness
To start, set your iPhone to Manual Mode if available, or use the Live Photos feature. For darker scenes, a slow shutter speed is key. Aim for a shutter speed from one to three seconds. This slower capture time lets in more light, making bright trails from the sparklers.
Working with ISO and Aperture Settings
Keep the ISO low, between 100 and 400, to reduce grain. Start with an aperture around F/4 for a clear focus on both the sparklers and the subject. If the aperture is too wide, like F/2.8, your sparkler lines will be thicker.
Composing Your Shot: Lighting, Location, and Background
Find a safe spot for sparkler photography that’s well-ventilated and dark enough to highlight the light trails. Your background should be simple to avoid distractions. A darker setting emphasizes the glow and trails of the sparklers.
Taking the Shot: Guidance on Focus and Timing
Use a tripod to hold your iPhone steady for long exposure shots. Set a timer to avoid shaking the camera when pressing the shutter. Focus your camera on the person holding the sparklers. Start the shot shortly before the movement begins to capture the full effect.
Post-Photography Tips: Editing for Impact
Once you’ve taken your sparkler photos, editing can enhance them. Adjust the contrast, color, and brightness to make the sparkler trails stand out. Apps like Snapseed or Lightroom on your iPhone offer fine-tuning of these settings.
Frequently Asked Questions
This section answers common queries on how to snap the best sparkler pictures with your iPhone. It covers camera settings, techniques, and apps to help you capture the magic of sparklers.
What camera settings should I use for taking sparkler pictures on my iPhone?
For sparkler photos, adjust your iPhone’s camera to a lower ISO, between 100 and 400. Set the shutter speed at one to three seconds if the manual mode is available.
Can I capture long exposure sparkler images using an iPhone, and if so, how?
Yes, you can capture long exposure images of sparklers on your iPhone. Use the Live Photo feature and apply a Long Exposure effect after taking the shot.
What techniques are recommended for photographing sparklers at night with a smartphone?
Use a tripod to keep your phone still. This prevents blur in your long exposure sparkler images. Light the sparkler and move it slowly to create clear, bright trails against the night.
Are there any specific apps necessary for taking high-quality sparkler photographs on a mobile phone?
While the default camera app can work well, third-party camera apps with more manual control can improve your sparkler photos. Look for apps that allow control over shutter speed and ISO settings.
How can I ensure safety while taking pictures with sparklers using my iPhone?
Keep the sparkler at a safe distance from yourself and your phone. Use a remote control or timer to avoid holding the phone near the sparkler. Never let children handle sparklers without adult supervision.
What is the best way to photograph sparklers at a wedding with an iPhone?
Choose a spot away from guests and distractions. Time your shots when there’s less light for maximum effect. Use portrait mode to blur the background and focus on the sparkler effects.

