iPhone Specifications

The iPhone 14 series features impressive cameras. However, mastering the settings can take your photos and videos to the next level. Here’s a breakdown of key settings to adjust for the best image quality:

Get the Most Out of Your iPhone 14 Camera

General Settings

  • Formats: Under Settings > Camera > Formats, consider these options:
    • Apple ProRAW: Gives you maximum editing flexibility but creates larger files. Best for serious photographers.
    • ProRes: For professional-quality videos. Takes up a lot of storage!
  • Preserve Settings: Also in the Camera settings, enable “Preserve Settings” to ensure your choices for modes and adjustments aren’t reset each time you open the camera app.

Shooting Modes

  • Photo: The standard mode is good for most situations.
  • Portrait: Adds background blur (bokeh) for a professional look. Experiment with Portrait Lighting effects.
  • Cinematic: Shoots videos with a shallow depth of field, smoothly shifting focus between subjects.
  • Action Mode: Provides extra stabilization for smooth videos when on the move.

Additional Settings & Tips

Here’s a table outlining other settings to optimize your iPhone 14’s camera output:

SettingWhat It DoesWhen to Use It
HDRBalances exposure in high-contrast scenesLeave on for most scenarios
Macro ControlAutomatically switches to close-up modeFor detailed shots of small objects
Photographic StylesApplies preset color and contrast looksExperiment to find your favorite
Exposure AdjustmentManually brighten or darken your imageTo correct overly bright or dark photos
  • Use the grid. The camera grid in the settings will help you compose shots using the rule of thirds.
  • Shoot in good light. Natural light is always your best friend for clear photos.

With a little understanding of these settings, you’ll be taking incredible photos and videos with your iPhone 14 in no time!

Understanding iPhone 14 Camera Basics

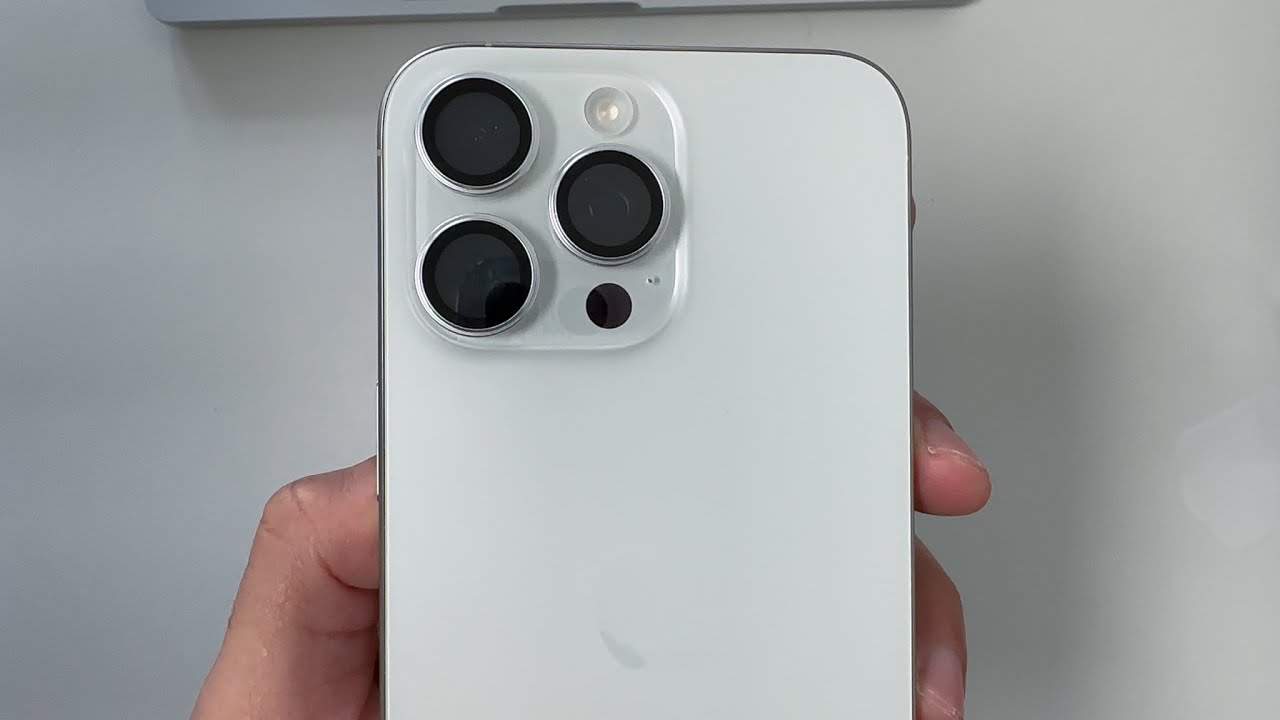
The iPhone 14 and iPhone 14 Pro boast a sophisticated camera system. They are designed to capture stunning images effortlessly, with both models featuring a powerful primary camera. The iPhone 14 Pro, particularly impressive, comes with a 48MP sensor for detailed photos.

At the core of the iPhone 14 camera system lies the Photonic Engine, an advanced image processing technology that delivers better low-light performance. Users can harness the Ultra-Wide lens for expansive landscapes or use the Wide-angle lens for general photography. Below is a guide to maneuvering through essential camera settings:

  • Primary Camera: Activate the Settings app and select ‘Camera’ to access functions like grid lines which assist in framing shots.
  • Resolution and Aspect Ratio: Control image resolution by exploring Apple ProRAW options, which give you high-quality image data.
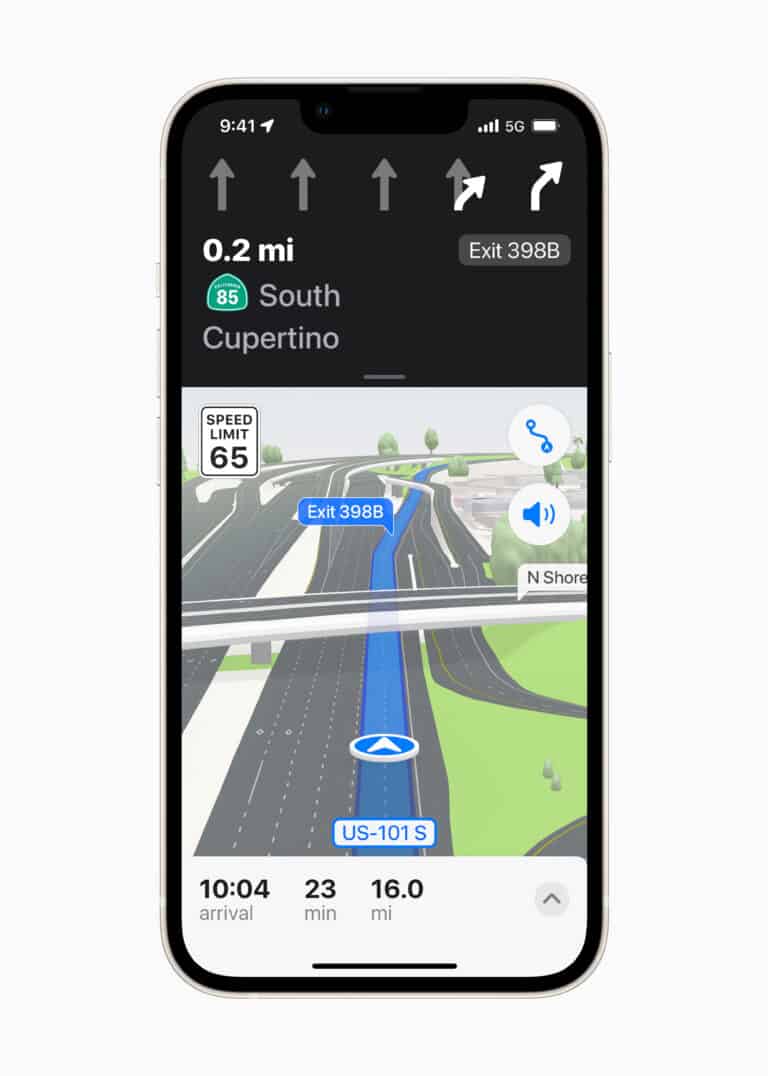
  • Dynamic Island: This unique feature integrates notifications and activities around the camera cutout.

To make the most of your photography experience, familiarize yourself with the camera app interface. This is where you adjust settings like aspect ratio or turn on features designed to improve your results. Here’s what you need to know:

  • Apple ProRAW: For enthusiasts wanting more editing control, toggle on Apple ProRAW in the settings.
  • Ultra-Wide and Wide-Angle Lenses: Choose between lenses depending on the scene’s needs.
  • Camera App: Navigate this app to switch between different modes and lenses quickly.

Remember, these fundamental parameters set the stage for creating professional-like photos. By understanding and tweaking them, you unlock the full potential of the iPhone 14’s camera.

Advanced Camera Settings for Quality Photos

To snap stunning photos with an iPhone 14, mastering advanced camera settings is crucial. They can fine-tune light exposure, enrich colors, and sharpen image details in just a few taps.

Optimizing Exposure and Focus

Exposure is key to capturing images that look just right — not too bright, not too dark. Users can adjust exposure by tapping the screen and swiping up to brighten or down to darken the visual. Autofocus makes sharp images easy, but for more control, AE/AF Lock can be engaged by pressing and holding a spot on the screen, which locks in both exposure and focus. For detailed shots, Macro Mode enables users to get close to subjects and maintain image crispness without any artifacts.

Utilizing Photographic Styles and Filters

The iPhone 14 allows photographers to apply Photographic Styles and filters before taking a shot. These built-in styles adjust tones and colors on a finer level than typical filters. Users can select styles like Rich Contrast or Vibrant to make their photos pop. Filters can be swiped through and applied live, letting photographers see how a photo will appear before they take it.

Mastering Portrait and Macro Modes

Portrait Mode creates striking images by focusing on the subject and artistically blurring the background. Users can adjust the depth effect to change how much background blur is applied, which is perfect for photos of friends or to highlight a subject in a busy scene. For close-up photography, Macro Mode kicks in automatically, allowing for stunning detail when photographing tiny subjects, from intricate floral patterns to the texture of fabrics.

Pro Techniques for iPhone 14 Videography

To produce professional-grade videos using the iPhone 14, one needs to master several key settings. These include the proper use of high-definition formats, video modes, and special features that enhance the visual experience.

Capturing 4K and Slo-mo Videos

The iPhone 14 allows users to shoot videos in 4K resolution, delivering sharp and detailed footage. Users can set the video resolution to 4K from the Camera app’s settings, ensuring that all recorded content meets high visual standards. For slow-motion effects, the iPhone 14’s slo-mo feature can seamlessly create dramatic scenes, particularly useful for action shots or to highlight a moment. To capture slo-mo videos, users simply switch to the Slo-mo mode in the camera settings and choose the desired frame rate.

Maximizing Video Quality with ProRes and Cinematic Mode

By utilizing Apple ProRes, videographers can capture videos with less compression, preserving more data for post-production. This is ideal for editing footage while maintaining high fidelity. To enable ProRes, users need to visit their Settings and toggle on ProRes under the Camera options. Cinematic mode, on the other hand, brings a depth-of-field effect to videos, automatically adjusting focus to give a professional look. To record in Cinematic mode, users select it from the video options and then just press the shutter button.

Exploring Advanced Video Settings

For those aiming to take full creative control, the iPhone 14’s advanced video settings offer just that. Users can manually adjust exposure by tapping the screen and dragging the sun symbol up or down, which adjusts brightness. The volume up button allows for quick video capture. Additionally, features like Time-lapse and the new Action Mode, which offers gimbal-like stabilization, open up new possibilities for dynamic video capture. Users should also monitor their battery life as high-quality video modes can consume more power.

By mastering these settings, iPhone 14 users are equipped to produce high-caliber video content directly from their device.

Frequently Asked Questions

Getting the most out of your iPhone 14 camera is straightforward when you adjust the right settings.

How can I enhance my iPhone 14 photos to achieve professional quality?

Professional-looking photos begin with composition; use the Grid function to align shots properly. Then, ensure HDR is activated to balance the light and shadows in your images.

What are the optimal camera settings on the iPhone 14 Pro for taking high-resolution pictures?

For high-resolution pictures, set your iPhone 14 Pro to capture images in Apple ProRAW. This format retains more detail, ideal for editing later.

How do I adjust my iPhone 14 camera for the clearest and sharpest selfies?

For sharp selfies, use the front camera’s Portrait Mode, which adds depth and focus to your face. Make sure the camera is set to use the highest megapixel setting.

What specific iPhone 14 camera settings should I use to improve photo quality in low-light conditions?

In low-light situations, Night mode automatically enhances photo quality. You can also manually control the exposure to lighten the photo before you take the shot.

Which features in the iPhone 14’s camera should I prioritize for the most detailed and vibrant images?

Prioritize using Smart HDR and Deep Fusion technologies, available on the iPhone 14, to bring out the best in your photos with rich details and vibrant colors.

How do I utilize the advanced camera settings on my iPhone 14 to take advantage of its full photographic capabilities?

Explore the Advanced Settings and use features like Photographic Styles and ProRAW to have more control over the final look of your images, achieving closer to professional camera output.

Similar Posts