To replace or upgrade your computer’s memory (RAM) and improve your system’s performance you have to start by first identifying the type of RAM your computer uses. You’ll also want to ensure that you either have available slots for the new memory or you’ll have to remove the RAM in there to free up slot. It’s also always a good idea to refer to your PC’s manual to ensure you purchase the correct RAM type and speed.
Once you’re ready to install the new memory, make sure everything is powered down and unplugged from power. Then open your computer case, locate the RAM slots, and place the new RAM sticks. By following these steps, you can breathe new life into your operating system and enjoy improved performance.
Replacing PC RAM: A Simple Guide
Replacing or upgrading the RAM (Random Access Memory) in your PC can significantly enhance its performance. By following these easy steps, you can do it yourself without the need for a technician.
Step 1: Check Compatibility and Choose New RAM
Before purchasing new RAM, you need to check your motherboard’s manual to determine what type and speed of RAM it supports. This will ensure that the RAM you choose is compatible with your system. Note the existing RAM’s capacity and type, and then get new RAM that matches or exceeds that capacity.
Step 2: Prepare Your Workspace
Find a clean, well-lit workspace with a flat surface to avoid accidental drops. Discharge any static electricity from your body by touching a metal object, such as your computer case, to prevent damage to the RAM modules.
Step 3: Open Your PC Case
Power off your computer and unplug all cables, including the power cord. Unscrew the side panel of your PC case. Consult your PC’s manual for specific instructions on how to open it.
Step 4: Locate the RAM Slots
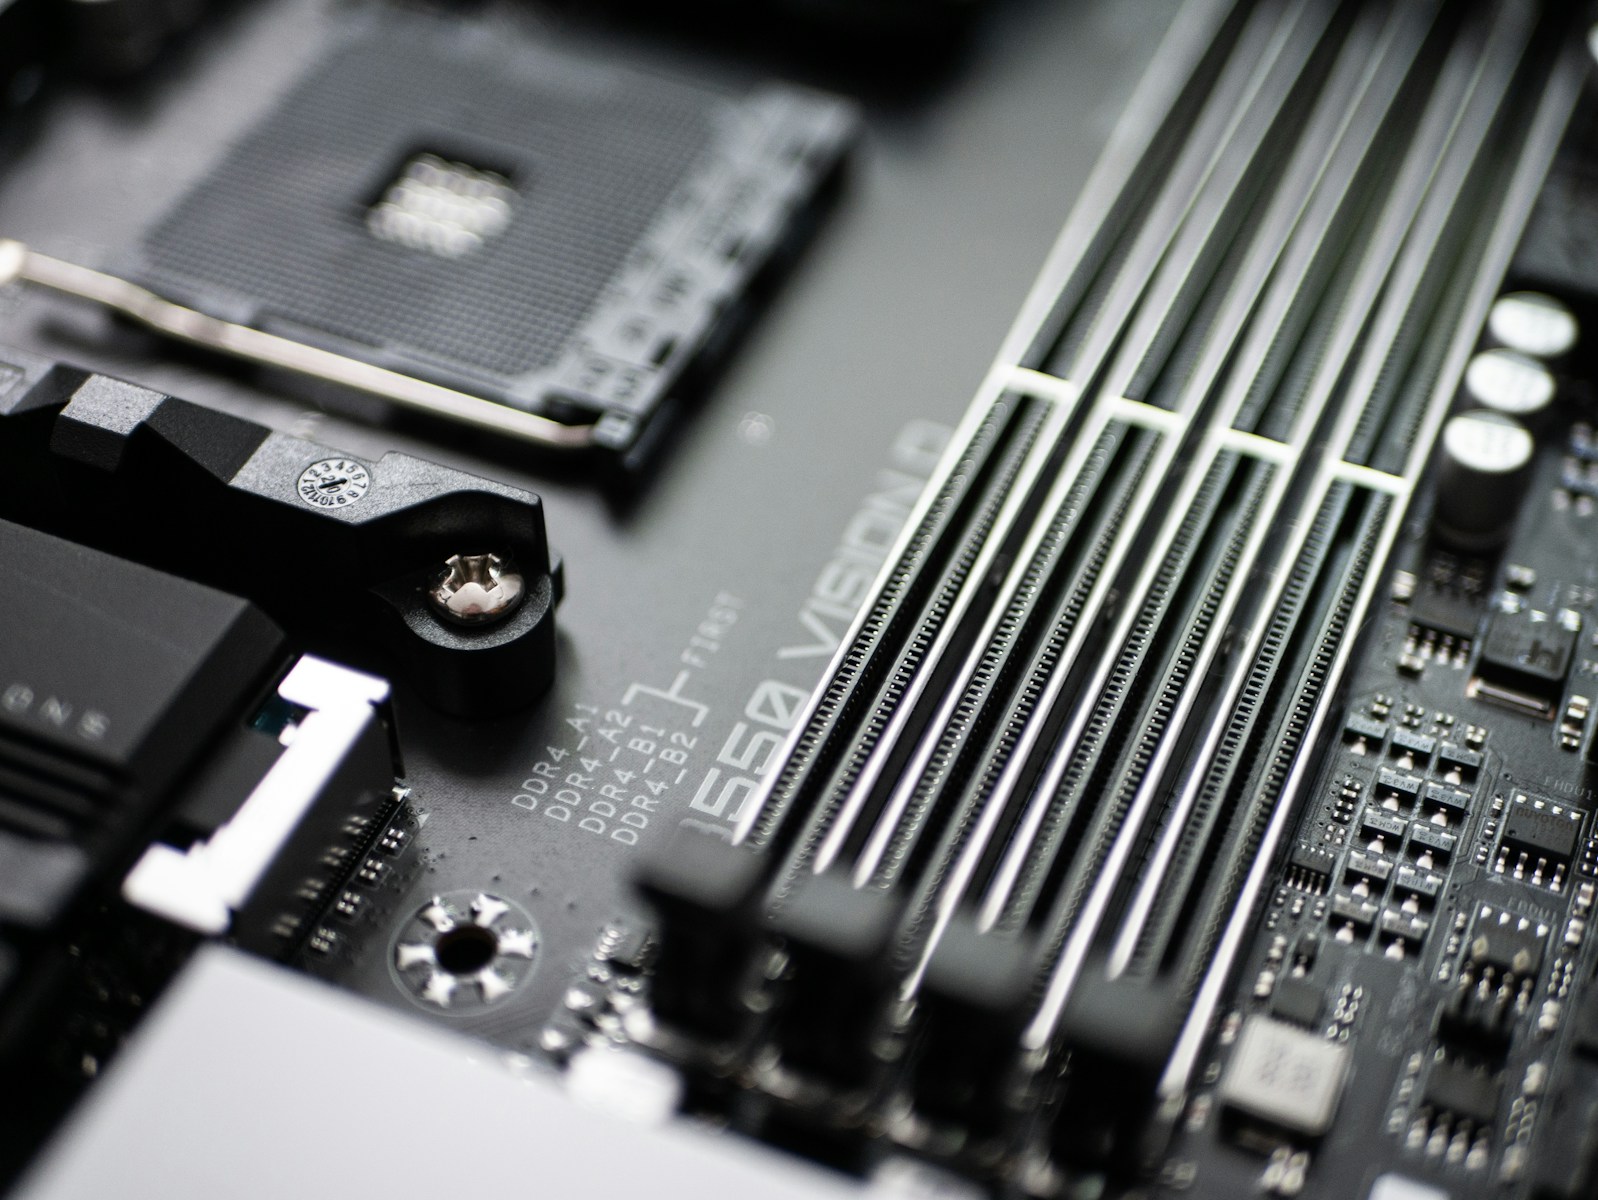
Inside the case, you’ll see the motherboard. The RAM slots are long, narrow slots usually located near the CPU. They often have clips or latches on both ends.
Step 5: Remove the Old RAM
Push down the clips or latches on both ends of the RAM slots to release the old RAM modules. They should pop up slightly. Gently pull the old RAM modules straight out of the slots.
Step 6: Install the New RAM
Align the notch on the new RAM module with the key in the RAM slot. Gently push the new RAM module into the slot until you hear a click, indicating that it’s securely in place. The clips or latches should automatically lock into position.
Step 7: Close Your PC Case
Once all the new RAM modules are installed, close the side panel of your PC case and secure it with the screws.
Step 8: Test Your New RAM
Reconnect all cables to your computer and power it on. The BIOS (Basic Input/Output System) should automatically detect the new RAM. Enter the BIOS setup to verify that the new RAM is recognized correctly.
Troubleshooting: If Your Computer Doesn’t Boot
If your computer doesn’t boot after replacing the RAM, try reseating the modules to ensure they are correctly installed. Check for bent pins or other damage to the RAM slots or modules. Consult your motherboard manual or the RAM manufacturer’s website for further troubleshooting advice.
Table of RAM Types
| RAM Type | Description |
|---|---|
| DDR4 | The most common type of RAM found in modern PCs. Offers high speeds and low power consumption. |
| DDR5 | The latest generation of RAM, offering even higher speeds and efficiency than DDR4. |
| SO-DIMM | Smaller version of RAM modules used in laptops and other compact devices. |
Key Takeaways
- Adding more RAM can significantly boost computer performance.
- Knowing your computer’s RAM specifications is crucial before purchase.
- Safe and correct installation of RAM requires proper preparation and handling.
Preparing for RAM Installation
Properly preparing for RAM installation is crucial for a smooth and safe upgrade. This involves taking safety precautions, gathering necessary tools, and ensuring compatibility with your computer’s specifications.
Safety Precautions
Before handling RAM, shut down your computer and unplug it from the power source. This prevents electrical shock and damage to components.
Ground yourself to avoid static electricity, which can damage computer parts. Use an anti-static wrist strap or touch a metal part of the computer case frequently.
Wear gloves if possible to keep oils and dirt from damaging sensitive parts.
Required Tools
Gather the necessary tools. You’ll need a screwdriver to open the computer case. Remove any screws securing the side panel.
Have a small flashlight handy to see the RAM slots clearly.
Refer to the motherboard manual for specific instructions about your system.
Identifying RAM Compatibility
Check your current RAM type and capacity. Common types include DDR, DDR2, DDR3, DDR4, and DDR5.
Use software like Speccy to see your RAM specs, or consult your motherboard’s manual.
Look for the number of memory slots available on your motherboard. Ensure the RAM modules are compatible with these slots.
Refer to online resources or your computer’s manual to confirm the maximum RAM capacity your motherboard supports.
Make sure to match the notch on the RAM module with the socket on the motherboard for proper installation.
Frequently Asked Questions
This section addresses common questions about replacing RAM in a PC, offering detailed answers on installation steps, precautions, compatibility, and performance impacts.
What steps are required for installing new RAM in a desktop PC?
Ensure the computer is turned off and unplugged. Remove the side panel to access the motherboard. Identify the RAM slots, then unlock the slots’ clips. Insert the RAM sticks, making sure they align with the slot notches. Press firmly until the clips lock the sticks in place. Replace the side panel and power the computer back on.
How can I upgrade my laptop’s RAM and what precautions should I take?
Turn off and unplug the laptop. Remove the battery if possible. Find and open the RAM access panel on the underside. Handle the RAM sticks by their edges to avoid static damage. Remove the old RAM by gently pushing the clips to release it, then install the new RAM by aligning the notch and pressing it into place until it clicks.
Is it possible to replace RAM on a Windows 10 computer without losing data?
Yes, replacing RAM does not affect data stored on the hard drive or SSD. Simply follow proper installation procedures to ensure the new RAM is correctly recognized by the system upon restart.
What should be done post-installation after upgrading a computer’s RAM?
After installing the new RAM, turn on the computer and enter the BIOS/UEFI firmware to check if the new memory is detected. Save any changes and exit the BIOS. Boot into the operating system and verify the new RAM under system properties or a system information tool.
Are there any compatibility concerns when adding additional RAM to existing memory?
Ensure that the new RAM matches the specifications of the existing RAM, including type (e.g., DDR3, DDR4), speed, and voltage. Check the motherboard’s maximum supported RAM capacity and the number of available slots. Mixing different brands may work, but it’s safest to use the same brand and model.
Can I install RAM modules with different capacities or speeds, and how will it affect performance?
Installing RAM modules with different capacities or speeds is possible, but it may lead to suboptimal performance. The system usually defaults to the speed of the slowest module. For best performance, use matching RAM sticks with the same capacity, speed, and timings.

