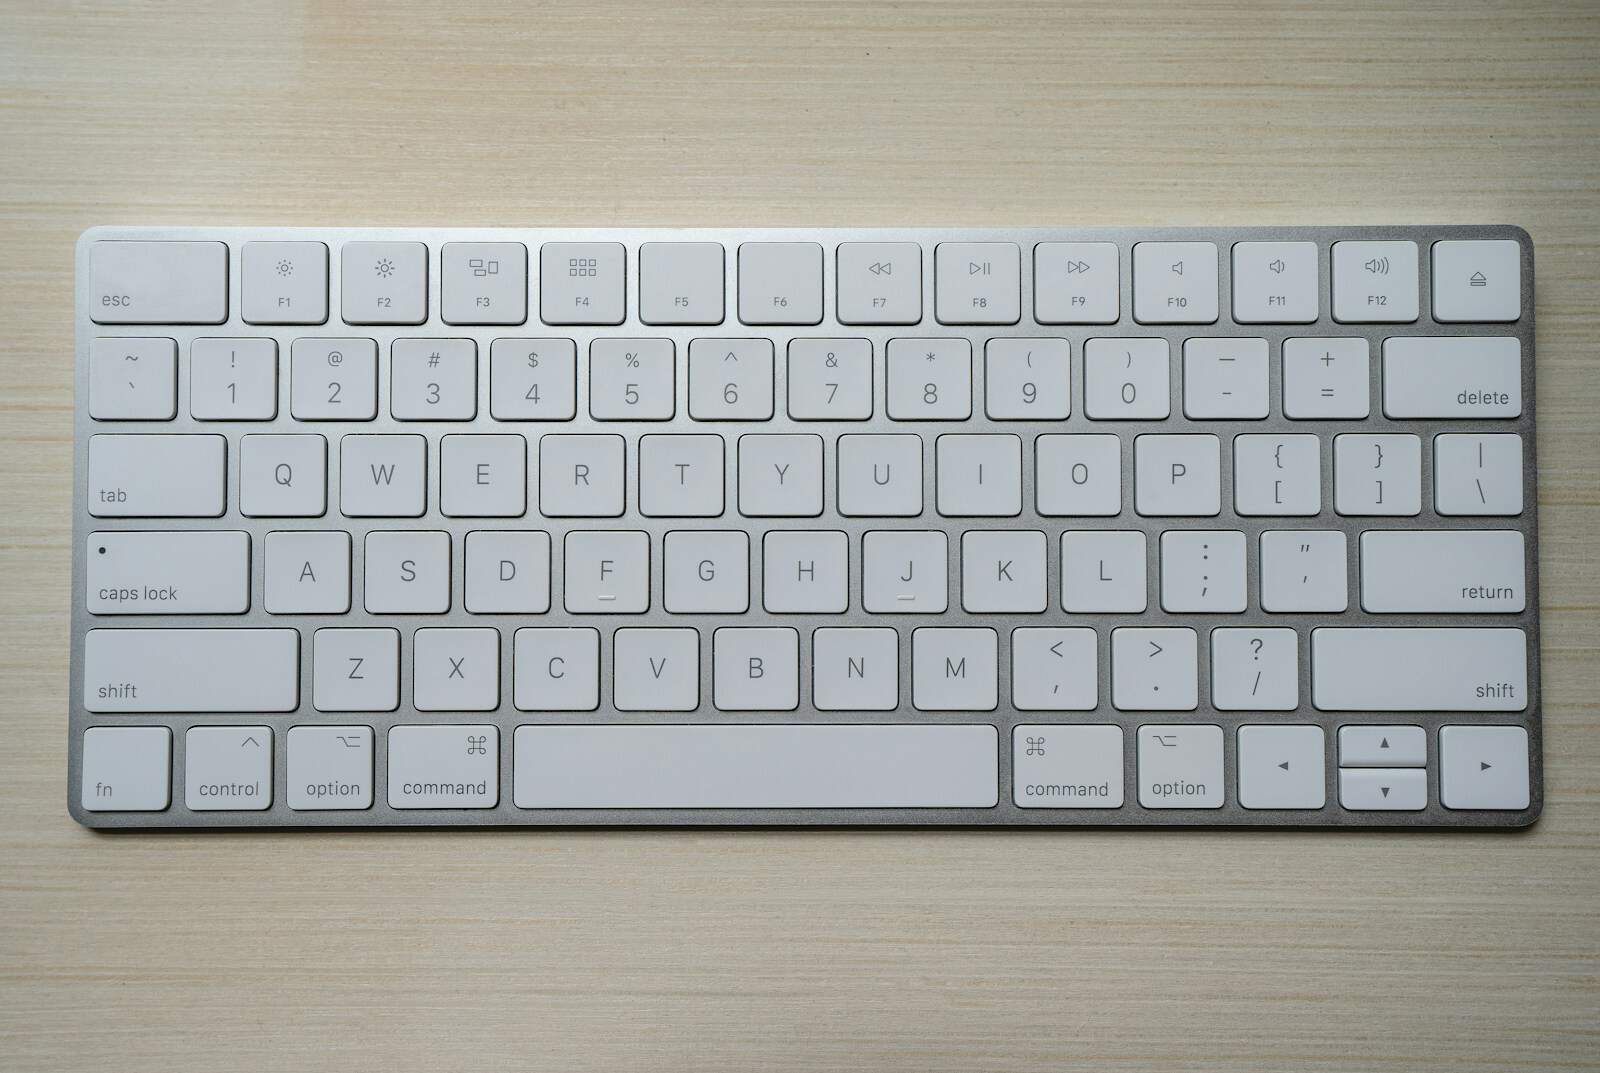
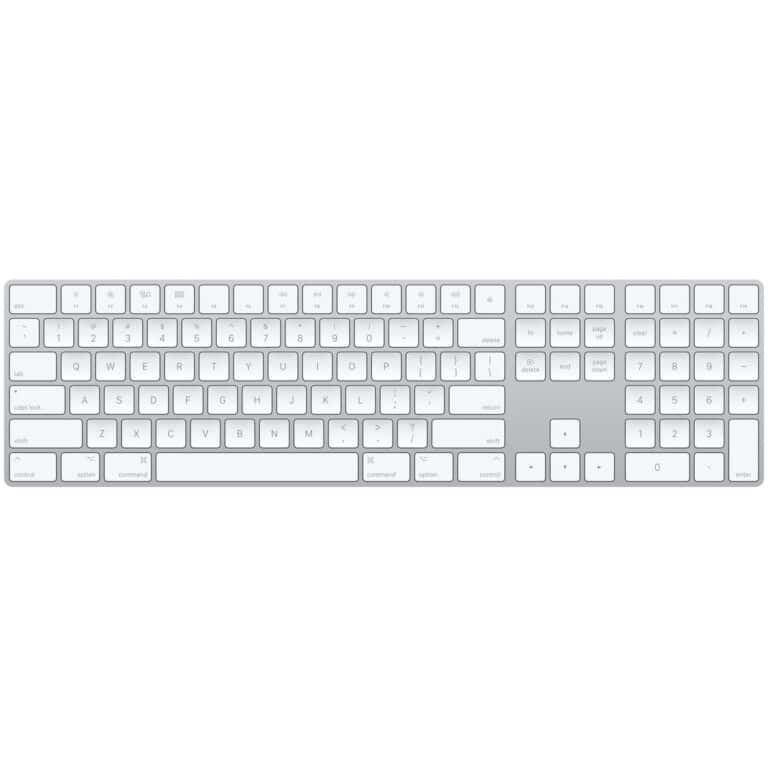
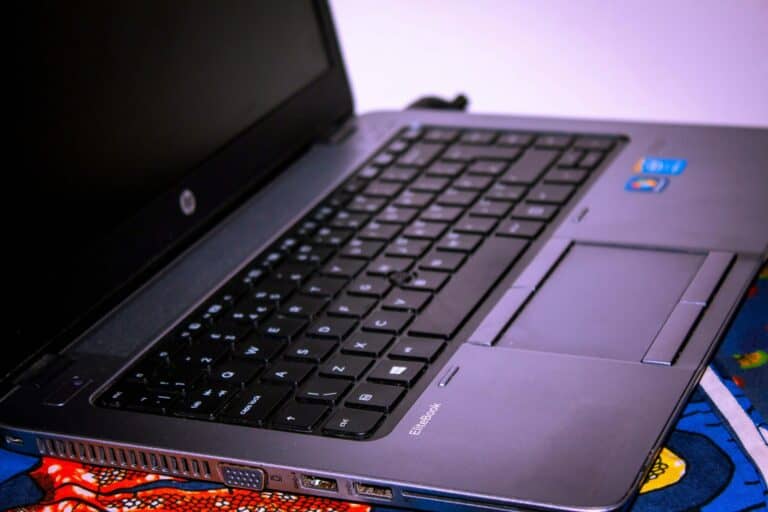
Keeping your keyboard clean is important for maintaining hygiene and device performance. Dust, crumbs, and other debris can accumulate over time, which can interfere with key action and potentially cause malfunction. Regular cleaning can help to keep your keyboard functioning smoothly and extend its lifespan. It’s a simple task that can prevent dirt from hindering your typing experience and guard against the buildup of germs, especially in shared environments.
To begin the cleaning process, it’s important to prepare and avoid damaging your keyboard. Before you start, make sure you power off the device and disconnect it. This step is necessary to protect both the user and the device’s electronic components. With the right tools and techniques, anyone can clean their keyboard effectively without risking any damage to its keys or circuits.
Keyboard Care and Cleaning Guide
A clean keyboard is more than just about looks; it can also impact your typing experience and the longevity of your device. Here’s a simple guide to help you keep your keyboard in top condition:
Basic Cleaning Steps:
- Disconnect or Power Off: If you’re cleaning an external keyboard, unplug it from your computer. If it’s a laptop keyboard, turn off your device to avoid accidental inputs.
- Shake It Out: Turn the keyboard upside down and gently shake it to dislodge crumbs and debris.
- Compressed Air: Use a can of compressed air to blow away dust and particles from between the keys. Hold the can upright and use short bursts of air.
- Brush It Off: A soft-bristled brush, like a makeup brush or a dedicated keyboard cleaning brush, can help remove stubborn dirt. Gently brush between the keys in a sweeping motion.
- Cleaning Solution (Optional): For a deeper clean, dampen a microfiber cloth with a mild cleaning solution (isopropyl alcohol diluted with water works well) and gently wipe the keys and surrounding areas. Avoid getting liquid into the keyboard.
- Dry Thoroughly: Allow the keyboard to air dry completely before reconnecting or using your device.
Keycap Removal (Optional):
If your keyboard allows for keycap removal (consult your keyboard’s manual), you can take off the keys for a more thorough cleaning. Use a keycap puller tool to avoid damaging the keys.
Cleaning Different Keyboard Types:
| Keyboard Type | Cleaning Considerations |
|---|---|
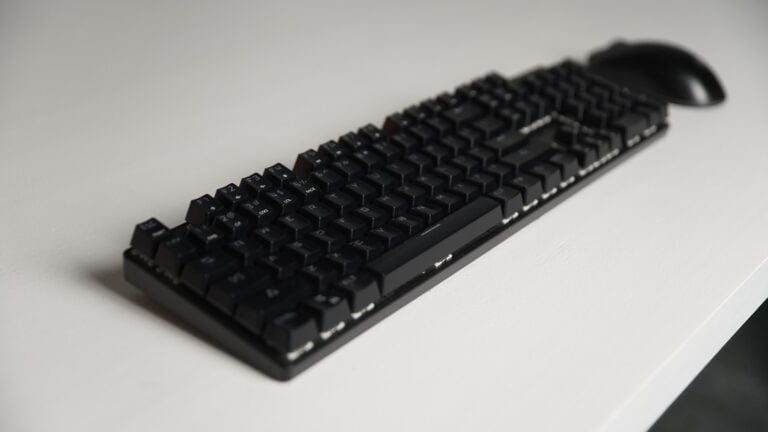
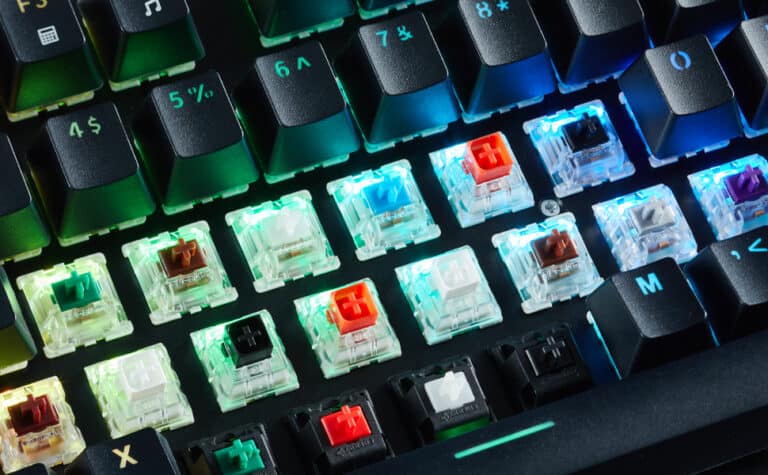
| Mechanical Keyboard | Keycaps are easily removable, allowing for easier deep cleaning. Use a brush to clean the switches underneath. |
| Laptop Keyboard | Be extra gentle to avoid getting liquid under the keys. Use a damp cloth with minimal moisture. |
| Membrane Keyboard | Keycaps may be more difficult to remove. Focus on surface cleaning with a cloth and compressed air. |
Additional Tips:
- Regularly clean your keyboard to prevent dirt buildup.
- Avoid eating or drinking near your keyboard.
- If you spill liquid on your keyboard, immediately turn off your device and disconnect it if possible. Try to absorb as much liquid as you can with a paper towel and allow it to dry thoroughly before using it again.
- Consider a keyboard cover to protect it from dust and spills.
By following these simple steps, you can keep your keyboard clean and functioning smoothly for years to come.
Why Clean Your Keyboard?
Keyboards collect dust, crumbs, oils, and bacteria over time. Regular cleaning keeps it hygienic, improves performance, and extends its lifespan.
🛠️ What You’ll Need
- Soft microfiber cloth
- Compressed air can (or a small hand blower)
- Cotton swabs or soft brush
- Mild soap or isopropyl alcohol (70%+)
- Small bowl of water
- Keycap puller (for mechanical keyboards)
🪣 Step 1: Power Down
- Turn off your computer (or disconnect the keyboard if external).
- If it’s a laptop, unplug it and remove the battery if possible.
🌀 Step 2: Shake Out Loose Debris
- Hold the keyboard upside down and gently shake to dislodge crumbs and dust.
- You can also tap it lightly on the back.
💨 Step 3: Blow Out Dust
- Use compressed air to blast dust from between keys.
- Work in short bursts to avoid condensation.
- A soft brush or handheld vacuum (on low power) also works.
🧽 Step 4: Surface Cleaning
- Lightly dampen a microfiber cloth with water or isopropyl alcohol.
- Wipe down the key surfaces and keyboard frame.
- For stubborn grime, dip a cotton swab in alcohol and clean around the key edges.
⚠️ Never pour liquid directly onto the keyboard.
🔧 Step 5: Deep Cleaning (Optional)
For mechanical or removable‑key keyboards:
- Use a keycap puller to gently remove keys.
- Soak keycaps in warm, soapy water for 15–30 minutes.
- Rinse and let them dry completely before reattaching.
- While keys are off, wipe the base with a damp cloth or brush.
✨ Step 6: Reassemble & Final Wipe
- Reattach dry keycaps (if removed).
- Give the keyboard one last wipe with a dry microfiber cloth.
🕒 Maintenance Tips
- Quick wipe once a week.
- Deep clean every 1–3 months (more often if you snack at your desk).
- Wash hands before use to reduce buildup.
Key Takeaways
- Regular cleaning can improve keyboard hygiene and function.
- Proper preparation is key to safe and effective keyboard maintenance.
- Efficient cleaning techniques protect the keyboard’s integrity.
Preparing for Cleaning
Cleaning a computer keyboard requires careful preparation. This ensures the cleaning process is safe for the keyboard and effective in removing dirt and debris.
Selecting the Appropriate Cleaning Supplies
Before starting, one must choose the right tools. For a thorough cleaning, gather the following:
- Compressed air: Blows away loose debris.
- Cotton swabs: Reaches tight spaces.
- Microfiber cloth: Gently removes fingerprints and smudges.
- Isopropyl alcohol (at least 70%): Sanitizes and evaporates quickly.
- Cleaning slime: Picks up dust from between keys.
- Disinfectant sprays (optional): Cleans surface germs.
Remember, liquids should never be sprayed directly onto the keyboard. They should always be applied to a cloth first.
Setting Up the Cleaning Area
Choose a clean, well-lit workspace to arrange tools and place the keyboard. One should have enough room to maneuver around the keyboard comfortably. Follow these steps to get ready:
- Power off the computer.
- If using an external keyboard, unplug it from the desktop.
- If cleaning a laptop keyboard, ensure the laptop is off and unplugged.
- Place a lint-free cloth underneath to catch any debris and prevent scratches.
By preparing well, one sets the stage for a successful and safe cleaning process.
Cleaning Process
The keyboard is an essential part of the daily computer use routine. A clean keyboard can not only provide a more pleasant typing experience but also extend the life of the device. The following steps will outline the process for effective keyboard cleaning.
Removing Dust and Debris
Before starting, unplug the keyboard or turn off the device if it’s a laptop. Turn the keyboard upside down and gently shake it to dislodge loose crumbs and dirt. Next, take a can of compressed air and blow between the keys to remove dust. A small vacuum or a keyboard brush can also be used to sweep away particles.
Deep Cleaning
For a thorough clean, especially on mechanical keyboards, remove the keycaps using a keycap puller. If there are spills or sticky residues, a toothpick may help in removing the slime. Wash the keycaps in warm, soapy water with a bit of dish soap. Gently scrub them if there is embedded grime. For the base of the keyboard, use a slightly damp microfiber cloth to wipe the surface. Do not pour or spray any liquids directly onto it.
Disinfecting and Wiping Down
After the keys and keyboard surface are free from dust and spills, it’s time to disinfect. Use disinfecting wipes or a cloth with rubbing alcohol to wipe down the keytops and the keyboard’s surface. This step helps remove germs and makes the keyboard safe for daily use. Ensure the cloth is damp, not wet, to avoid moisture damage.
Reassembling and Final Touches
Once the keycaps are dry, place them back on the keyboard. Press firmly to attach each cap to its switch. For laptop keyboards or non-mechanical keyboards that do not have removable keys, clean the tops and sides of the keys with care. Use the microfiber cloth and rubbing alcohol to give a final wipe. Let the keyboard dry completely before plugging it back in or powering it on.
By following these steps, you can maintain a clean and functioning keyboard which is beneficial for both hygiene and device performance.
Frequently Asked Questions
This section addresses some common inquiries about keyboard cleaning. It provides specific, straightforward advice to help you maintain your keyboard effectively.
What are the best methods to clean a laptop keyboard?
For a laptop keyboard, start with a can of compressed air to blow dust from between the keys. Use a soft brush or a lint-free cloth to gently sweep away any remaining debris. For light cleaning, a damp cloth with water can be effective, but make sure the cloth is not wet enough to drip into the electronics.
Can I clean my keyboard without removing the keys, and how?
Yes, you can clean your keyboard without removing the keys by using compressed air to dislodge dirt and a microfiber cloth slightly dampened with isopropyl alcohol to clean the surface. Make sure the keyboard is powered off before starting.
What are effective solutions for cleaning under the keys of a computer keyboard?
To clean under the keys, gently tilt the keyboard and use compressed air to remove debris. For stubborn dirt, a keycap puller can be used to carefully remove the keys and allow for more thorough cleaning. Be sure to consult your keyboard’s manual as some keys may have specific removal instructions.
Is it safe to use alcohol wipes to clean my keyboard?
Alcohol wipes are safe for cleaning keyboards as they evaporate quickly and don’t leave moisture behind. Ensure the wipes are not overly wet and the keyboard is turned off before cleaning. Avoid wipes with bleach as they can damage the key’s surface.
What tools are recommended for dust removal from keyboards?
Compressed air is the top choice for removing dust from keyboards. Small handheld vacuum cleaners designed for electronics can also be useful. Use these tools gently to prevent damage to the keys or the keyboard’s internal components.
How should I clean my mechanical keyboard to avoid damage?
Turn off and unplug your mechanical keyboard. Use compressed air to blow out dust. If individual keys need deeper cleaning, remove them using a keycap puller, clean with a damp cloth, and dry thoroughly before reassembling. Avoid spilling liquids on the circuit board.

