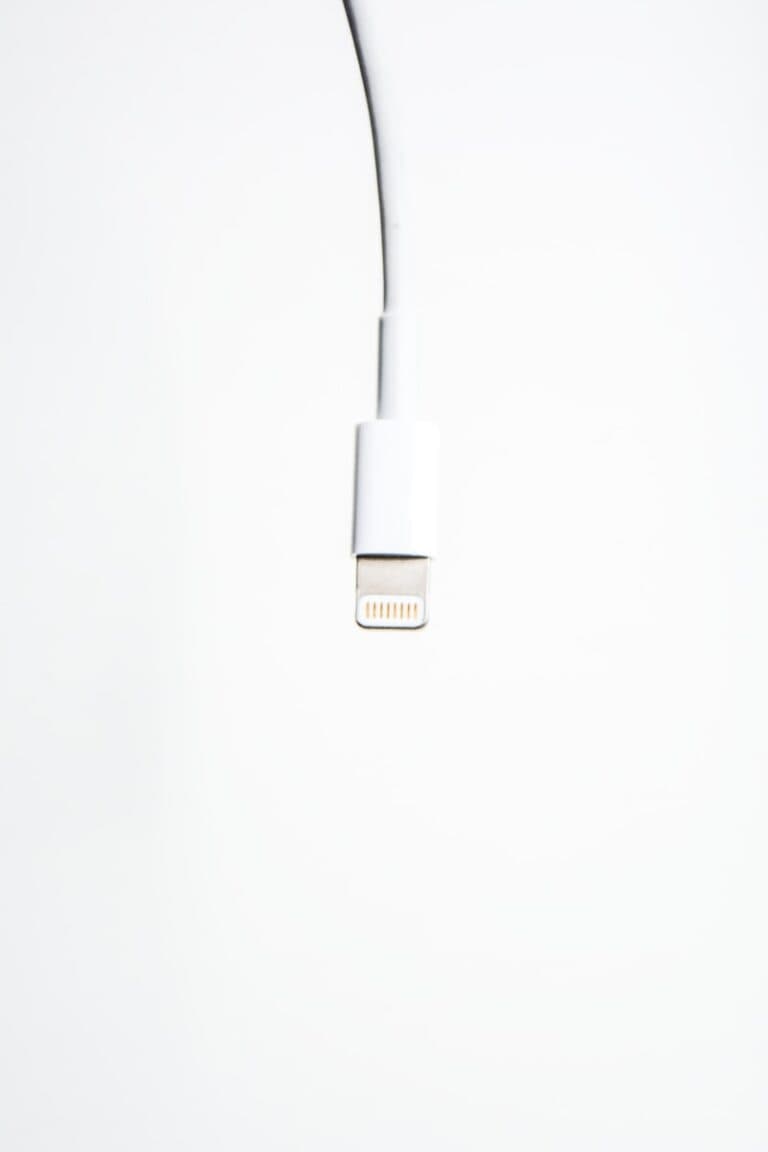
Our gadgets rely on charging ports to power up and stay connected. But with regular use, these ports can develop problems like lint buildup, damage from accidental drops, or normal wear and tear. Knowing how to diagnose and repair a faulty charging port is essential to keep our devices working and to save time and money.
The process typically starts with a careful examination to identify the issue, such as finding debris blocking the port or spotting visible damage like bent pins. Then, the correct repair method is chosen, which could involve cleaning the port with tools like a toothpick or compressed air, or more complex steps like dismantling the device to straighten bent pins or replace the port entirely. It’s important to use the right tools, like precision screwdrivers, and to handle each component with care to avoid causing further damage.
Charging Port Repair
A faulty charging port can quickly turn your smartphone, tablet, or laptop into a paperweight. Whether your device won’t charge, charges intermittently, or doesn’t recognize the cable, this guide covers everything you need to diagnose, fix, or replace your charging port safely and effectively.
🧰 Step 1: Identify the Problem
Before you grab any tools, determine what’s actually wrong. Common symptoms include:
- The device doesn’t charge at all.
- The charging cable feels loose or doesn’t click in.
- Intermittent charging (charges when you wiggle the cable).
- Overheating or burning smell from the port.
- No data transfer when connected to a computer.
Quick Diagnostic Tips:
- Try a different cable and adapter – Rule out accessory issues.
- Test a different outlet or power source – Sometimes it’s not the device.
- Charge another device with the same cable – Confirms if the cable is working.
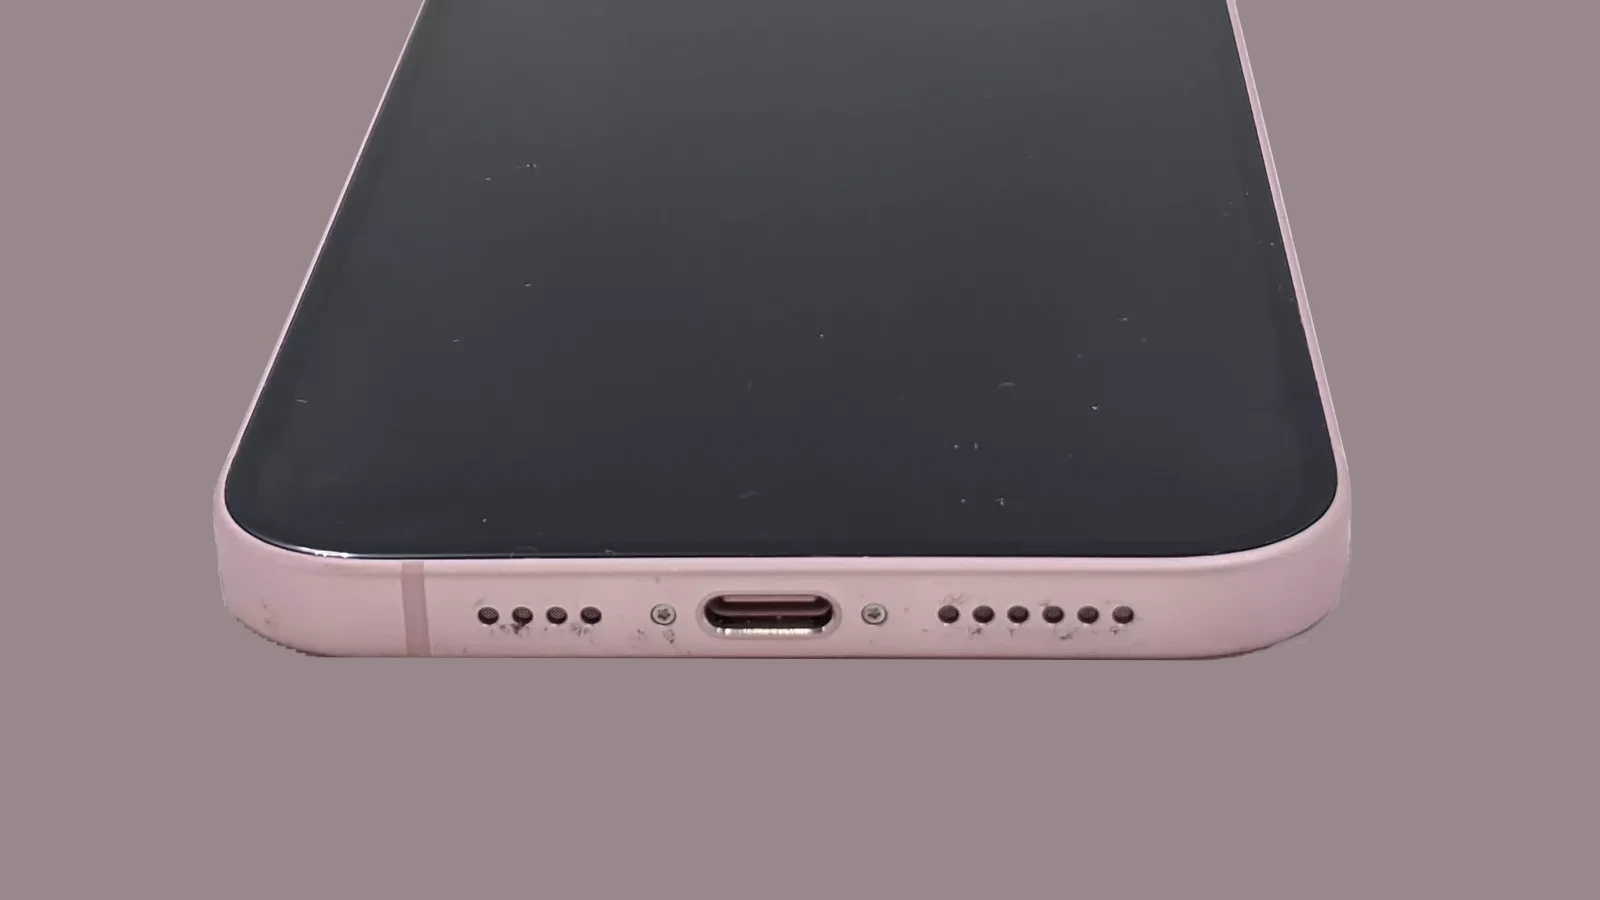
- Inspect the port with a flashlight – Look for lint, dust, or bent pins.
🧽 Step 2: Clean the Charging Port
Dirt and debris are the most common culprits for charging problems.
You’ll need:
- A wooden or plastic toothpick
- A can of compressed air
- A soft brush or anti-static brush
Steps:
- Power off your device.
- Use the toothpick to gently remove visible debris.
- Blow compressed air into the port to clear out dust.
- Reinsert the charger and test.
⚠️ Avoid using metal objects (like paperclips) — they can damage internal pins or cause short circuits.
(Source: Lifewire)
🧩 Step 3: Check for Loose or Damaged Components
If cleaning doesn’t help:
- Gently wiggle the charging cable in the port — if it feels loose, the port may be detached from the motherboard.
- Look for bent or missing pins inside the port.
- For USB-C ports, check for corrosion or discoloration.
If you notice physical damage, you’ll likely need to replace the port (see Step 5).
⚙️ Step 4: Software & Power Management Fixes
Sometimes, it’s not the hardware — it’s software or power settings.
- Restart your device – Clears temporary charging bugs.
- Update firmware or OS – Outdated software can cause charging issues.
- Reset power management settings – On laptops, reset the SMC (Mac) or power cycle (Windows).
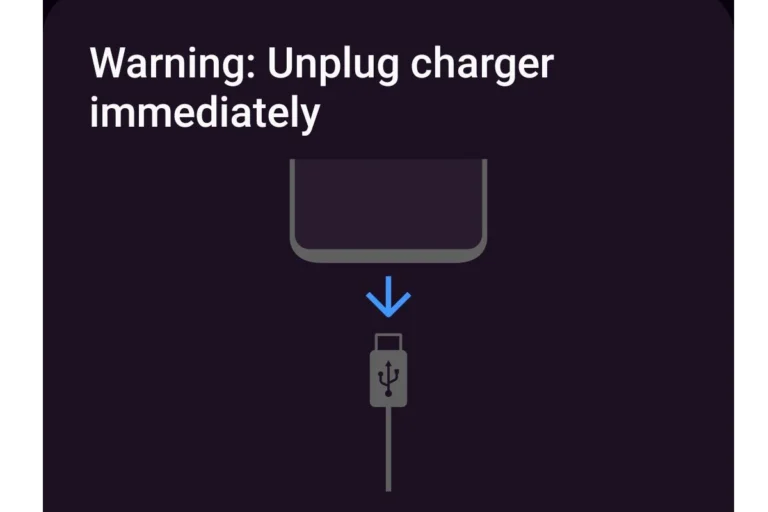
- Check for moisture alerts – Modern phones disable charging when moisture is detected.
🔧 Step 5: Replace the Charging Port (Advanced)
If all else fails, you may need to replace the charging port. This step requires technical skill and the right tools.
You’ll need:
- Precision screwdriver set
- Plastic opening tools
- Soldering kit (for some models)
- Replacement charging port
Basic Steps:
- Power off and disassemble your device carefully.
- Locate the charging port module (often part of a sub-board).
- Disconnect the battery before removing the port.
- Replace the faulty port and reassemble.
- Test charging before fully sealing the device.
If you’re not comfortable opening your device, it’s best to seek professional repair. (Source: Dash Cellular Repair)
🧠 Step 6: When to Seek Professional Help
DIY repair isn’t always the safest route. Consult a professional if:
- The device is under warranty.
- The port is soldered directly to the motherboard.
- You notice burning, corrosion, or battery swelling.
- Cleaning and software fixes haven’t worked.
Professional repair services can often fix or replace a charging port for $50–$150, depending on the device. (Source: Digital Vista Online)
⚡ Pro Tips for Preventing Future Damage
- Always insert and remove chargers gently.
- Avoid using your device while charging.
- Keep your port covered or clean regularly.
- Use certified cables and adapters (MFi, USB-IF, etc.).
- Avoid charging in humid or dusty environments.
✅ Final Thoughts
Most charging port issues are caused by simple debris or loose connections — problems you can fix at home in minutes. But if the port is physically damaged or the device shows no signs of power, professional repair is the safest and most effective solution.
Sources:
- Lifewire – Fix Your iPhone Charging Port: 11 Effective Solutions
- Dash Cellular Repair – How to Fix Charging Port
- Digital Vista Online – Charging Port Repair Guide
- MakeUseOf – How to Fix a Broken Charger Port
What to Do When Your Device Won’t Charge
A malfunctioning charging port can be a frustrating experience, leaving your phone or device unable to connect to a power source. Fortunately, there are often some simple steps you can take to fix the problem yourself before having to seek professional repair. Here’s how to troubleshoot and potentially fix a charging port issue:
Check for Debris
The charging port can easily become clogged with lint, dust, or other debris, preventing the charging cable from making a good connection. Follow these steps:
- Examine: Shine a flashlight into the port to see if you can spot any obstructions.
- Remove: Very gently use a non-metal toothpick or similar tool to dislodge any visible debris. Avoid excessive force to prevent damaging the port.
- Compressed air: If available, use a can of compressed air to blast out any remaining particles.
Test the Charging Cable and Adapter
Sometimes the issue might lie in your charging accessories, not the port itself. Here’s how to find out:
- Swap the cable: Try using a different charging cable with the same adapter. If it works, your original cable is likely faulty.
- Change the source: Plug your cable into a different power source, like a wall outlet instead of a computer USB port. This helps determine if the problem originates from the power supply.
- Different device: If possible, use your cable and adapter to charge a different device. If it works, the issue likely lies with your original device.
Inspect the Port for Damage
Look closely inside your charging port for signs of damage:
- Bent pins: If any pins inside look bent or out of alignment, this can cause charging problems. While you might be able to gently straighten them with a non-conductive tool, this is best left to professionals for safety.
- Other damage: Look for any cracks, corrosion, or other visible signs of damage.
Consider Software Issues
In some cases, the problem might not be physical:
- Restart: A simple restart can sometimes resolve software glitches that interfere with charging.
- Update software: Make sure your device is running the latest software as older versions may have bugs related to charging.
When to Seek Professional Repair
If the DIY troubleshooting steps don’t work, it’s time to consider professional help. Here’s when to seek a repair service:
| Issue | Signs |
|---|---|
| Damaged Pins | Bent or visibly misaligned pins inside the port |
| Internal Faults | No visible signs of damage, but charging consistently fails |
| Water damage | Phone was exposed to water or other liquids |
Remember: Attempting to repair a charging port yourself, particularly if internal components are involved, carries a risk of further damage to your device. If you’re not comfortable with delicate electronics, consult a professional technician.
Key Takeaways
- Proper diagnosis is key to successful charging port repair.
- Tools like toothpicks and precision screwdrivers are useful in repair.
- Handle device components with care during the repair process.
Preparing for Repair
Before you start fixing a charging port, it’s important to know the issue and have the right tools. Here’s how to get ready.
Identifying the Problem
First, power off the device. Look inside the charging port for signs of lint, debris, or damaged pins. For phones like the iPhone or Android devices, you may need to check the connectors and cable for damage as well. Make sure you remove any SIM card tray or battery that might interfere with the repair process.
Gathering Necessary Tools
You’ll need a few key tools:
- Screwdrivers: Both a Phillips screwdriver and others fitting your device’s screws.
- Spudger: This tool will help you gently pry open the case and disconnect ribbon cables without damage.
- Tweezers: Useful for handling tiny screws and components.
- Suction cup or iOpener: These tools assist in opening your device safely. A suction cup works well for screens, while an iOpener can loosen adhesive.
- Hair dryer or heat gun: Helps in melting adhesive, especially around the edges of glued-down batteries.
- Microfiber cloth: Cleans the port without leaving residue.
Having these tools at the ready can make repairing your charging port smoother and more efficient.
Step-by-Step Charging Port Repair
When your device stops charging, it often points to a faulty charging port. This section guides you through the process of repairing the port, assuming you have some DIY skills and the necessary tools.
Accessing the Charging Port
Firstly, power down your device to avoid any electrical issues. Carefully remove the back cover, which may be held in place by screws or adhesive. Heat may help loosen glue but be careful to not cause heat damage. For iPhones or other devices with sealed backs, you’ll often start by removing the screen. Lift it gently to reveal the screws that secure the charging port and proceed with caution to avoid damaging cables.
Removing and Replacing the Charging Port
After you’ve reached the charging port, check for debris or bent pins that could be causing the problem. If cleaning doesn’t help, you may need to replace the port. Remove any screws securing the port and disconnect it from the board. Devices with a USB-C port usually have it soldered on the board, which means you might need a soldering iron to detach and reattach the new port. If you’re not experienced with soldering, seek professional help to avoid permanent damage.
Reassembling the Device
Once the new charging port is securely in place, it’s time to reverse the disassembly steps. Reconnect cables and position the screen or back cover back in place. Snap any clips, screw in the screws, and press the cover back onto the frame. Make sure everything lines up correctly, and there are no gaps. Test the repair by connecting your device to a charger or a wireless charger. If the device still does not charge, professional assistance may be needed for a deeper fix.
Frequently Asked Questions
When dealing with charging port issues, it’s essential to get the right information. Here are some common questions answered to help you with your charging port repair concerns.
Can a damaged charging port be repaired?
A damaged charging port can often be fixed. A technician might clean out debris, reposition bent pins, or in more serious cases, replace the entire port.
What is the typical cost for charging port repair?
Costs vary based on the device and the extent of the damage. Typically, charging port repair can range from $20 to $100.
Are there alternative methods to charge a device when the charging port is inoperable?
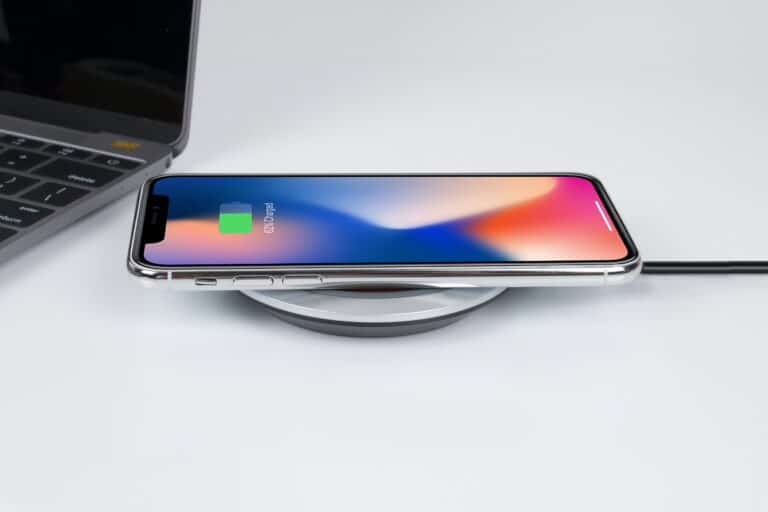
Some devices can be charged using wireless charging pads if they have the capability. Alternately, external battery chargers can be used for devices with removable batteries.
How long does it take to repair a charging port?
The repair time can vary, but many repairs are completed in less than two hours. Some might take longer, depending on the issue and the device.
Is it advisable to attempt repairing a charging port at home?
This depends on your skill level. If you have the right tools and knowledge, you might fix simple issues at home. Complex repairs are better left to the pros.
What are the common signs of a failing charging port?
Signs include difficulty connecting the charger, the charger not staying in place, and the device not charging consistently. Dirt or visible damage inside the port can also indicate problems.

