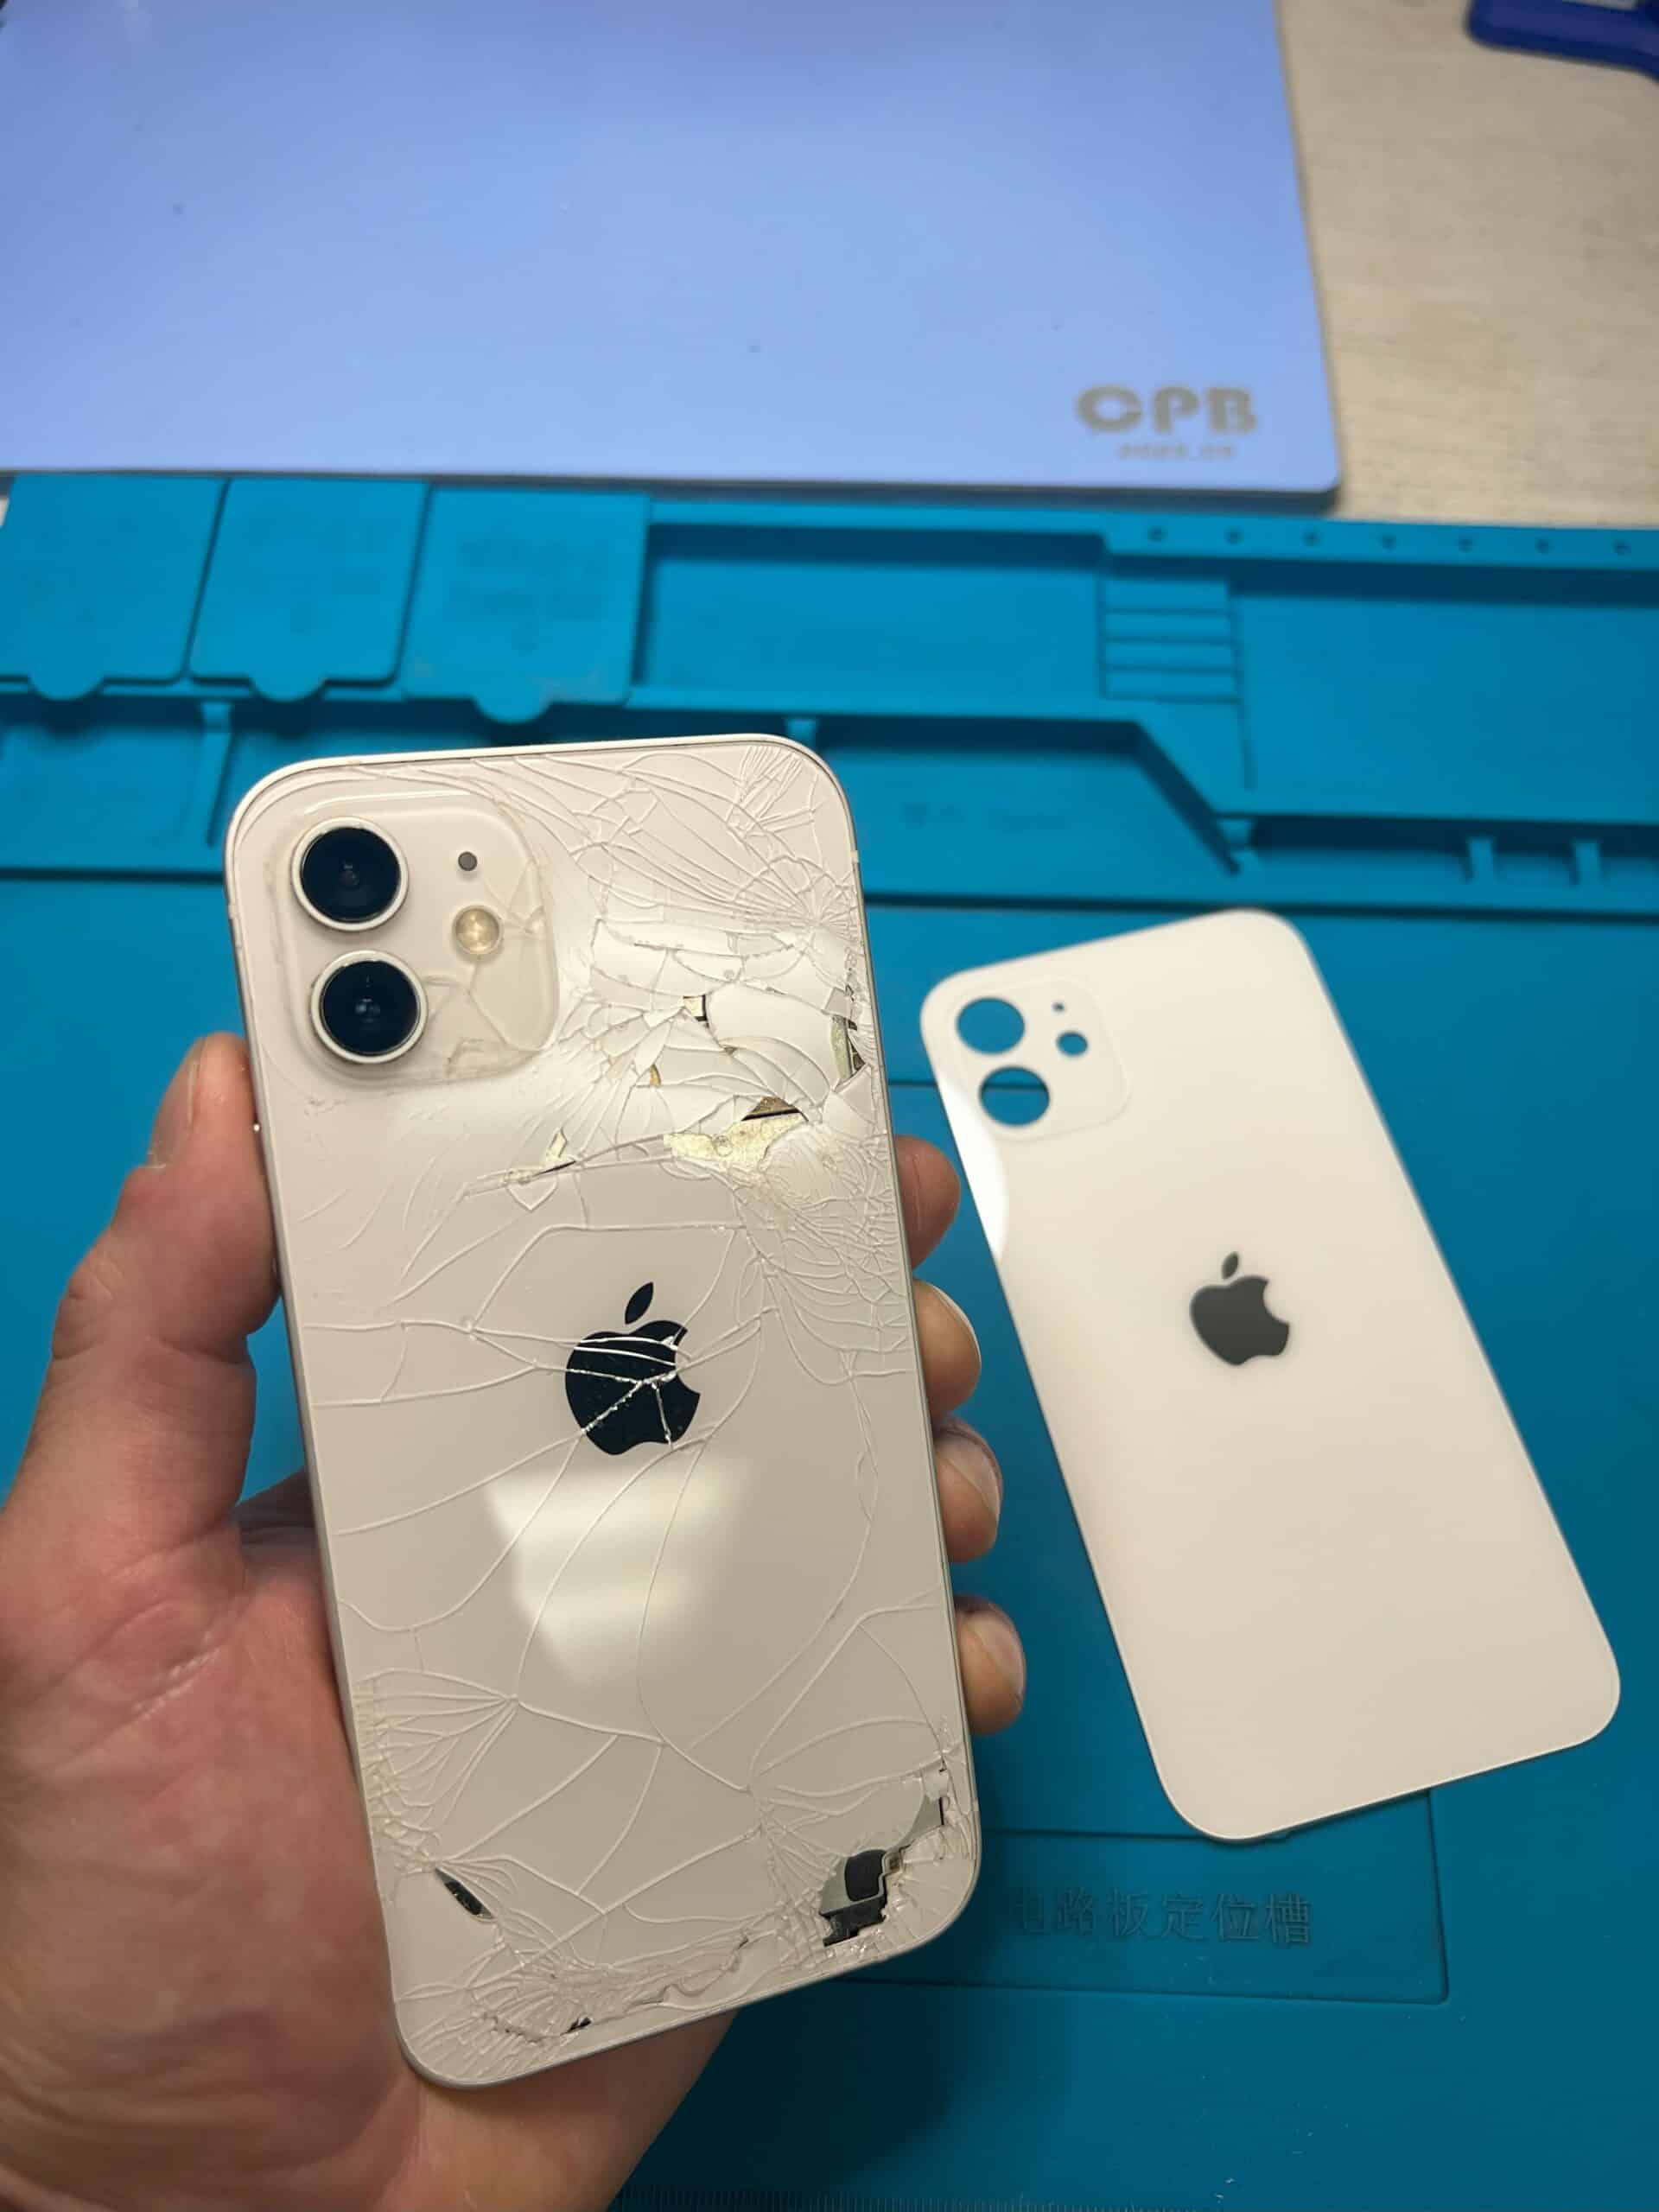
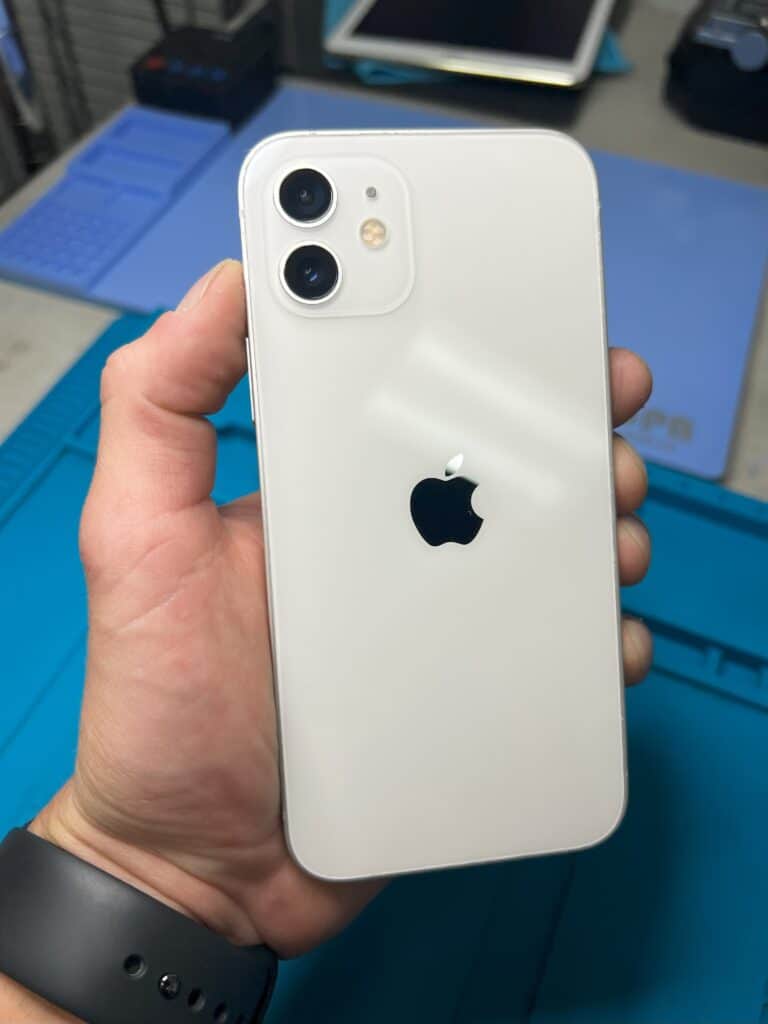
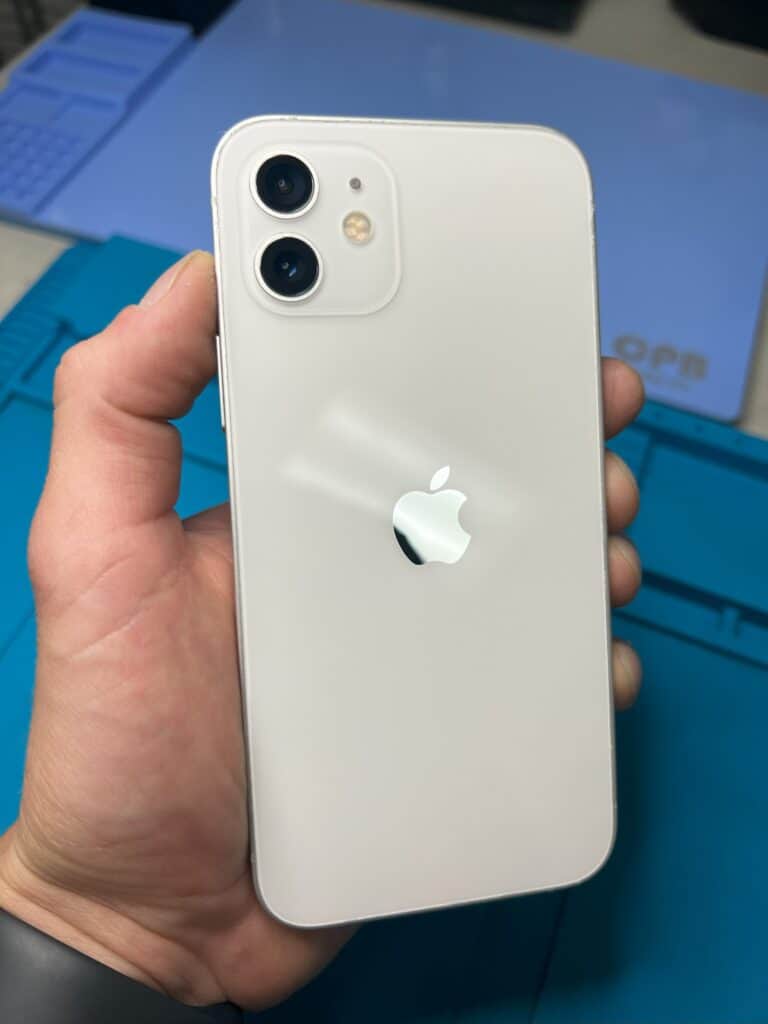
Replacing the back glass on an iPhone 12 is not as simple as swapping out a cracked screen. Apple designed the iPhone 12 series with MagSafe magnets and a wireless charging coil attached to the back glass, which makes the process more complex. The only way to replace the iPhone 12 back glass is by removing the adhesive, magnets, and coil before installing a new panel.
This repair demands care because the components sit close to the camera and charging system. Using the wrong method can damage the coil or cause the magnets to shift, which affects MagSafe alignment. Because of this, many turn to an authorized Apple service provider, but skilled technicians can complete the job with the right tools.
Anyone considering this repair should know the steps involve heating or laser tools to loosen adhesive, removing the coil, and reattaching the magnet array before sealing the new glass. The process is detailed and precise, but it restores both the look and function of the iPhone 12, iPhone 12 Mini, and iPhone 12 Pro.
🔧 Tools & Materials Needed
- Replacement back glass (specific to iPhone 12)
- Heat gun or hair dryer (to soften adhesive)
- Suction cup
- Plastic prying tools or guitar picks
- Safety glasses & gloves (for glass shards)
- Isopropyl alcohol (90%+) & lint-free cloth
- Adhesive remover (optional)
- New adhesive strips or pre-cut adhesive for iPhone 12
⚠️ Important Notes Before Starting
- The back glass is fused with strong adhesive—removal takes time.
- Avoid using metal tools near the wireless charging coil or logic board.
- If you’re not confident, consider visiting a repair shop.
🛠️ Step-by-Step Instructions
Step 1: Power Off the iPhone
Hold the side button + volume button → slide to power off.
Step 2: Heat the Back Glass
- Use a heat gun or hair dryer on medium heat.
- Warm the edges of the back glass for 2–3 minutes to soften the adhesive.
- Do not overheat (keep below ~80°C / 176°F).
Step 3: Create a Gap
- Place a suction cup near the bottom edge of the back glass.
- Gently pull upward to create a small gap.
- Insert a plastic prying tool or guitar pick into the gap.
Step 4: Separate the Glass
- Slowly slide the prying tool around the edges.
- Reapply heat as needed to keep adhesive soft.
- Work carefully around the camera bump—avoid scratching the lenses.
- Remove broken glass pieces with tweezers (wear gloves for safety).
Step 5: Clean the Frame
- Use isopropyl alcohol and a cloth to remove adhesive residue.
- Ensure the surface is smooth and clean before applying new glass.
Step 6: Apply New Adhesive
- Place pre-cut adhesive strips or apply liquid adhesive around the frame.
- Make sure adhesive covers edges evenly to prevent gaps.
Step 7: Install the New Back Glass
- Align the replacement back glass with the frame.
- Press firmly around the edges to secure it.
- Place the phone under a weight (like a book) for 30–60 minutes to ensure proper bonding.
Step 8: Power On & Test
- Turn the iPhone back on.
- Test wireless charging and camera functions to confirm everything works.
🧾 Extra Tips
- If the glass is severely shattered, applying clear tape before removal helps keep shards together.
- Avoid using too much adhesive—it can seep into components.
- Professional repair shops often use laser machines to remove glass cleanly, but DIY is possible with patience.
✅ You now have a fresh back glass on your iPhone 12!
Key Takeaways
- iPhone 12 back glass connects to magnets and the wireless charging coil
- Replacement requires removing adhesive and reattaching components
- Professional tools or service providers ensure proper repair
Replacing the iPhone 12’s back glass requires patience, the right tools, and careful handling to avoid damaging internal components.
Frequently Asked Questions
Replacing the back glass on an iPhone 12 requires careful work because of the glued magnets and wireless charging coil. Costs vary by model and service provider, and while some people try home repairs, specialized tools and skill are often needed for a safe and lasting fix.
How do you replace the back glass on an iPhone 12?
The process involves opening the phone, removing the wireless charging coil, and separating the glass with a laser or heat tool. The magnet array must be detached and later reattached. A new glass panel is then aligned, glued, and pressed into place before reassembling the phone.
What is the cost of repairing the back glass on an iPhone 12 Pro Max?
Repair costs usually range from $200 to $600, depending on whether the repair is done through Apple, a third-party shop, or with insurance coverage. Apple’s official service is typically on the higher end, while independent repair shops may offer lower prices.
Can the back glass of an iPhone 12 mini be replaced, and how?
Yes, the glass can be replaced. The steps are similar to other iPhone 12 models: disassemble the phone, remove the charging coil, separate the glass with laser or heat, and install a new piece. The smaller size makes handling delicate parts slightly more challenging.
What are the steps involved in replacing the back glass of an iPhone 12 Pro?
The main steps include removing internal parts that block access, applying laser or heat to soften adhesive, taking out the magnet array, and lifting off the glass. After cleaning the frame, the new glass is glued and pressed into place. The magnets and coil are then reinstalled before closing the phone.
Where can I find a service for iPhone 12 back glass repair?
Authorized Apple Stores and Apple-certified repair providers offer this service. Many independent repair shops also handle iPhone 12 back glass replacement, often at lower prices. Online mail-in repair services are another option for people without local access.
Is it possible to replace the back glass on an iPhone 12 at home, and what tools are needed?
It is possible but not simple. Tools often include a laser machine or heat gun, adhesive, pry tools, clamps, and protective gear. Because of the magnets and wireless charging coil, the process requires precision. Most users without repair experience may find professional service safer.

