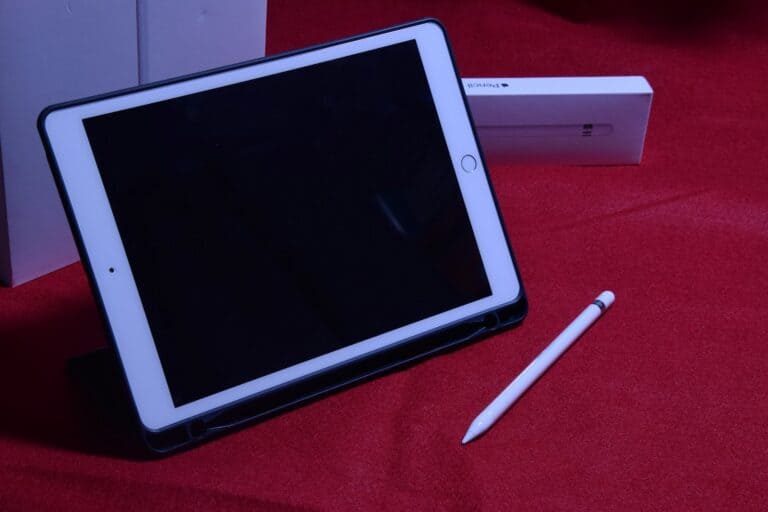
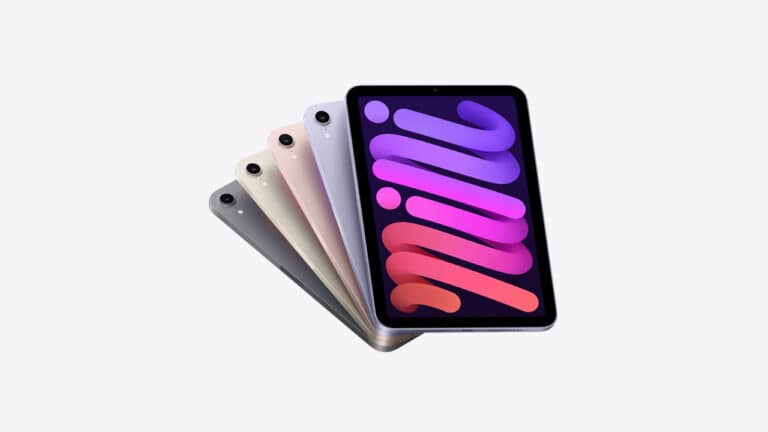
Replacing an iPad Mini screen can feel intimidating, especially if it’s your first time handling delicate electronics. However, with the right tools, preparation, and a few insider tips, you can achieve a clean, professional-looking repair without damaging your device. This guide will walk you through essential tips and tricks for a successful iPad Mini screen replacement.
1. Gather the Right Tools Before Starting
A successful repair begins with preparation. You’ll need:
- Precision screwdriver set
- Plastic spudger or opening tool
- Suction cup
- Heat gun or hair dryer (for loosening adhesive)
- Tweezers
- Replacement adhesive strips
- High-quality replacement screen (digitizer + LCD if necessary)
👉 Pro Tip: Invest in a good-quality replacement screen. Cheaper parts may have poor touch sensitivity or color accuracy.
2. Work in a Clean, Organized Space
Dust, static, or clutter can cause major problems during a screen replacement. Work on a flat, well-lit surface with plenty of space to lay out screws and components.
👉 Pro Tip: Use a magnetic project mat or small containers to keep screws organized by step. Mixing them up can damage your iPad during reassembly.
3. Power Down and Disconnect the Battery
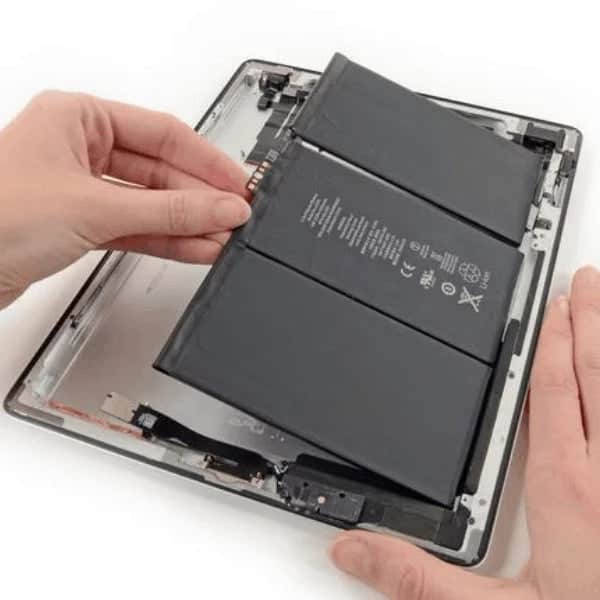
Always turn off your iPad Mini completely before beginning. Once the screen is open, disconnect the battery as soon as possible to avoid short circuits.
👉 Pro Tip: Some repair guides skip this step, but disconnecting the battery is the safest way to protect your device.
4. Apply Heat to Loosen Adhesive
The iPad Mini screen is held in place with strong adhesive. Gently heat the edges with a heat gun or hair dryer to soften it.
👉 Pro Tip: Don’t overheat—excessive heat can damage the LCD or internal components. Warm the edges evenly and test with a suction cup before prying.
5. Pry Carefully and Slowly
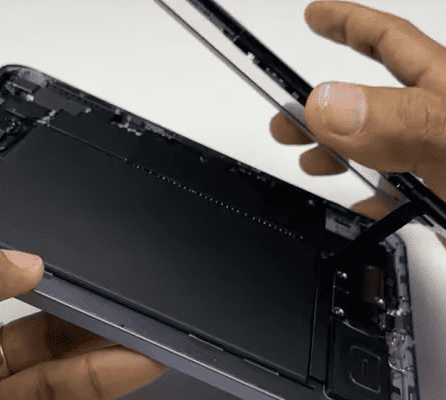
Insert a plastic spudger or guitar pick under the glass once the adhesive softens. Work your way around the edges slowly to avoid cracking the glass further or damaging the frame.
👉 Pro Tip: Avoid using metal tools on the glass or near sensitive flex cables. Plastic tools reduce the risk of scratches and internal damage.
6. Watch Out for Flex Cables
The iPad Mini’s digitizer and LCD are connected with delicate flex cables. Pulling too quickly can tear them, requiring additional costly repairs.
👉 Pro Tip: Always lift the screen from the side where the cables are shortest, and never force it open.
7. Clean the Frame Thoroughly Before Installing the New Screen
Old adhesive or glass shards can prevent the new screen from sitting flush. Take time to clean the frame completely using isopropyl alcohol and a lint-free cloth.
👉 Pro Tip: Rushing this step often leads to gaps, loose screens, or dust trapped under the glass.
8. Test Before Sealing Everything
Before applying adhesive and sealing the new screen, reconnect the cables and power on the iPad to test:
- Touch responsiveness
- Display clarity
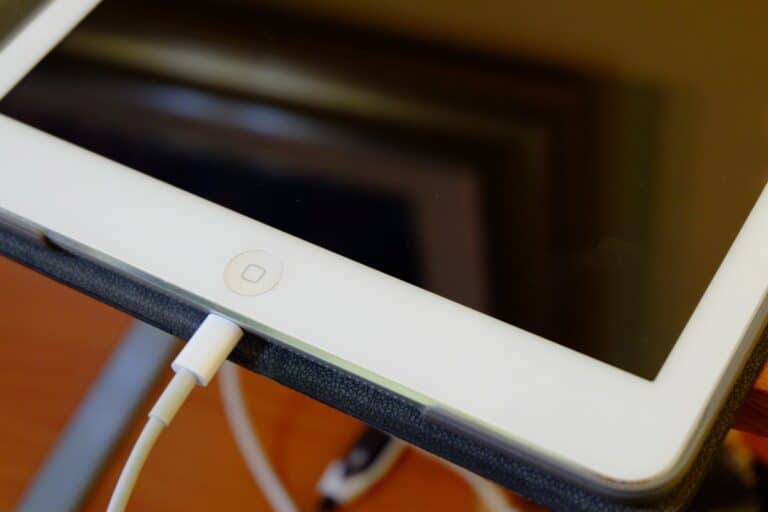
- Home button functionality
- Rotation and brightness
👉 Pro Tip: Testing first saves you from reopening the device if something isn’t working.
9. Apply New Adhesive Properly
Use high-quality adhesive strips designed for the iPad Mini. Apply them evenly around the frame to ensure a strong seal.
👉 Pro Tip: Avoid liquid glue—it can seep into components and cause permanent damage.
10. Be Patient and Gentle
The most important trick is patience. Rushing increases the risk of cracked screens, stripped screws, or torn cables. Take your time, follow each step carefully, and don’t force anything.
Frequently Asked Questions (FAQ)
1. How long does an iPad Mini screen replacement take?
For beginners, expect around 1.5 to 3 hours depending on your experience and tools. Professionals can complete the job in under an hour.
2. Is it cheaper to repair or replace an iPad Mini?
In most cases, replacing the screen is cheaper than buying a new iPad Mini. DIY repairs can save even more, but professional repair shops may be worth it if you’re not confident.
3. Do I need to replace both the digitizer and LCD?
Not always. If only the glass is cracked but the display works fine, you may only need the digitizer. However, many replacement kits include both for convenience.
4. Will replacing the screen void my warranty?
Yes, if your iPad Mini is still under AppleCare or manufacturer warranty, third-party repairs may void it. Always check your coverage before attempting a DIY repair.
5. Can I use super glue instead of adhesive strips?
No. Super glue or liquid adhesives can seep into sensitive components and permanently damage your device. Always use pre-cut adhesive strips designed for iPads.
Final Thoughts
Replacing an iPad Mini screen is absolutely doable with the right preparation and care. By following these tips, tricks, and FAQs, you’ll increase your chances of a smooth, professional-quality repair. Not only will you save money, but you’ll also gain valuable repair skills.
If you’re not comfortable attempting the repair yourself, professional services are always an option—but with patience and the right approach, you can successfully replace your iPad Mini screen at home.
✅ Meta Description (SEO): Discover expert tips, tricks, and FAQs for a successful iPad Mini screen replacement. Learn how to prepare, avoid mistakes, and complete a smooth DIY repair.

