Macbook Battery Replacement

Replacing the battery in a MacBook Pro is an important task that can improve the laptop’s performance and extend its lifespan. Over time, the battery in a MacBook Pro may wear out, leading to shorter usage times between charges. Replacing the battery can refresh the laptop, allowing for longer use times and reliable performance. This step-by-step guide is for those comfortable with DIY projects and ready to replace their MacBook Pro’s battery. Before starting, it’s important to prepare properly. You’ll need the right tools and ensure safety measures are in place.

It’s essential to drain the MacBook Pro’s battery to below 25% to reduce risks during the replacement process. The tools needed include specific screwdrivers and possibly adhesive strips, as the MacBook Pro uses stretch-release adhesives to secure the battery. Some disassembly may be required to access these adhesives and safely remove the old battery. Careful battery removal and installation are crucial to avoid damaging the MacBook Pro. Once the old battery is removed, it’s critical to position the new one correctly and secure it using the screws and connectors from the original assembly. After installing the new battery, the MacBook Pro should be closed up, and the process is completed by ensuring everything is put back together properly. Following these steps can help the laptop return to its optimal performance.

Your Guide to MacBook Pro Battery Replacement

Do-It-Yourself Replacement

If you’re tech-savvy, you can replace the battery yourself. It’s a good way to save money, but it’s not easy. It requires special tools and careful handling of delicate components.

Pros:

  • Save money.
  • Learn a new skill.

Cons:

  • Risk of damaging your MacBook.
  • Requires special tools.
  • Time-consuming.

DIY Resources:

ResourceDescription
iFixitDetailed guides with photos and videos for various MacBook Pro models.
YouTubeVideo tutorials on the battery replacement process.
Apple SupportLimited official support for battery replacement, mainly for older models.
coconutbattery for Mac

Professional Repair Services

For those who prefer a hassle-free experience, there are several options available.

Apple Authorized Service Provider (AASP):

  • Get genuine Apple parts and certified technicians.
  • It may be more expensive than other options.

Independent Repair Shops:

  • They may offer lower prices than AASPs.
  • Make sure they use quality parts and have experienced technicians.

Pros:

  • No risk of damaging your MacBook.
  • Quick turnaround time.
  • Warranty on repairs.

Cons:

  • Can be expensive.
  • Not as convenient as DIY.

Cost of Repair

The cost of battery replacement varies depending on the model, service provider, and location.

  • Apple: $129 – $199 (depending on the model)
  • AASP: Similar to Apple’s prices, sometimes slightly higher.
  • Independent Repair Shops: Prices vary, often lower than Apple and AASPs.

Warranty Coverage

If your MacBook Pro is under warranty and the battery holds less than 80% of its original capacity, Apple might replace it for free.

Note: AppleCare+ extends the warranty coverage and includes battery replacement.

When to Replace Your MacBook Pro Battery

Here are some signs that your MacBook Pro battery might need replacing:

  • Your MacBook Pro shuts down unexpectedly, even with a decent charge remaining.
  • The battery doesn’t last as long as it used to.
  • You see a “Service Battery” message in the menu bar.
  • The battery is swollen or deformed.

Additional Tips

  • Before attempting DIY repair, back up your data.
  • Use only genuine Apple batteries or high-quality third-party batteries.
  • Follow safety guidelines when working with batteries.
  • If you’re unsure, seek professional help.

Key Takeaways

  • A new battery can improve MacBook Pro performance.
  • Preparation and safety are vital for successful battery replacement.
  • Proper installation is crucial for the MacBook Pro’s functionality.

Preparing for Replacement

Before starting the MacBook Pro battery replacement process, it’s crucial to prepare the workspace and gather essential tools. This ensures safety and smoothens the replacement process.

Safety and Shutdown

First, power off the MacBook to prevent any electrical hazards. For extra safety, ensure the battery charge is below 25% to reduce the risk of a dangerous thermal event if the battery is accidentally punctured during the removal process. Always work in a well-ventilated area, away from any sources of sparks or flames.

Required Tools

A specific toolkit is needed for MacBook Pro battery replacement. The toolkit often includes:

  • P5 Pentalobe Screwdriver: for removing the outer case screws.
  • T3 Torx Screwdriver: often required for some internal components.
  • T5 Torx Screwdriver: used for a variety of screws within the MacBook.
  • Phillips #00 Screwdriver
  • Precision Tweezers
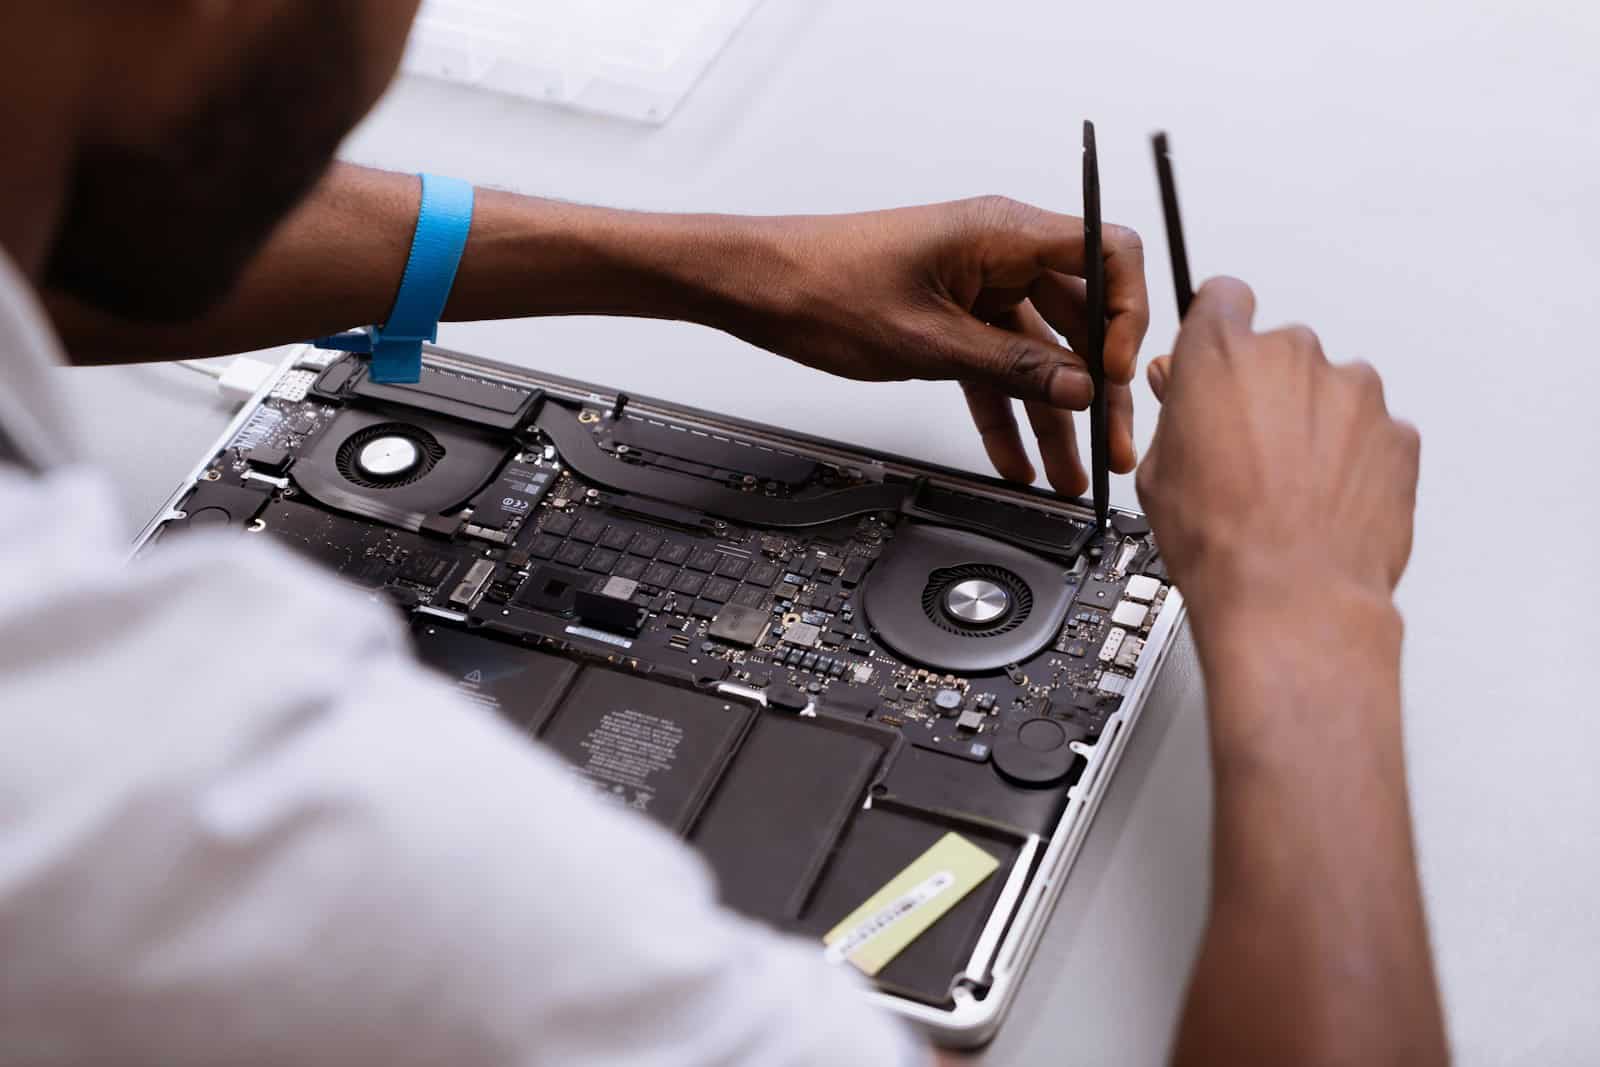
  • Spudger: a prying tool to disconnect connectors and remove components.
  • Suction Handle
  • Plastic Opening Tools

These tools are delicate and designed for the precise fitment of MacBook screws and components.

Initial Disassembly

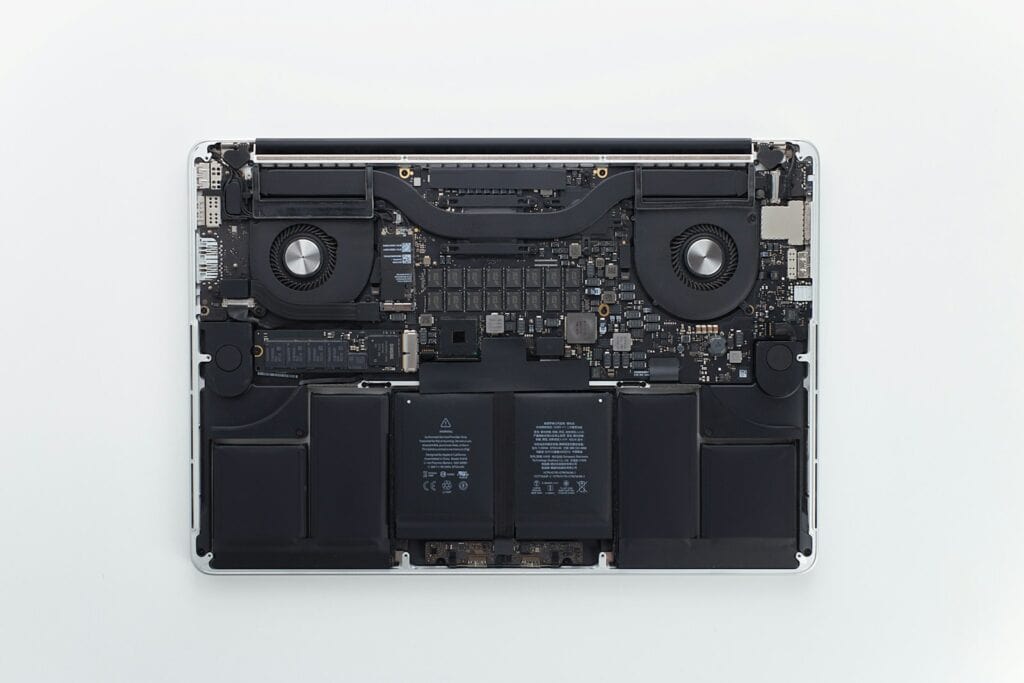
Begin by opening the Macbook with the P5 Pentalobe Screwdriver to remove the lower case. Next, carefully detach the battery connector using a spudger. It’s crucial to avoid any contact with the power ports during this step. If the trackpad needs to be removed to access any battery adhesive strips beneath, use a T5 Torx Screwdriver. Be mindful of the fragile ribbon cables during disassembly.

Battery Removal and Installation

Replacing a MacBook Pro battery involves several steps that are critical for success. The process requires attention to detail, especially when dealing with adhesive and delicate connectors.

Disconnecting Components

Before removing the battery, it is essential to disconnect certain components to prevent damage. Begin by powering off the MacBook. Carefully open the lower case using the appropriate Torx driver. Disconnect the battery connector from the logic board using a spudger. This prevents any power from reaching the system during the replacement. Removed screws should be kept safe for reassembly.

Removing the Old Battery

To remove the old battery, locate and release the stretch-release adhesives beneath the battery. If the battery is swollen or damaged, extra caution is necessary to avoid puncturing it. Use a slow and steady pull on the adhesive strips, which hold the battery in place. If adhesives are located under the trackpad, remove the trackpad with care to access them. Once all adhesives are removed, gently lift the old battery from the upper case.

Installing the New Battery

With the old battery out, prepare the area for the new battery by cleaning any residual adhesive. Position the new battery in the case, ensuring it aligns properly. Secure the new battery using replacement adhesive strips provided with the new battery or with the original screws and metal washers if applicable. Apply a small amount of threadlocker to the screw threads if necessary. Reconnect the battery connector to the battery board and ensure all other connectors, ribbon cables, and trackpad cables are properly seated and secure with ZIF connectors or clips. Finally, replace the lower case and secure it with screws.

Similar Posts