Taking care of your iPhone is a part of the deal of owning one. If you want your phone to keep working well and efficiently, this guide will give you the tips and procedures you need to know about to properly care for your phone and keep it working well. From basic maintenance, and troubleshooting to battery problems, slow performance, or a damaged screen, these tips will help you keep your iPhone working well. Note that for complex or major repairs, it’s always best to consult a professional (especially if you don’t feel comfortable doing the repair yourself).
Keep Your iPhone in Top Shape: Essential Repair and Maintenance Tips
Common iPhone Issues
iPhones, like any electronic device, can experience issues over time. Some common problems include:
- Battery Drain: The battery depletes faster than usual.
- Slow Performance: Apps and the overall system run sluggishly.
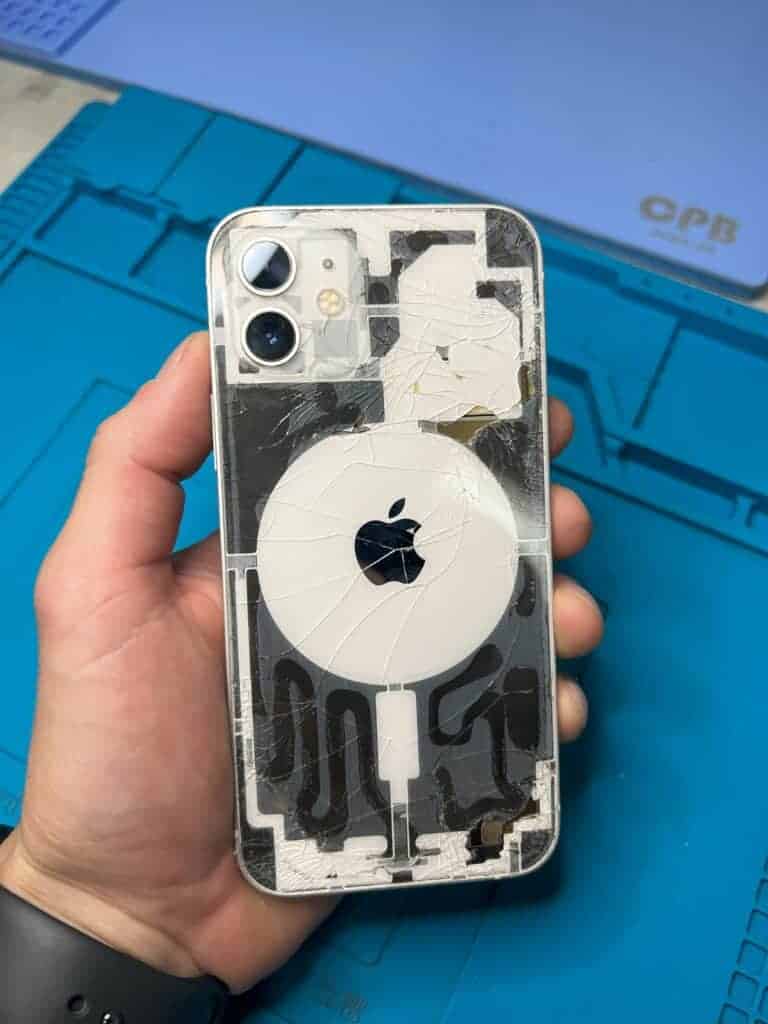
- Screen Damage: Cracks or unresponsive touch screen.
- Water Damage: Exposure to liquid causes malfunction.
- Software Glitches: Apps crash or freeze.
- Charging Problems: The iPhone doesn’t charge properly.
Basic iPhone Maintenance Tips
| Tip |
|---|
| Update iOS: Keep your iPhone software up-to-date to get the latest features, security patches, and performance improvements. |
| Use a Case and Screen Protector: Protect your iPhone from accidental drops and scratches. |
| Clean Regularly: Wipe down your iPhone with a microfiber cloth to remove dust and fingerprints. |
| Avoid Extreme Temperatures: Don’t expose your iPhone to extreme heat or cold, which can damage the battery and other components. |
| Manage Storage: Delete unused apps and files to free up space and improve performance. |
| Restart Regularly: Restarting your iPhone can clear temporary glitches and improve performance. |
DIY iPhone Repair Tips
For minor issues, you can try fixing them yourself:
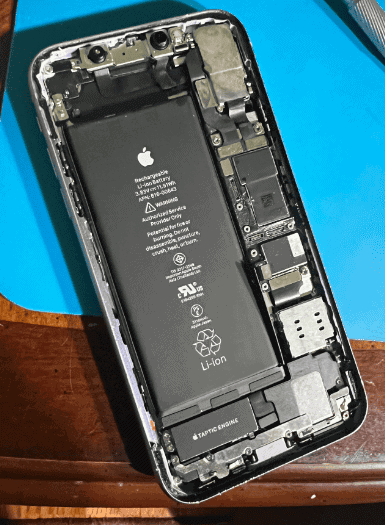
- Battery Replacement: If your battery is draining quickly, you can replace it with a new one.
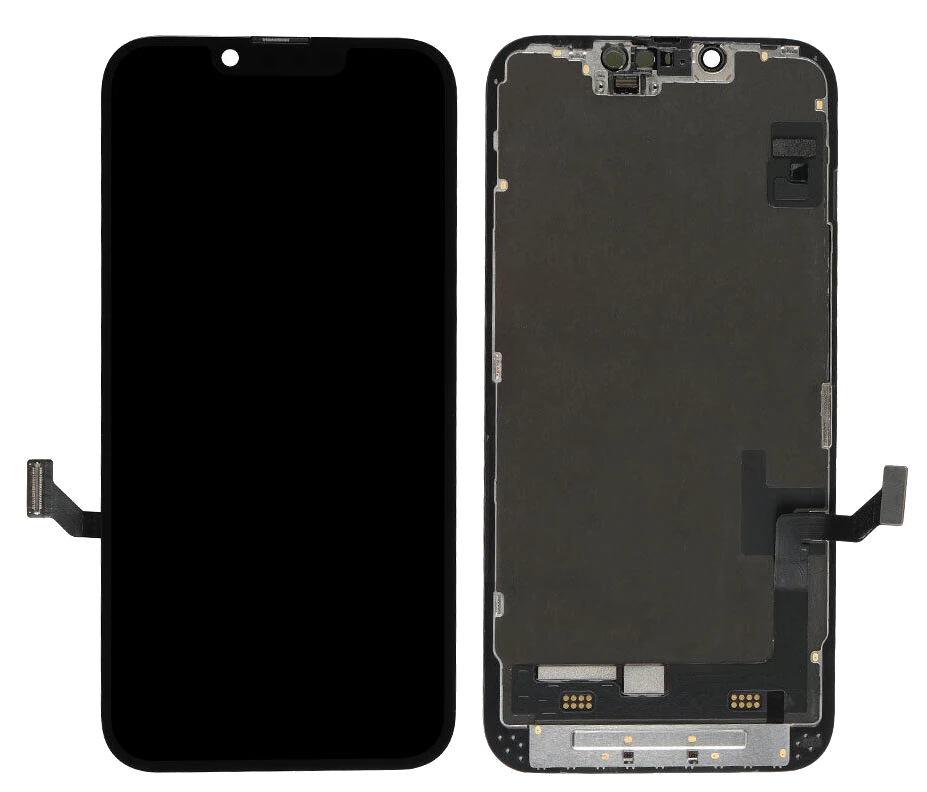
- Screen Replacement: If your screen is cracked, you can replace it with a new one.
- Software Troubleshooting: For software glitches, try restarting your iPhone, resetting settings, or restoring from a backup.
When to Seek Professional Repair
If you’re unsure how to fix an issue or it’s a major problem, it’s best to seek professional help. Take your iPhone to an Apple Store or authorized repair center for diagnosis and repair.
Protecting Your iPhone
To keep your iPhone in good condition:
- Back up your data regularly.
- Avoid exposing your iPhone to water or dust.
- Don’t jailbreak your iPhone.
- Use genuine Apple accessories.
- Handle your iPhone with care.
iPhone Repair and Maintenance Table
| Category | Description | Cost | Time | Difficulty |
|---|---|---|---|---|
| Screen Repair | Cracked or broken glass | $80-$300 | 1-2 hours | Moderate |
| Battery Replacement | Worn-out battery causing short battery life | $60-$100 | 30 minutes | Easy |
| Charging Port Repair | Damaged or non-functional charging port | $70-$150 | 1-2 hours | Moderate |
| Speaker Repair | Muffled or crackling sound | $30-$50 | 1 hour | Easy |
| Camera Repair | Blurry or distorted pictures | $50-$100 | 1-2 hours | Moderate |
| Software Update | Latest bug fixes and performance improvements | Free | 15-30 minutes | Easy |
| Data Backup & Restore | Securely backup and restore your data | Free | Varies | Easy |
| Virus & Malware Removal | Remove harmful software | $50-$100 | 30-60 minutes | Moderate |
| Water Damage Repair | Salvage data and restore functionality | Varies | Varies | Difficult |
| Other Repairs | Additional services such as headphone jack replacement, microphone repair, etc. | Varies | Varies | Varies |
Please note: This table is a general guide. Prices may vary depending on the severity of the damage, the specific model of your iPhone, and the repair shop you choose. It is recommended to consult with a professional technician for a more accurate estimate.
Key Takeaways
- Understanding official Apple repair options and services.
- Comparing Apple authorized service providers with third-party repair shops.
- Cost breakdown of common iPhone repairs.
- Insights into DIY iPhone repair: Pros, cons, and required skills.
- Exploring insurance and warranty implications for repairs.
Here are some additional things to consider:
- Warranty: If your iPhone is still under warranty, some repairs may be covered by Apple.
- AppleCare+: If you have AppleCare+, it provides additional coverage for repairs and accidental damage.
- DIY Repair: You may be able to find online tutorials and guides for repairing your iPhone yourself. However, this is only recommended for experienced users who are comfortable working with delicate electronics.
Apple’s Official Repair Services
Apple offers several options for iPhone repair and maintenance, ensuring that your device gets the care it needs from certified professionals.
Official Apple Repair and Status Check
Apple provides a streamlined process for sending your product to an Apple Repair Center. This can be arranged online or over the phone, offering convenience and flexibility. Additionally, you can find an Apple Authorized Service Provider or visit a Genius at an Apple Store for hardware repairs. For those experienced in electronic device repair, Apple’s Self Service Repair offers access to genuine Apple parts and repair manuals.
- Learn more about Apple repair options: Official Apple Support.
Independent Repair Providers
These providers have access to genuine Apple parts but do not provide repairs covered by Apple’s warranty or AppleCare plans. It’s important to note that repairs by non-Apple authorized providers are not backed by Apple’s warranty.
AppleCare+ and Warranty Services
AppleCare+ extends the warranty and provides additional services like battery and screen repairs. It’s vital to understand the terms and conditions of AppleCare+ to maximize its benefits.
- Discover more about AppleCare+ services: AppleCare+.
Apple Authorized vs Third-Party Repair Shops
Apple authorized service providers use genuine Apple parts and have certified technicians. However, they might be more expensive than third-party shops, which may offer quicker and cheaper services but with the risk of using non-genuine parts.
Cost of iPhone Repairs
The cost of repairing an iPhone varies depending on the issue and the service provider. Common repairs include screen replacement, battery issues, charging port repairs, and water damage treatments.
Repair Costs Breakdown
- Screen Repairs: Costs vary based on the model and the extent of damage.
- Battery Replacement: Prices depend on whether you have AppleCare+ or not.
- Charging Port and Water Damage: These repairs can be more complex and potentially more costly.
DIY iPhone Repair
For those who are technically inclined, DIY iPhone repair can be a cost-effective solution. However, it requires a good understanding of electronic repairs and risks voiding the warranty.
Pros and Cons of DIY Repair
- Cost-effective but requires technical skills.
- Risk of further damage if not done correctly.
Resources for DIY Repairs
- Step-by-step guides and tutorials are available online.
- Purchase of specific tools and parts is necessary.
Insurance and Warranty Considerations
It’s important to understand how different repair options affect your iPhone’s warranty and insurance coverage. Repairs by unauthorized providers can void the warranty, while AppleCare+ offers additional repair benefits.
Understanding Repair Options Beyond Apple
While Apple provides comprehensive repair services, exploring other options can be beneficial, especially when seeking more economical choices or quicker turnarounds.
Third-Party iPhone Repair Services
Third-party services can be a viable alternative to Apple’s official repair centers, often offering lower prices and faster service. However, the trade-off might be the use of non-original parts and possibly voiding your warranty.
Comparison Table: Apple vs Third-Party Services
| Service Type | Cost | Warranty | Turnaround Time | Parts Used |
|---|---|---|---|---|
| Apple Official | Higher | Maintains Warranty | Varies | Original |
| Third-Party | Lower | May Void Warranty | Often Quicker | Possibly Non-Original |
Cost Analysis of iPhone Repairs
Understanding the cost involved in iPhone repairs is essential for making informed decisions. Below is a breakdown of typical repair costs.
Typical Repair Costs
| Repair Type | Estimated Cost Range |
|---|---|
| Screen Replacement | $100 – $300 |
| Battery Replacement | $50 – $100 |
| Charging Port Repair | $50 – $100 |
| Camera Replacement | $50 – $150 |
| Water Damage Repair | $100 – $300 |
Remember, these are estimations, and actual costs can vary based on your specific situation and service provider.
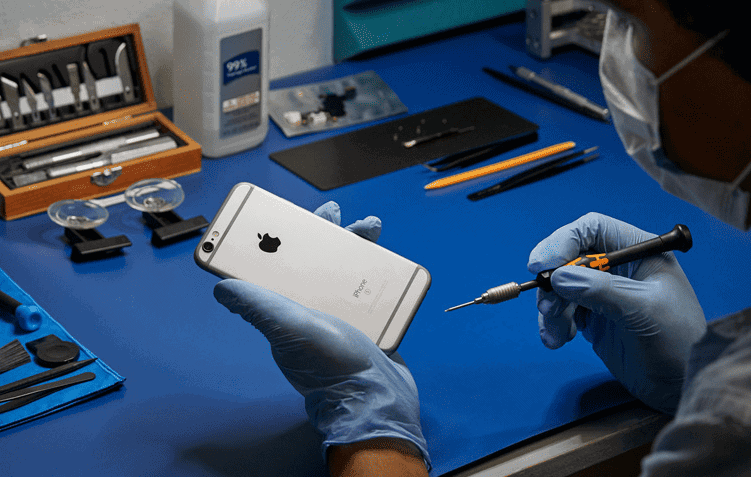
DIY iPhone Repairs: A Closer Look
Undertaking iPhone repairs yourself can be rewarding and cost-effective. However, it requires careful consideration and the right set of skills.
Essential Tools for DIY Repairs
- Screwdrivers
- Opening tools
- Suction cups or picks
- Tweezers
- ESD-safe tools

Risk and Rewards of DIY
While saving money is a significant advantage, the potential risks include voiding your warranty and the possibility of further damaging your device.
Insurance and Warranty Implications
Before opting for any repair, consider how it affects your iPhone’s warranty and insurance. Unauthorized repairs can void warranties, whereas repairs under AppleCare+ may offer more comprehensive coverage.
FAQs
Can I Replace My iPhone Battery Myself?
While it’s technically possible to replace your iPhone battery yourself, it’s generally not recommended unless you have prior experience with electronics repair. Modern iPhones are complex devices with delicate components. Improper handling can lead to further damage or even void your warranty. If you’re confident in your abilities, you can find guides and tools online, but proceed with caution. For most users, it’s safer and more reliable to have your battery replaced by an authorized service provider.
How Do I Know If My iPhone Is Still Under Warranty?
To check your iPhone’s warranty status, go to Apple’s official website and enter your iPhone’s serial number. This will show you the warranty coverage details, including expiration date and any active AppleCare+ plans.
Is It Cheaper to Repair or Replace My iPhone?
The cost-effectiveness of repairing versus replacing your iPhone depends on the extent of the damage and your phone’s model. Minor repairs, like screen replacements or battery replacements, are usually cheaper than buying a new phone. However, if your phone has significant damage, such as a broken logic board, replacement might be the more economical option.
How Do I Know When It’s Time to Replace My iPhone Battery?
Several signs indicate your iPhone battery needs replacing. These include a significant decrease in battery life, unexpected shutdowns, performance issues (like slowdowns or app crashes), and a battery health below 80% (which you can check in Settings > Battery > Battery Health).
My iPhone’s Touch Screen Is Not Responding Properly. What Can I Do?
Start by cleaning the screen and removing any screen protectors or cases. If that doesn’t help, try force restarting your iPhone. If the issue persists, update to the latest iOS version or try calibrating the touchscreen (Settings > General > Accessibility > Touch > AssistiveTouch, toggle on and off). If none of these solutions work, contact Apple Support or a repair technician.
My iPhone Screen Has Horizontal or Vertical Lines. How Can I Fix It?
Lines on your iPhone screen often indicate hardware damage, especially if your phone has been dropped. Try updating to the latest iOS version in case it’s a software glitch. If the lines persist, you’ll likely need professional repair to fix the LCD screen or internal components.
My iPhone’s Home Button Is Broken. Can It Be Fixed?
Yes, a broken home button can be fixed on most iPhone models. For iPhone 6 and older, you can replace just the button itself (around $30-$50). For iPhone 7 and later, the home button is integrated with the display, so you’ll need a display replacement (around $200-$300).
My iPhone Isn’t Charging When Plugged In. What Could Be the Problem?
A non-charging iPhone could be due to a faulty charging cable, a damaged charging port, a software issue, or a battery problem. Try using a different cable, cleaning the charging port, restarting your iPhone, or updating iOS. If none of these work, you might need a battery replacement or professional repair.
Can I Repair My iPhone SE Screen Myself?
Yes, but it requires carefulness and technical skills. Online resources like iFixit provide guides and tools. However, if you’re unsure, it’s best to consult a professional.
My iPhone’s Speaker Is Not Working Properly. How Can I Fix It?
Try cleaning the speaker grill, updating iOS, or using Bluetooth headphones as a workaround. If these don’t work, the speaker may be damaged and require professional repair.
My iPhone Won’t Turn on. What Could be the Problem?
If your iPhone won’t turn on, charge it for at least 30 minutes, check for screen damage, and make sure the power button isn’t stuck. If those aren’t the issue, try connecting it to iTunes or a computer with Finder to see if it’s recognized. If none of these work, contact Apple Support or a repair technician.
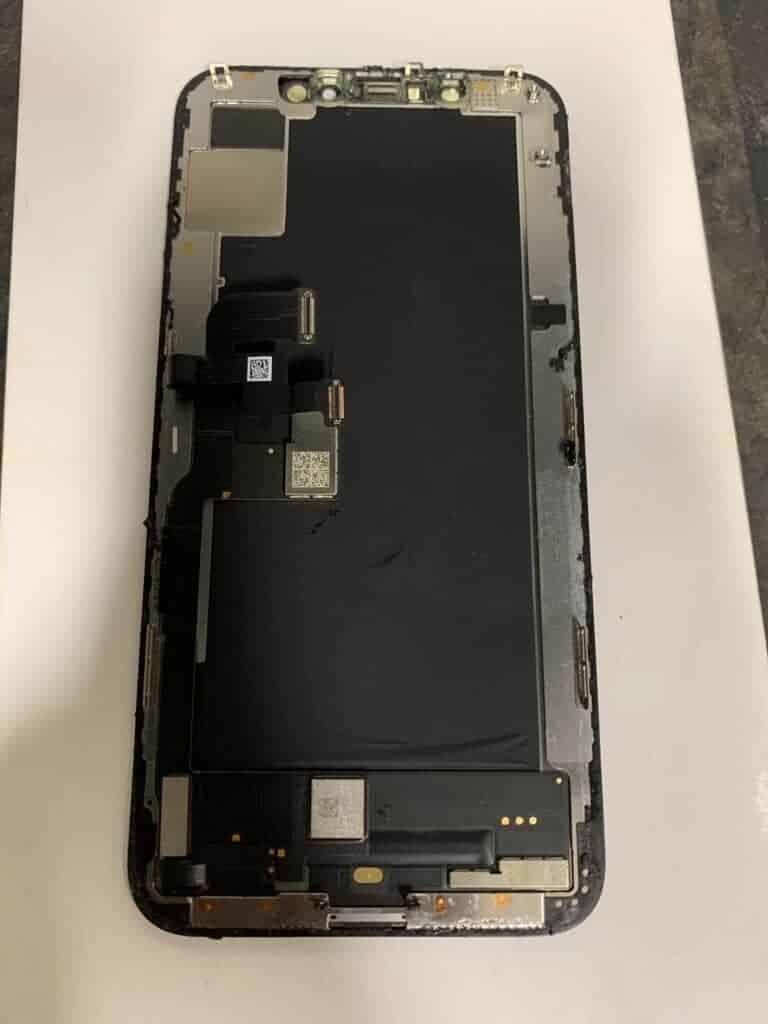
Can I Replace the Logic Board on My iPhone and Still Have Face ID Functionality?
Replacing the logic board on an iPhone with Face ID is complex and risky. Face ID relies on specific hardware components that are difficult to transfer. Improper handling can permanently damage your phone. Apple generally doesn’t offer this repair, so you’ll need to find a specialized third-party shop. Carefully consider the risks before proceeding.
How Can I Clear System Data on My iPhone to Free Up Storage Space?
You can offload unused apps, delete temporary files and browsing data, clean up backups in iTunes/Finder, or, as a last resort, reset your iPhone to factory settings (which erases all data).
How Can I Clean the Charging Port on My iPhone?
Turn off your iPhone and unplug it. Use a flashlight to look inside the port and carefully remove any lint or debris with a soft brush or toothpick. Avoid using sharp objects or liquids.
My iPhone’s Touch ID Isn’t Working, but I’m Not Getting Any Error Messages. What Could Be the Problem?
Possible causes include a dirty or damaged Touch ID sensor, a wet sensor, a software issue, or incorrect fingerprint registration. Try cleaning the sensor, drying it if wet, updating iOS, or re-registering your fingerprints. If these don’t work, you might need professional repair.
My iPhone Is Frozen and Unresponsive. What Can I Do?
Try force restarting your iPhone. If that doesn’t work, connect it to iTunes/Finder on your computer. As a last resort, you can try putting your iPhone in DFU mode and restoring it (this erases all data). If none of these options work, contact Apple Support or a repair technician.
Can I Fix My iPhone Screen Myself, Even If I Don’t Have Any Prior Experience?
Fixing your iPhone screen yourself depends on your technical skills and comfort level. Consider the complexity of the repair, the availability of resources, and the risk of damage. If you’re unsure, it’s best to seek help from a professional.
My iPhone Reboots Every Few Minutes After I Attempted a Repair. What Should I Do?
This could be due to loose connections, damaged components, a software issue, or a battery problem. Double-check your repair work, update iOS, or try restoring your iPhone. If the problem persists, contact Apple Support or a repair technician.
My iPhone Charger Cable Is Damaged. Can I Repair It Myself?
It’s strongly discouraged to repair damaged iPhone charger cables yourself due to safety risks. Instead, replace the cable or seek professional repair.