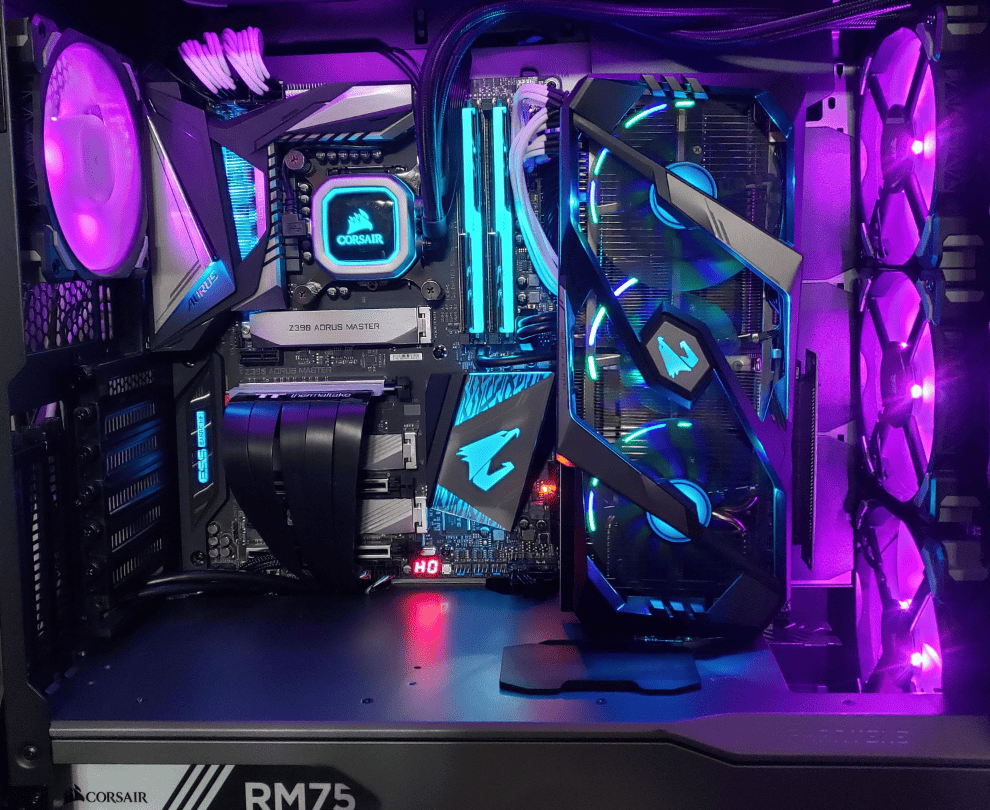
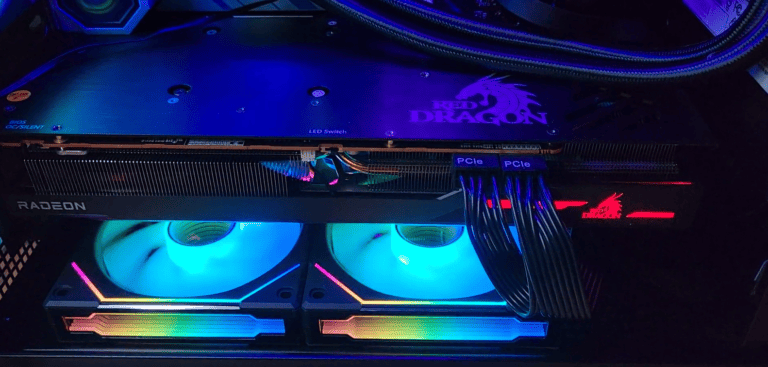
Mounting your GPU vertically in your PC setup is not just a trend, it’s a practical way to display the aesthetics of your graphics card, especially in cases with a transparent side panel. This method also helps in preventing GPU sag, which can be a concern with traditional horizontal mounting.
Let’s break down the process step by step.
🔑 1. What Is Vertical GPU Mounting?
Normally, a GPU is mounted horizontally in your case. Vertical mounting rotates the graphics card 90 degrees so the fans and design face the side panel (perfect for glass cases).
⚖️ 2. Pros & Cons of Vertical Mounting
✅ Pros
- Better aesthetics (you see the GPU face, not the PCB).
- Can showcase RGB lighting and custom designs.
- Reduces GPU sag (no drooping over time).
⚠️ Cons
- Can restrict airflow if too close to the glass panel.
- May require extra parts (riser cable, bracket).
- Limited space in smaller cases.
🧰 3. What You Need
- PC Case with Vertical GPU Support
- Many modern cases (Lian Li, NZXT, Corsair, Cooler Master) include vertical slots.
- If your case doesn’t, you’ll need a vertical GPU mounting bracket.
- PCIe Riser Cable
- Connects your GPU to the motherboard at an angle.
- Make sure it’s PCIe 4.0 or 5.0 certified for modern GPUs.
- Tools
- Screwdriver (usually Phillips).
- Optional: anti-sag bracket for extra stability.
🛠️ 4. Step-by-Step Installation
Step 1: Prepare Your Case
- Power off and unplug your PC.
- Remove the side panels.
- Check if your case has vertical PCIe slots or if you’ll need to install a mounting bracket.
Step 2: Install the Riser Cable
- Plug one end of the riser cable into your motherboard’s PCIe x16 slot.
- Route the cable neatly to where the GPU will sit.
Step 3: Mount the GPU Vertically
- Insert the GPU into the riser cable connector.
- Align it with the vertical PCIe slots or mounting bracket.
- Secure the GPU with screws to keep it stable.
Step 4: Connect Power Cables
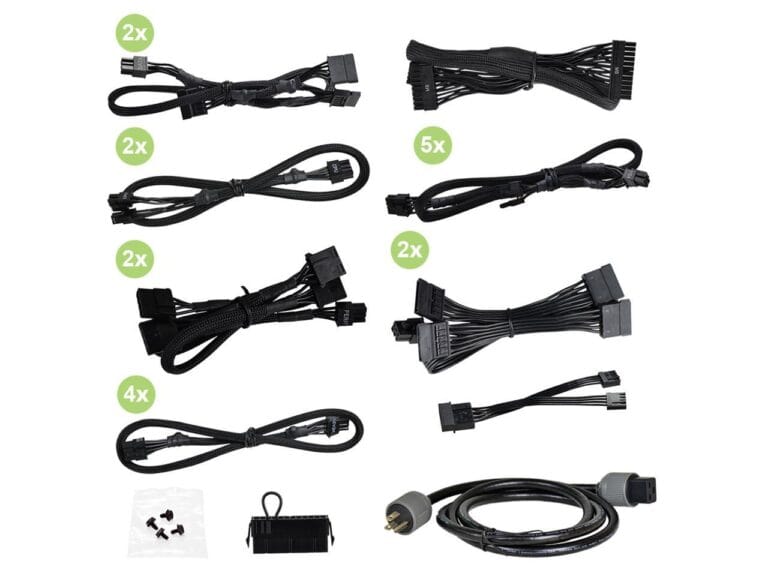
- Attach your PCIe power connectors (8-pin/12VHPWR) as usual.
- Make sure cables aren’t bent awkwardly against the side panel.
Step 5: Test & Close Up
- Power on your PC to confirm the GPU is detected.
- Check for clearance between GPU fans and the case glass.
- Reattach the side panels.
🌡️ 5. Airflow & Cooling Tips
- Leave at least 2–3 cm clearance between GPU fans and the case panel.
- Use side intake fans if your case supports them.
- If airflow is restricted, consider undervolting or adjusting fan curves.
✅ Summary
- Get a case with vertical slots or buy a mounting bracket.
- Use a PCIe riser cable (PCIe 4.0/5.0 recommended).
- Secure the GPU vertically in your case.
- Connect power cables and check clearance.
- Optimize airflow to prevent overheating.
Understanding Vertical GPU Mounting
When you mount a GPU vertically, it means the graphics card is positioned so its fans and decorative elements are visible through the case’s window panel. This orientation changes the traditional way the GPU sits in the PC case.
Benefits of Vertical GPU Mounting
Visual Appeal: The most obvious benefit is the visual appeal. For PC builders who love to showcase their components, particularly those with RGB lighting or unique designs, vertical mounting makes the GPU a focal point.
Prevents GPU Droop: Another practical advantage of vertical mounting is the prevention of GPU droop. Over time, the weight of the graphics card can cause it to sag when mounted horizontally, potentially straining the motherboard.
Choosing the Right Method for Vertical Mounting
You have a few options when it comes to vertical GPU mounting:
- Built-in Case Support: Some modern PC cases come with native support for vertical GPU mounting. This is the easiest option as it requires less modification and is often designed to align perfectly with the case’s layout.
- Aftermarket Vertical GPU Mounts: For cases without built-in support, aftermarket mounts are available. These mounts vary in design, but typically they attach to the existing PCIe slots and provide a new slot for the GPU to plug into, vertically.
Step-by-Step Guide to Vertical GPU Mounting
1. Selecting the Mounting Method: Assess your case to determine if it supports vertical GPU mounting natively or if you’ll need an aftermarket mount.
2. Preparing the Workspace: Ensure your workspace is clean and organized. Gather all necessary tools, including a screwdriver and, optionally, cable ties.
3. Removing the Existing GPU: Power down your PC and carefully remove the existing GPU from its horizontal position.
4. Installing the Vertical GPU Mount: If you’re using an aftermarket mount, attach it to the case where the existing PCIe slots are located.
5. Connecting the Riser Cable: A riser cable is essential for vertical mounting. Connect one end to the motherboard’s PCIe slot and the other end to the vertical mount.
6. Installing the GPU: Carefully align and install the GPU onto the vertical mount. Ensure it’s securely fastened.
7. Connecting Power Cables: Reconnect any power cables to the GPU. Be mindful of cable management for both aesthetics and airflow.
8. Tidying Up: Use cable ties to manage any loose cables for a clean look.
Things to Consider
- Airflow: Ensure there’s enough space between the GPU and the case’s side panel. Poor spacing can lead to inadequate cooling.
- Compatibility: Verify that your GPU, case, and chosen mounting method are compatible.
- Cable Quality: Use a high-quality riser cable to prevent any performance issues.
Popular Vertical GPU Mounts
- Cooler Master MasterAccessory Kit
- EZDIY-FAB Vertical PCIe 4.0 GPU Mount Bracket
- CableMod Vertical PCI-e Bracket

