Keeping your iPhone up to date is crucial for accessing the latest features and security enhancements. The update process is accessible and can be done in a few steps.
✅ Before You Update
- Check Compatibility
- Go to Settings > General > About → check your iPhone model.
- Visit Apple’s iOS update page to confirm your device supports the latest iOS.
- Back Up Your iPhone
- iCloud backup:
- Go to Settings > [your name] > iCloud > iCloud Backup > Back Up Now.
- Computer backup:
- Connect to a Mac (Finder) or Windows PC (iTunes) and back up manually.
- iCloud backup:
- Charge & Connect to Wi-Fi
- Make sure your iPhone has at least 50% battery or is plugged in.
- Connect to a stable Wi-Fi network (updates can be large).
📥 How to Update iOS
Option 1: Update Wirelessly (Most Common)
- Open Settings.
- Tap General > Software Update.
- If an update is available, tap Download and Install.
- Enter your passcode if asked.
- Your iPhone will download, verify, and restart to install the update.
Option 2: Update Using a Computer
- Connect your iPhone to a Mac or Windows PC.
- On Mac (macOS Catalina or later): open Finder.
On Windows or macOS Mojave and earlier: open iTunes. - Select your iPhone.
- Click Check for Update > Download and Update.
- Follow the on-screen instructions.
Option 3: Automatic Updates
- Go to Settings > General > Software Update > Automatic Updates.
- Toggle on Download iOS Updates and Install iOS Updates.
- Your iPhone will install updates overnight while charging and connected to Wi-Fi.
🔧 Troubleshooting Tips
- Not enough space? Delete unused apps or offload photos/videos to iCloud.
- Update stuck? Restart your iPhone and try again.
- Still failing? Use the computer update method.
🎉 Done!
Once your iPhone restarts, you’ll be running the latest iOS with improved performance, security, and new features (source: Apple Support, Tom’s Guide).
Getting Started with iOS Update
Checking Compatibility and Preparing Your Device
Before initiating an update, ensure your iPhone supports the latest iOS version. Apple typically provides this information on their website. Prepare your phone for the update by following these steps:
- Backup: Safeguard your data using iCloud or iTunes.
- Battery Life: Charge your iPhone or plug it into a power source during the update process.
- Storage Space: Free up necessary space if prompted.
Navigating to the Update Section
To find and install the latest iOS update:
- Open the Settings app.
- Tap “General“.
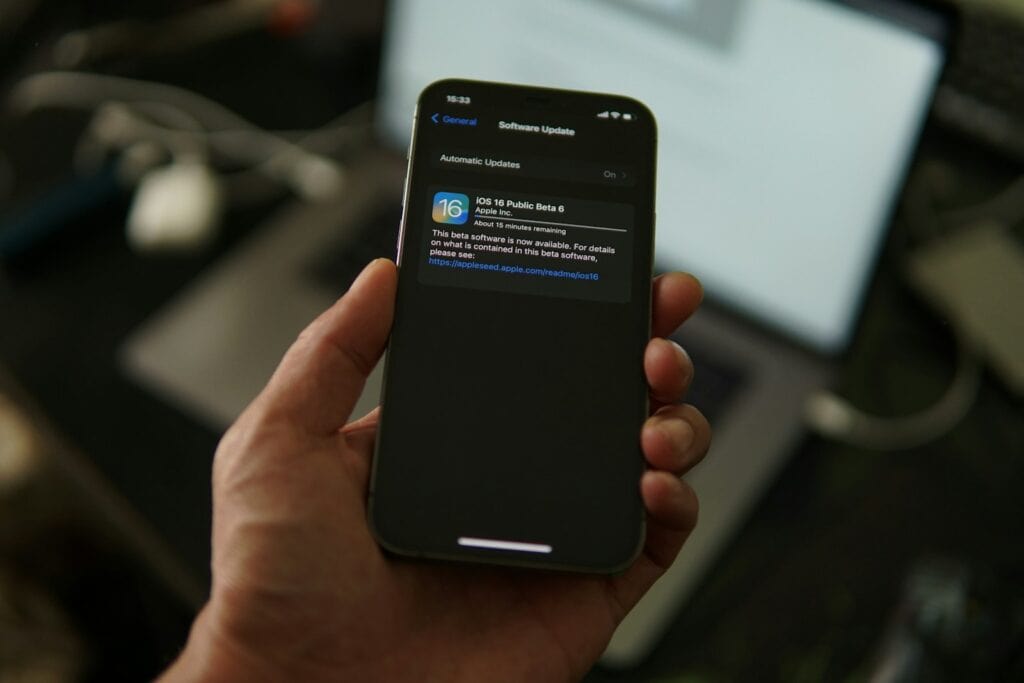
- Select “Software Update“.
- If an update is available, you can “Download and Install“.
- For automatic overnight updates, enable “Automatic Updates“.
Executing the iOS Update
Updating your iPhone’s iOS can seem daunting, but it’s a straightforward process. To start, make sure your iPhone is connected to Wi-Fi and has enough battery charge. If it’s low, plug it into a charger to avoid any disruptions during the update.
Step-by-Step Update Instructions
| Method | Steps | Advantages | Disadvantages |
|---|---|---|---|
| Wireless Update (recommended) | 1. Go to Settings > General > Software Update. | * Easy and convenient * No need to connect to a computer | * Requires Wi-Fi connection * Update may take longer |
| Update via iTunes | 1. Connect iPhone to computer with iTunes installed. 2. Select iPhone in iTunes. 3. Click “Check for Updates.” 4. Click “Download and Install” or “Update.” | * Backup available in iTunes before update * Can use cellular data when connected to computer | * Requires iTunes installation * More complex process than wireless update |
| Automatic Updates | 1. Go to Settings > General > Software Update. 2. Toggle on “Download iOS Updates” and “Install iOS Updates.” | * Automatic installation at night while connected to power and Wi-Fi * Saves time and effort | * Requires trust in automatic updates * Less control over update timing |
Additional Tips:
- Back up your iPhone before updating to prevent data loss.
- Connect to a strong Wi-Fi network when updating wirelessly.
- Make sure your iPhone has enough storage space for the update.
- Plug your iPhone into a power source before updating.
- Backup Data: Before you begin, backup your iPhone to iCloud or your computer to safeguard your data.
- Apple ID: Ensure you’re signed in with your Apple ID. You’ll need this for the update.
Now, follow these steps to update:
- Open the Settings app.
- Scroll down and tap General.
- Select Software Update.
You’ll see two options:
- Download and Install: If an update is available, tap this to start.
- Install Now: If the update has already been downloaded, press this to begin installation.
Tips for Space Management
If your iPhone doesn’t have enough space, it may offer to temporarily remove apps and reinstall them after the update. You can agree by tapping Continue or manage storage manually in the Settings.
iPhone Generations and Maximum iOS Support
| iPhone Generation | Release Date | Model Variants | Maximum iOS Version (as of Jan 20, 2024) |
|---|---|---|---|
| iPhone | June 2007 | iPhone (Original) | iOS 3.1.3 |
| iPhone 3G | June 2008 | iPhone 3G | iOS 4.2.1 |
| iPhone 3GS | June 2009 | iPhone 3GS | iOS 6.1.6 |
| iPhone 4 | June 2010 | iPhone 4 | iOS 7.1.2 |
| iPhone 4S | October 2011 | iPhone 4S | iOS 9.3.5 |
| iPhone 5 | September 2012 | iPhone 5 | iOS 10.3.3 |
| iPhone 5c | September 2013 | iPhone 5c | iOS 10.3.3 |
| iPhone 5s | September 2013 | iPhone 5s | iOS 12.5.5 |
| iPhone 6 | September 2014 | iPhone 6, iPhone 6 Plus | iOS 13.7 |
| iPhone 6s | September 2015 | iPhone 6s, iPhone 6s Plus | iOS 15.7.2 |
| iPhone SE (1st gen) | March 2016 | iPhone SE (1st gen) | iOS 13.7 |
| iPhone 7 | September 2016 | iPhone 7, iPhone 7 Plus | iOS 15.7.2 |
| iPhone 8 | September 2017 | iPhone 8, iPhone 8 Plus | iOS 16.2 |
| iPhone X | November 2017 | iPhone X, iPhone XS, iPhone XS Max | iOS 16.2 |
| iPhone XR | October 2018 | iPhone XR | iOS 17 |
| iPhone XS Max | September 2018 | iPhone XS Max | iOS 17 |
| iPhone 11 | September 2019 | iPhone 11, iPhone 11 Pro, iPhone 11 Pro Max | iOS 17 (+future updates) |
| iPhone SE (2nd gen) | April 2020 | iPhone SE (2nd gen) | iOS 17 (+future updates) |
| iPhone 12 mini | October 2020 | iPhone 12 mini, iPhone 12, iPhone 12 Pro, iPhone 12 Pro Max | iOS 17 (+future updates) |
| iPhone 13 mini | September 2021 | iPhone 13 mini, iPhone 13, iPhone 13 Pro, iPhone 13 Pro Max | iOS 17 (+future updates) |
| iPhone 14 | September 2022 | iPhone 14, iPhone 14 Plus, iPhone 14 Pro, iPhone 14 Pro Max | iOS 17 (+future updates) |
| iPhone 15 | September 2023 | iPhone 15, iPhone 15 Plus, iPhone 15 Pro, iPhone 15 Pro Max | iOS 17 (+future updates) |
Setting Up Automatic Updates
For future ease, consider setting up automatic updates:
- Go back to Software Update in the Settings.
- Tap Automatic Updates and toggle it on.
This ensures your iPhone stays updated without the need for manual checks.
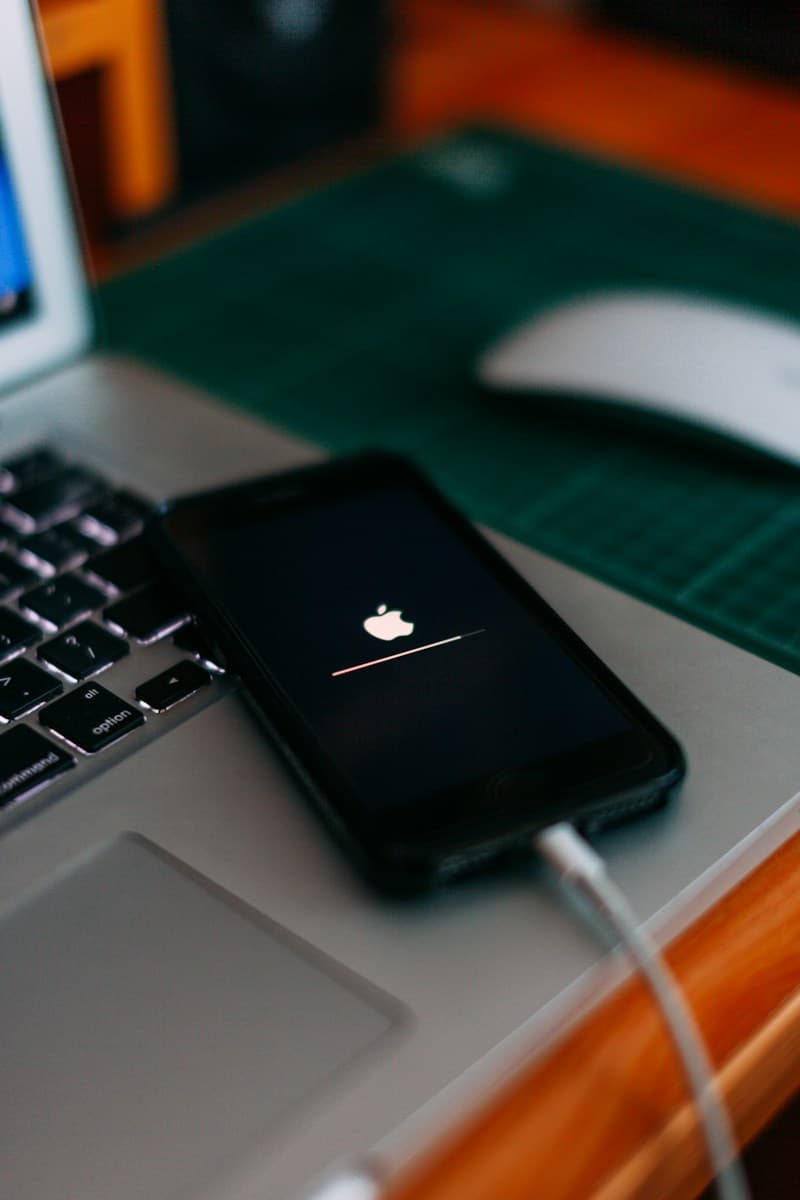
Remember, patience is key. Once the installation begins, it might take some time to complete. You’ll see a progress bar indicating the update status. Keep your iPhone connected to Wi-Fi and power until the update is finished and your phone restarts.
Post-Update Actions
After updating an iPhone’s iOS, a few steps are crucial to ensure the new version operates smoothly. Users should restart their iPhone to let the update complete its integration process. A quick restart helps in ironing out initial bugs that might appear.
It’s essential to verify the update success by checking the version number in the settings. One can navigate to Settings > General > About and see the current iOS version. Often, new updates include bug fixes; these changes are usually noticeable in the performance and stability of the device.
Users should be on the lookout for new features introduced with the update. Exploring Settings may reveal updates or additions that can enhance the user experience. One should also visit the App Store to update their apps, ensuring compatibility with the new iOS version.
After an iOS update, checking iCloud settings is wise to confirm that sync functions are operating correctly. Documents, photos, and app data should continue to sync across devices as they did prior to the update.
For those who encounter issues post-update, remember that guidance and troubleshooting steps are readily available on Apple’s support website. If persistent problems occur, contacting Apple Support or visiting an Apple Store for professional assistance is advisable. Remember, maintaining a backup of your device on iCloud or a computer is a good practice before initiating any update, to safeguard personal data.
Troubleshooting Update Issues
When an iPhone struggles to update iOS, frustration can set in. But with a few steps, users can usually solve the issue themselves. If a network error occurs, ensuring a stable Wi-Fi connection is a good first step in resolving the problem.
Connectivity and Software Check
- Network Connection: Confirm the Wi-Fi network is stable. If trouble persists, switch to a different network.
- Compatibility Check: It’s smart to make sure the iPhone is compatible with the latest update.
- Computer Update: Use a Mac with macOS Catalina or Windows PC with iTunes when over-the-air updates fail.
Technical Steps to Solve Common Problems
- Sufficient Space: One needs enough free space on the iPhone. Deleting unnecessary files or apps can free up space.
- Battery Power: An iPhone must be charged or connected to power during the update process.
- Restart the iPhone: This simple act can clear out glitches that impede updates.
- Disable VPN: Temporarily turning off any VPN might fix connectivity issues.
- Update via Computer: For more stubborn problems, they can update through Finder on macOS or iTunes on a PC.
- Recovery Mode: As a last resort, putting the iPhone in recovery mode can help. With the iPhone connected to a computer, users can follow instructions to restore the iPhone.
It’s a good idea to keep the device updated for the latest features and security. Most problems have a solution, and with a bit of patience, they can typically get their iPhone up to the latest version of iOS.
Frequently Asked Questions
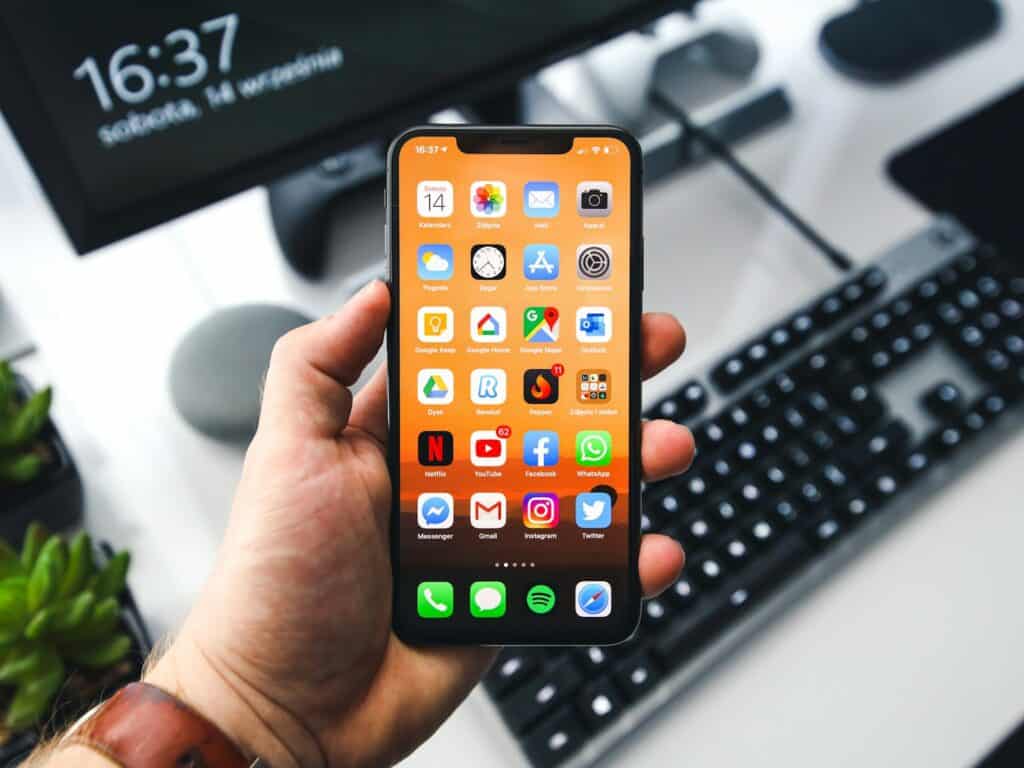
Updating your iPhone to the latest iOS version can enhance your device with new features and security improvements. This section provides answers to common questions surrounding the iOS update process.
What are the steps to download and install an iOS software update?
To download and install an iOS update, go to your iPhone’s Settings, tap ‘General,’ then ‘Software Update.’ If an update is available, you can tap ‘Download and Install.’ Make sure your device is connected to Wi-Fi and plugged into power if the battery is low.
Why might an iPhone not be able to update to the newest iOS?
An iPhone might not update if it lacks storage space, isn’t connected to Wi-Fi, has a weak battery, is too old, or if a VPN or proxy blocks the connection to Apple servers. Also, ensure that it isn’t running a beta version which can sometimes complicate updating.
How can I update my iPhone to a specific older iOS version?
Typically, Apple does not support downgrading to older iOS versions once a new version has been released. However, advanced users sometimes use third-party software to do this, though it is not recommended due to potential security risks and voiding warranty.
What is the latest iOS version available for my iPhone?
The latest iOS version available can be found in the ‘Settings’ under ‘General’ and ‘Software Update.’ Your iPhone will only display the updates that are compatible with your specific model.
How do I update my iPhone 15 to the most recent iOS version?
Update your iPhone 7 by accessing ‘Settings,’ tapping ‘General,’ and then ‘Software Update.’ If an update is available, click ‘Download and Install.’ Ensure your device is charged or connected to power and has a stable Wi-Fi connection to proceed with the update.

