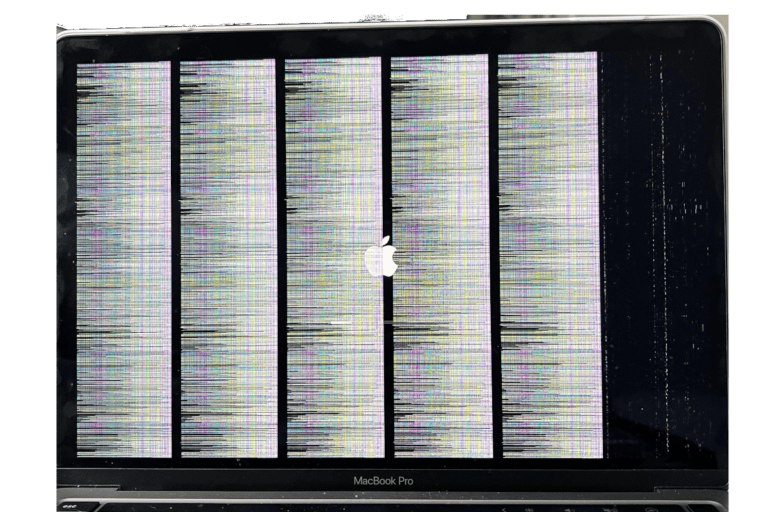
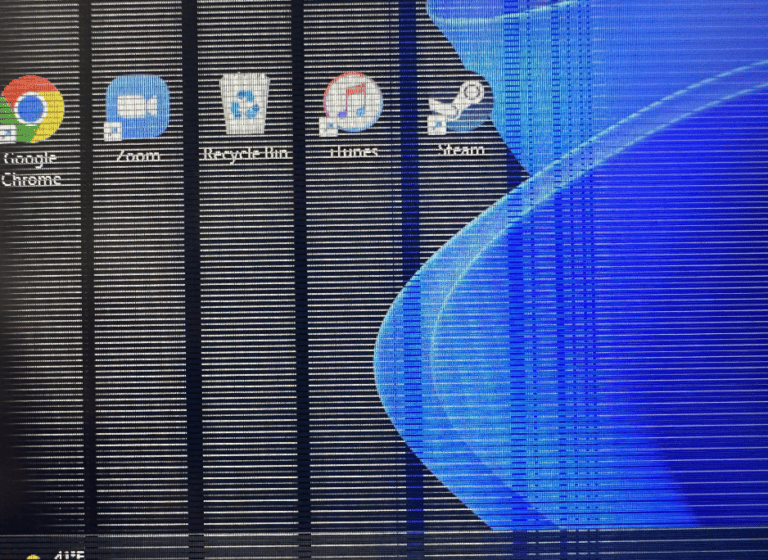
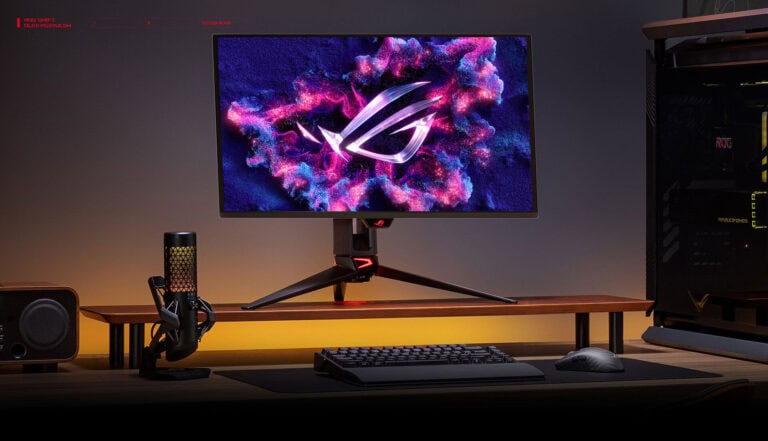
The Acer Predator X34 is a popular ultrawide monitor known for its impressive display and gaming capabilities. However, like any sophisticated piece of technology, it can encounter issues. Users have reported problems such as vertical lines on the screen, flickering, and difficulties with the monitor’s overdrive setting. These issues often necessitate a reset to restore functionality.
Acer Predator X34: Factory Reset Instructions
The Acer Predator X34 is a premium ultrawide gaming monitor known for its curved IPS display and G-SYNC support.
If you’re experiencing display issues, color problems, or want to restore default settings, performing a factory reset can help.
⚙️ When to Factory Reset
A factory reset can fix:
- Incorrect color calibration or brightness/contrast issues
- On-screen display (OSD) settings that are misconfigured
- Input or refresh rate errors
- G-SYNC or adaptive sync conflicts
- General performance or display anomalies
It does not erase firmware updates or hardware-level configurations — only user settings.
🧩 Step-by-Step: Factory Reset via On-Screen Display (OSD)
This is the recommended and safest method.
Step 1: Power On the Monitor
- Ensure your Acer Predator X34 is powered on and displaying an image.
- If the screen is blank, verify that your input source (HDMI or DisplayPort) is connected and active.
Step 2: Open the OSD Menu
- Locate the joystick control (or control buttons) on the bottom-right underside of the monitor.
- Press the center of the joystick (or Menu button) once to open the On-Screen Display (OSD).
Step 3: Navigate to the “System” Menu
- Move the joystick right or left to scroll through the top-level OSD icons.
- Highlight and select “System.”
Step 4: Select “Reset All Settings”
- Scroll down within the System menu until you find “Reset All Settings.”
- Press the joystick (or OK button) to select it.
Step 5: Confirm the Reset
- When prompted, choose “Yes” to confirm.
- The monitor will reset all user preferences to factory defaults.
Step 6: Wait for Restart
- The screen may flicker or go black briefly.
- Once it reinitializes, all settings (color, brightness, refresh rate, profiles, etc.) will return to default.
🔧 Alternative Method: Reset via Service Menu (Advanced)
⚠️ Warning: The service menu is for technicians. Changing certain values can affect your monitor’s calibration or performance.
Only use this method if the OSD is inaccessible or malfunctioning.
To Access the Service Menu:
- Turn off the monitor.
- Press and hold the Menu and Power buttons simultaneously.
- Continue holding until the monitor powers on and the service menu appears.
- Use the joystick to navigate to “Factory Reset” or “Reset All”.
- Confirm and restart the monitor.
(Note: Button combinations may vary slightly between X34 models — X34, X34P, X34GS. If this doesn’t work, refer to your specific model’s service manual.)
🧠 After the Reset: Reconfigure Your Settings
Once your Predator X34 restarts:
- Re-enable Overclocking (if used) under Gaming → Over Clock.
- Reconfigure G-SYNC / Adaptive Sync in your GPU settings.
- Adjust Brightness, Contrast, and Color Temperature to your liking.
- Reassign Input Source if you use multiple devices.
🧾 Quick Reference Summary
| Step | Action | Menu Path |
|---|---|---|
| 1 | Power on monitor | — |
| 2 | Open OSD Menu | Press joystick/Menu button |
| 3 | Go to System | OSD → System |
| 4 | Select Reset All Settings | System → Reset All Settings |
| 5 | Confirm Reset | Choose “Yes” |
| 6 | Wait for Restart | Monitor reboots to defaults |
🧰 Troubleshooting Tips
| Issue | Solution |
|---|---|
| OSD not opening | Check joystick function or reconnect power cable |
| Reset option greyed out | Ensure monitor is on an active input source |
| Still seeing issues after reset | Try power cycling: unplug monitor for 1 minute |
| Display flickers post-reset | Re-enable G-SYNC and set refresh rate manually in GPU control panel |
🧩 Model Variations
The Acer Predator X34 line includes several versions:
- X34 / X34A – Original 100Hz G-SYNC model
- X34P – Updated 120Hz curved version
- X34GS – 180Hz G-SYNC compatible variant
The factory reset process is identical across all models, though menu layout may vary slightly.
🔗 Helpful Resources
- Acer Official Support – Predator X34 Series Manuals & Drivers
- Acer Predator X34P User Manual (PDF)
- iFixit – Acer Predator X34 Disassembly Guide
✅ Final Takeaway
Performing a factory reset on your Acer Predator X34 is quick and safe — it restores all OSD and display settings to their original defaults without affecting firmware or hardware.
If problems persist after resetting, check your GPU drivers or cable connections, or contact Acer Support for diagnostics.
Restoring Your Acer Predator X34 / X34P to Factory Settings
Sometimes, a fresh start is all you need, even for your monitor. Resetting your Acer Predator X34 to factory settings can resolve various issues and optimize performance. Let’s look into two methods:
Method 1: Using the On-screen Menu (OSD)
- Power on your Predator X34 and ensure it’s connected to your PC.
- Locate the five navigation buttons on the bottom right edge of the monitor.
- Press the Menu button (the second button from the left) to open the on-screen menu (OSD).
- Navigate the OSD using the ▲ and ▼ buttons until you reach the “Setup” option.
- Press the → button to enter the “Setup” menu.
- Scroll down using the ▼ button until you see “Reset” and press the → button to enter it.
- Select “All Settings” to perform a complete factory reset.
- Confirm your selection by pressing the OK button.
- The monitor will display a confirmation message. Press the OK button again to proceed.
- The reset process will start, and the monitor will reboot once complete.
Method 2: Using the Hardware Button (Hard Reset)
- Power off your Predator X34 and disconnect it from the power outlet.
- Locate the small reset button on the back of the monitor, near the bottom right corner.
- **Use a paperclip or similar object to press and hold the reset button for at least 5 seconds.
- While holding the reset button, reconnect the power cable to the monitor.
- Continue holding the reset button for another 5 seconds after reconnecting the power.
- Release the reset button.
- The monitor will power on and perform a factory reset.
Important Notes:
- Both methods will erase all custom settings and saved configurations from the monitor.
- Make sure to back up any important settings before performing a factory reset.
- The exact location of the reset button and menu options may vary slightly depending on your Predator X34 model.
- Refer to the official Acer Predator X34 user manual for specific instructions and troubleshooting tips.
By following these steps, you can effortlessly restore your Acer Predator X34 to its original factory settings, giving it a clean slate and potentially resolving any technical issues you might be encountering.
Key Takeaways:
- Understanding the need for resetting the Acer Predator X34.
- Common issues faced by users and their solutions.
- Step-by-step guide to performing a hard reset.
Recognizing the Need for a Reset
Common Issues and User Experiences
Vertical Lines and Flickering: A recurring issue with the X34 is the appearance of vertical lines and flickering, especially when overclocked to higher refresh rates like 100Hz or 120Hz. For instance, a user on Reddit (source) mentioned experiencing RGB vertical lines when overclocking their X34. Another user faced similar flickering issues at 120Hz.
Overdrive Setting Troubles: Some users have found that adjusting the overdrive setting in the On-Screen Display (OSD) can resolve certain display issues. Overdrive helps reduce input lag but can sometimes lead to display problems.
Standby Mode Glitches: There are instances where the X34 fails to enter standby mode correctly, staying active with a blue light and backlight on. This issue can prevent the monitor from turning on again, requiring a reset.

Step-by-Step Guide to Performing a Hard Reset
- Identifying the Need for Reset:
- If you’re experiencing display issues like vertical lines, flickering, or the monitor not entering standby mode, a reset might be necessary.
- Performing the Hard Reset:
- Turn off the monitor.
- Hold down the far left and far right buttons on the OSD for 20 seconds.
- Turn the monitor back on.
- Checking Cable Quality:
- Replace the DisplayPort (DP) cable if issues persist. A higher quality DP cable can sometimes resolve display problems.
- Adjusting Overdrive Settings:
- If overdrive is causing issues, try turning it off in the OSD settings.
- Dealing with Standby Mode Issues:
- If the monitor doesn’t enter standby mode, try unplugging the power, then resetting the monitor by holding the power button for 10 seconds.
Real-World Applications and User Experiences
Incorporating a new DisplayPort cable resolved flickering issues for one user, highlighting the importance of using quality cables. Another user found success in turning off the overdrive setting to eliminate vertical red lines.
Latest Technological Advancements
The Acer Predator X34 continues to benefit from technological advancements in display technology, offering features like G-Sync and high refresh rates. These features enhance gaming and general use experiences but can also introduce complexities requiring occasional troubleshooting.
Conclusion
While the Acer Predator X34 is a high-performance monitor, it’s not immune to issues. Understanding how to effectively reset and troubleshoot the monitor can enhance your experience and prolong the device’s lifespan. Remember, a combination of proper settings, quality cables, and occasional resets can keep your X34 running smoothly.


