An ATX bridge tool makes it possible to turn on a power supply without connecting it to a motherboard. It works by bridging the power-on pin to ground, which tricks the power supply into starting up on its own. This simple tool is often used by builders and technicians who need to test or power components outside of a full system.
With it, someone can run fans, pumps, or lights without setting up the entire PC. It also helps when checking if a power supply works before installing it. Because it fits into the 20 or 24-pin ATX connector, it offers a quick and safe way to control the power supply directly.
By using an ATX bridge tool, testing becomes faster and less dependent on extra hardware. It reduces setup time and prevents the need to risk damaging a motherboard during troubleshooting.
What Is an ATX Bridge Tool
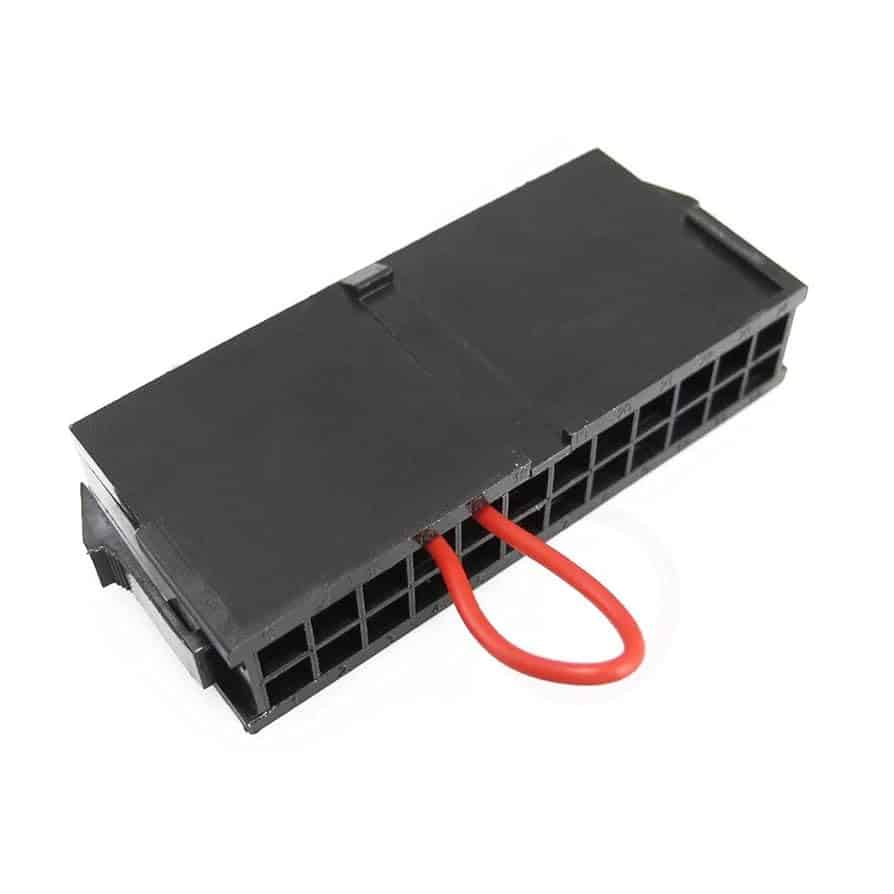
An ATX bridge tool (also called a PSU jumper, ATX bridging plug, or power supply starter) is a small adapter that allows you to turn on a computer power supply unit (PSU) without connecting it to a motherboard.
It’s commonly used by PC builders, repair technicians, and water‑cooling enthusiasts.
⚙️ How It Works
- A standard ATX power supply won’t turn on unless it detects a motherboard connection.
- The motherboard normally sends a “power on” signal by shorting the green wire (PS_ON) to any black ground wire.
- The ATX bridge tool replicates this by shorting the correct pins on the 24‑pin ATX connector, tricking the PSU into thinking it’s connected.
🛠️ Main Uses of an ATX Bridge Tool
- Testing a PSU
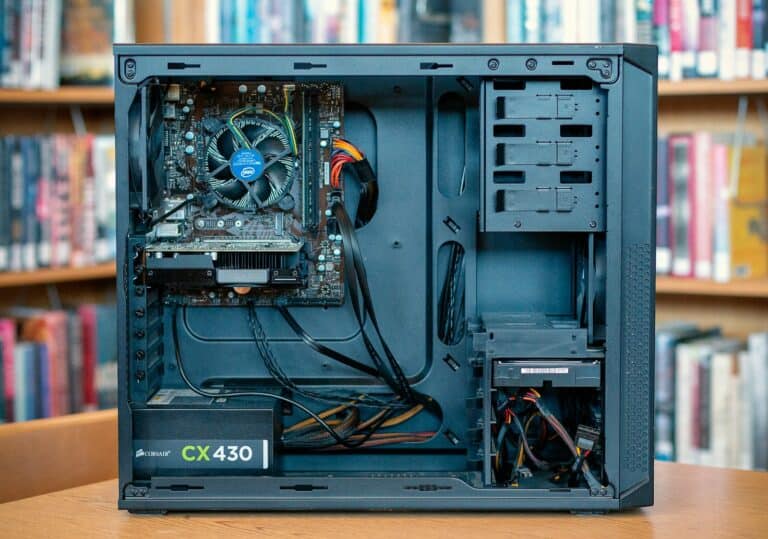
- Check if a power supply is working before installing it in a system.
- Useful for diagnosing faulty hardware.
- Running Components Without a Motherboard
- Power fans, pumps, LED strips, or drives independently.
- Common in custom water‑cooling loops to test pumps and leak‑check before powering the full system.
- Burn‑In / Stress Testing
- Run the PSU under load with testing equipment to check stability.
- Building / Maintenance
- Safely flush or test liquid cooling systems without risking the motherboard or CPU.
🔐 Safety Notes
- Always connect a load (like a fan or pump) when powering on a PSU with a bridge tool — some PSUs may shut down without one.
- Never short random pins with paperclips unless you know what you’re doing; a proper ATX bridge tool is safer.
- Disconnect power before plugging or unplugging the adapter.
📝 Bottom Line
An ATX bridge tool is a simple but essential tool for PC enthusiasts. It allows you to:
- Start a PSU without a motherboard.
- Test or troubleshoot power supplies.
- Safely run water‑cooling pumps, fans, or lights during setup.
It’s inexpensive, easy to use, and much safer than DIY paperclip methods.
Key Takeaways
- An ATX bridge tool powers a PSU without a motherboard.
- It helps test fans, pumps, lights, and the PSU itself.
- It saves time and lowers risk during troubleshooting.
Frequently Asked Questions
An ATX bridge tool allows a power supply to start without a motherboard. It helps with testing, setup, and troubleshooting by providing a simple way to control the PSU directly. Careful handling is important since the tool works with live electrical power.
How does an ATX bridge tool assist with power supply testing?
It lets users switch on the PSU without attaching it to a motherboard. This makes it possible to check if the unit powers up, runs fans, or provides voltage to connected devices. It is often used when building or maintaining systems.
What are the safety precautions to consider when using an ATX bridge tool?
Users should never touch exposed wiring while the PSU is running. The PSU should sit on a non-conductive surface to reduce shock risks. Only the necessary cables should be connected during testing.
Can an ATX bridge tool be used on any power supply unit?
It works only with ATX or EPS power supplies that use a 20-pin or 24-pin connector. It will not function with power supplies that use different standards or proprietary connectors.
What are the diagnostic capabilities of an ATX bridge tool?
The tool can confirm if a PSU turns on and delivers power. It does not measure voltage accuracy or ripple. For deeper diagnostics, other instruments are required.
How does an ATX bridge tool differ from a multimeter in testing power supplies?
A bridge tool simply powers on the PSU. A multimeter measures voltage levels and checks if they fall within safe ranges. Both can be used together for more complete testing.
What steps are involved in using an ATX bridge tool for a PSU test?
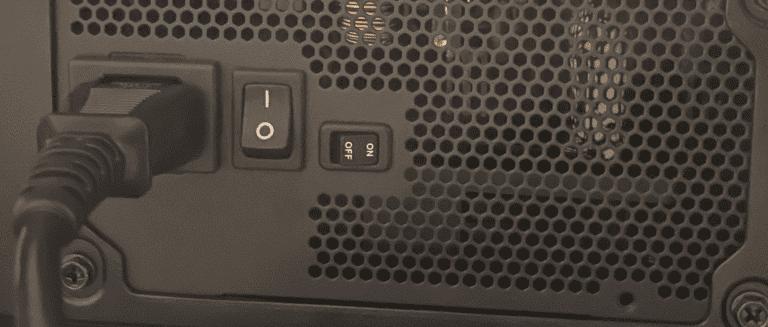
First, unplug the PSU from the wall and connect the bridge tool to the 24-pin connector. Then plug the PSU back into the wall and switch it on. The PSU should power up, and connected fans or devices should receive power.

