A cracked or malfunctioning laptop screen doesn’t necessarily mean it’s time for a new device. With the right tools, patience, and a bit of technical know-how, you can replace your laptop screen yourself — saving anywhere from $200 to $500 compared to professional repair services (source).
🧰 Tools and Materials You’ll Need
Before you start, make sure you have the proper equipment. Here’s a quick overview:
| Tool / Material | Purpose | Estimated Cost (USD) |
|---|---|---|
| Small Phillips-head screwdriver | To remove screws from the bezel and hinges | $5–$10 |
| Plastic prying tool or guitar pick | To gently separate the bezel | $3–$8 |
| Replacement laptop screen | The new display panel | $50–$200 (model-dependent) |
| Anti-static wristband (optional) | Prevents static damage to components | $5–$15 |
| Tweezers (optional) | For handling small screws or connectors | $3–$10 |
(source: PC ReFix, HP Tech Takes)
🧩 Step-by-Step Laptop Screen Replacement
1. Power Down and Unplug
Shut down your laptop completely. Disconnect the power adapter and remove the battery (if possible) to avoid electrical damage.
2. Remove the Bezel
Use a plastic prying tool to carefully separate the bezel — the plastic frame surrounding the screen. Some models use screws hidden under rubber covers; remove these first.
3. Detach the Broken Screen
Once the bezel is off, locate the screws securing the screen to the hinges. Remove them gently, then tilt the screen forward to access the cable connection at the back.
4. Disconnect the Video Cable
Unplug the video cable (usually a flat ribbon connector) and any additional webcam or sensor cables. Handle these gently to avoid tearing.
5. Install the New Screen
Connect the new screen’s video cable, then position and secure it using the same screws. Make sure it sits flush within the lid.
6. Reattach the Bezel
Snap the bezel back into place (or screw it in, depending on your model). Ensure all clips and edges are properly aligned.
7. Test the Display
Power on your laptop before fully tightening everything. Check for image clarity, brightness, and correct color display. If the screen doesn’t light up, recheck the cable connection.
⚙️ Troubleshooting Tips
- No display or flickering: The video cable may be loose or damaged.
- Dim screen: Check your brightness settings or backlight connection.
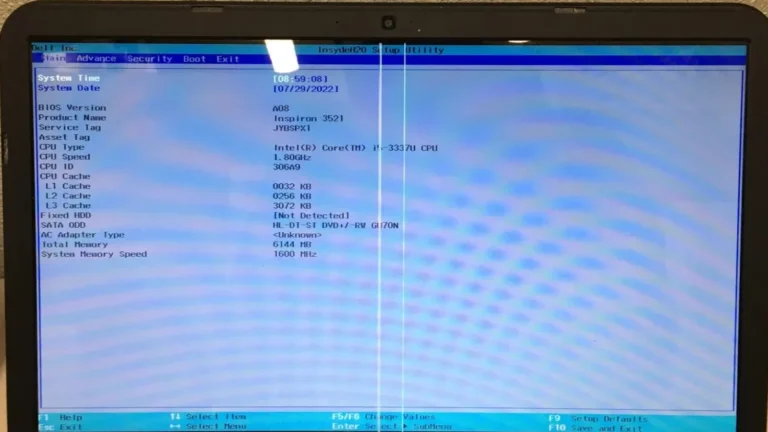
- Color distortion: Ensure the replacement screen matches your laptop’s specifications.
💡 Final Thoughts
Replacing a broken laptop screen is a manageable DIY project for most users. It requires patience and precision but can breathe new life into your device for a fraction of the cost of a new laptop. If you’re unsure or uncomfortable performing the repair, professional technicians can handle it safely.
For detailed brand-specific tutorials (Dell, HP, Lenovo, ASUS, and MacBook), check out this complete guide.


