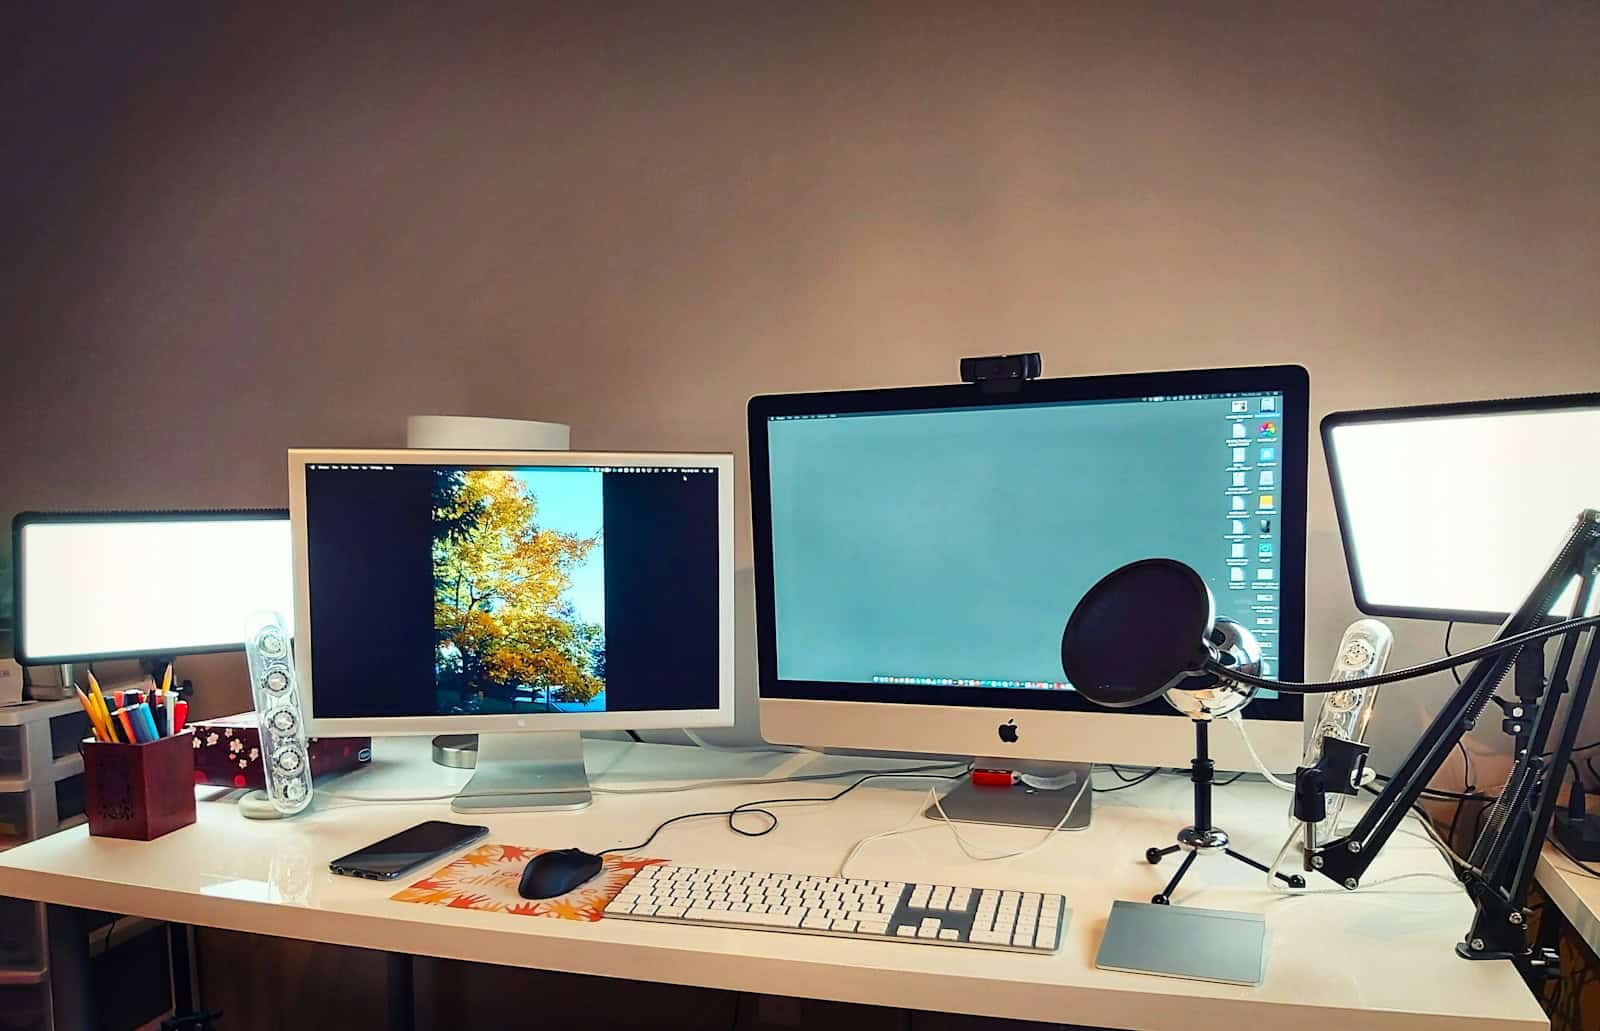
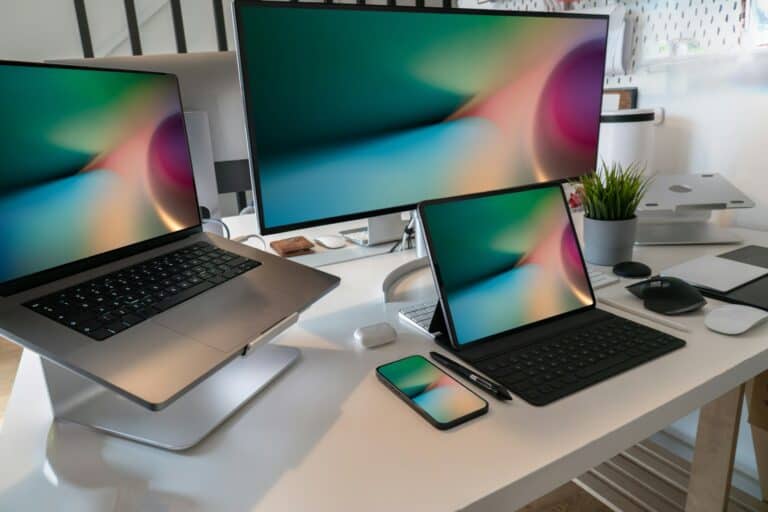
Connecting more than one monitor to a Mac can improve workflow and make multitasking easier. On most MacBook Air and MacBook Pro models, you can connect multiple monitors by using the built‑in ports or a DisplayLink‑compatible dock with the right software. The exact setup depends on the Mac model, its chip, and the version of macOS installed.
Some models, like M1 and M2 MacBook Air, support only one external display without extra hardware. Others, such as M3 or M4 models running macOS Sonoma 14.6, allow two or more monitors under certain conditions. Using USB‑C or Thunderbolt connections, along with the correct adapters or docks, makes it possible to extend the desktop or mirror the display as needed.
Knowing the limits of the Mac and the right connection method prevents wasted time during setup. A clear plan for cables, ports, and software ensures a smooth installation and stable performance across all screens.
How to Set Up Multiple Monitors on a Mac
Using multiple monitors with your Mac can greatly improve productivity, make multitasking easier, and give you more space for creative work. This guide covers hardware setup, macOS settings, and troubleshooting.
1. Check Your Mac’s Display Support
Before buying or connecting extra monitors, confirm your Mac model’s maximum external display support.
- Apple Silicon Macs (M1, M2, M3 series):
- Some base models (like M1 MacBook Air) support only 1 external display.
- Pro/Max/Ultra chips support 2–8 external displays depending on the model.
- Intel Macs: Usually support 2 external displays or more.
How to check:
- Click Apple Menu → About This Mac → More Info → System Report.
- Under Graphics/Displays, see the number of supported displays.
2. Gather the Right Cables & Adapters
- MacBook/Mac mini: Use USB‑C/Thunderbolt 3 or 4 ports for best performance.
- iMac: Use Thunderbolt/USB‑C or HDMI (on some models).
- Adapters:
- USB‑C → HDMI or DisplayPort
- Thunderbolt → HDMI/DisplayPort
- For older Macs: Mini DisplayPort adapters.
Tip: Use certified adapters to avoid flickering or resolution issues.
3. Connect Your Monitors
- Turn on your Mac and monitors.
- Plug each monitor into a separate port (or use a dock/hub that supports multiple displays).
- If using a MacBook with the lid closed, connect an external keyboard and mouse.
4. Arrange Displays in macOS
- Go to System Settings → Displays.
- Your monitors will appear as blue boxes.
- Drag to arrange them to match your physical setup.
- To change which display is the primary (menu bar location), drag the white bar to that monitor.
- Adjust resolution and refresh rate for each screen.
5. Extend vs. Mirror Displays
- Extend: Each monitor shows different content (more workspace).
- In Displays, uncheck Mirror Displays.
- Mirror: All monitors show the same content.
- In Displays, check Mirror Displays.
6. Tips for Best Performance
- Use native resolution for sharp text and graphics.
- If using high‑refresh monitors (120Hz+), make sure to set the refresh rate in Displays → Advanced.
- Close unused apps to free up GPU resources.
- For color‑critical work, calibrate each monitor in Displays → Color.
7. Troubleshooting Multiple Monitor Issues
| Problem | Solution |
|---|---|
| Monitor not detected | Unplug/replug, restart Mac, check cable/adapter |
| Wrong resolution | Adjust in Displays settings or try a different cable |
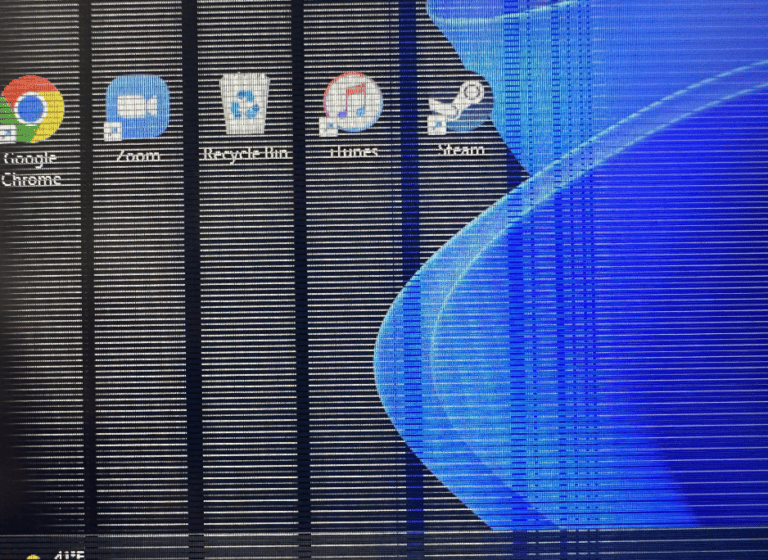
| Flickering | Use higher‑quality cables, avoid cheap hubs |
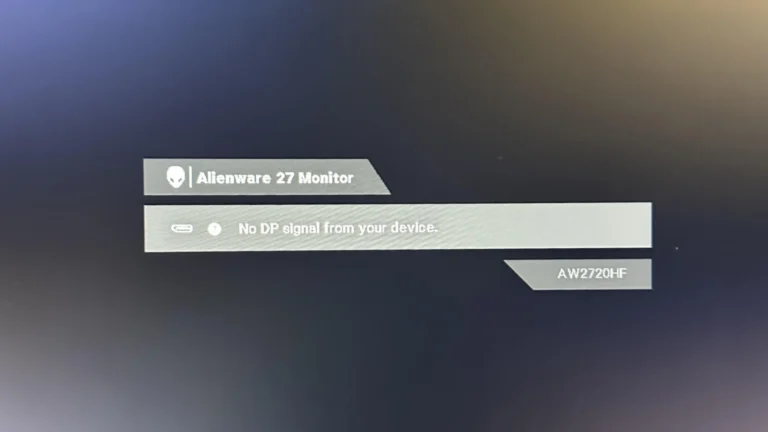
| External display not working on M1 Mac | Check if your model supports more than 1 display; if not, use DisplayLink dock |
| Colors look off | Select correct color profile in Displays settings |
8. Helpful Resources
Key Takeaways
- MacBook display limits depend on the chip and macOS version
- Extra monitors may require a DisplayLink dock and software
- Correct ports and cables ensure stable multi‑monitor setups
Frequently Asked Questions
Setting up more than one monitor on a Mac depends on the model, the ports available, and the type of connection used. Some setups require adapters or docking stations, while others work with direct USB‑C or Thunderbolt connections.
What are the steps to connect multiple monitors to a MacBook Air?
First, check the MacBook Air’s technical specifications to confirm how many external displays it supports. Connect each monitor using USB‑C, Thunderbolt, or an adapter for HDMI or DisplayPort. Then open System Settings > Displays to arrange and configure the screens.
Can I use a single HDMI port on a Mac laptop to connect two monitors?
A single HDMI port can only send video to one monitor. To run two monitors from one port, a multi‑stream transport (MST) hub would be needed, but macOS does not support MST for multiple independent displays. Use separate ports or a compatible docking station instead.
How do I set up a dual monitor configuration with a MacBook Pro using a Dell docking station?
Connect the docking station to the MacBook Pro through USB‑C or Thunderbolt. Attach each monitor to the docking station using supported video outputs like HDMI or DisplayPort. In System Settings > Displays, arrange the monitors in the desired order and adjust resolution settings.
What is the process for extending my MacBook display across two monitors?
Connect both monitors to the MacBook using available ports or a docking station. In System Settings > Displays, select “Extend Display” for each monitor. Drag the display icons to match their physical placement on the desk.
How can I connect three monitors to a MacBook Pro?
Only certain MacBook Pro models support three external monitors. Use all available Thunderbolt or USB‑C ports, or a high‑bandwidth docking station that supports multiple displays. Confirm the model’s display limit before purchasing adapters or hubs.
What is the maximum number of displays I can connect to a MacBook Air?
Most recent MacBook Air models with Apple Silicon support only one external display, even with adapters or docks. Intel‑based MacBook Air models may support two, depending on the configuration. Always check Apple’s specifications for the exact model.

