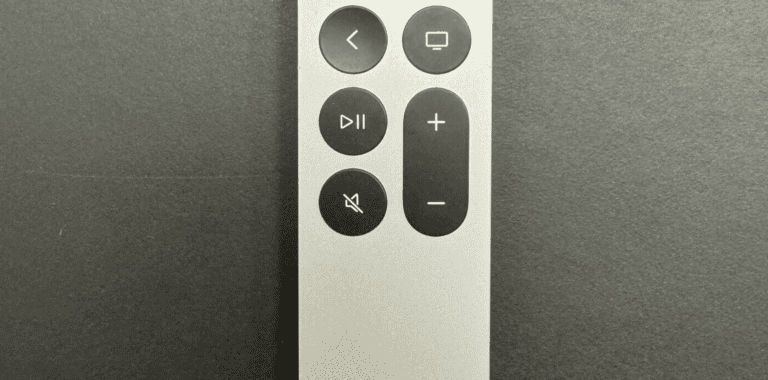
Apple TV remotes don’t all handle power the same way, and that can cause confusion when the battery stops working. Older white and aluminum Apple TV remotes use a coin-cell battery that you can replace yourself, while newer Siri remotes use a built-in rechargeable battery that you charge with a cable. Knowing which remote you have makes the process simple and prevents frustration.
Someone using an older Apple Remote can swap in a CR2032 or BR2032 coin battery in just a few minutes. For those with a Siri Remote, there’s no battery door to open—charging it with a Lightning or USB-C cable is the only option. Either way, keeping the remote powered ensures Apple TV stays easy to control.
With a clear understanding of which remote is in use, the battery problem becomes easy to solve. This guide explains the differences, shows the right steps, and answers the most common questions about Apple TV remote batteries.
Step 1: Identify Your Apple TV Remote
Apple has released several versions of the Apple TV remote:
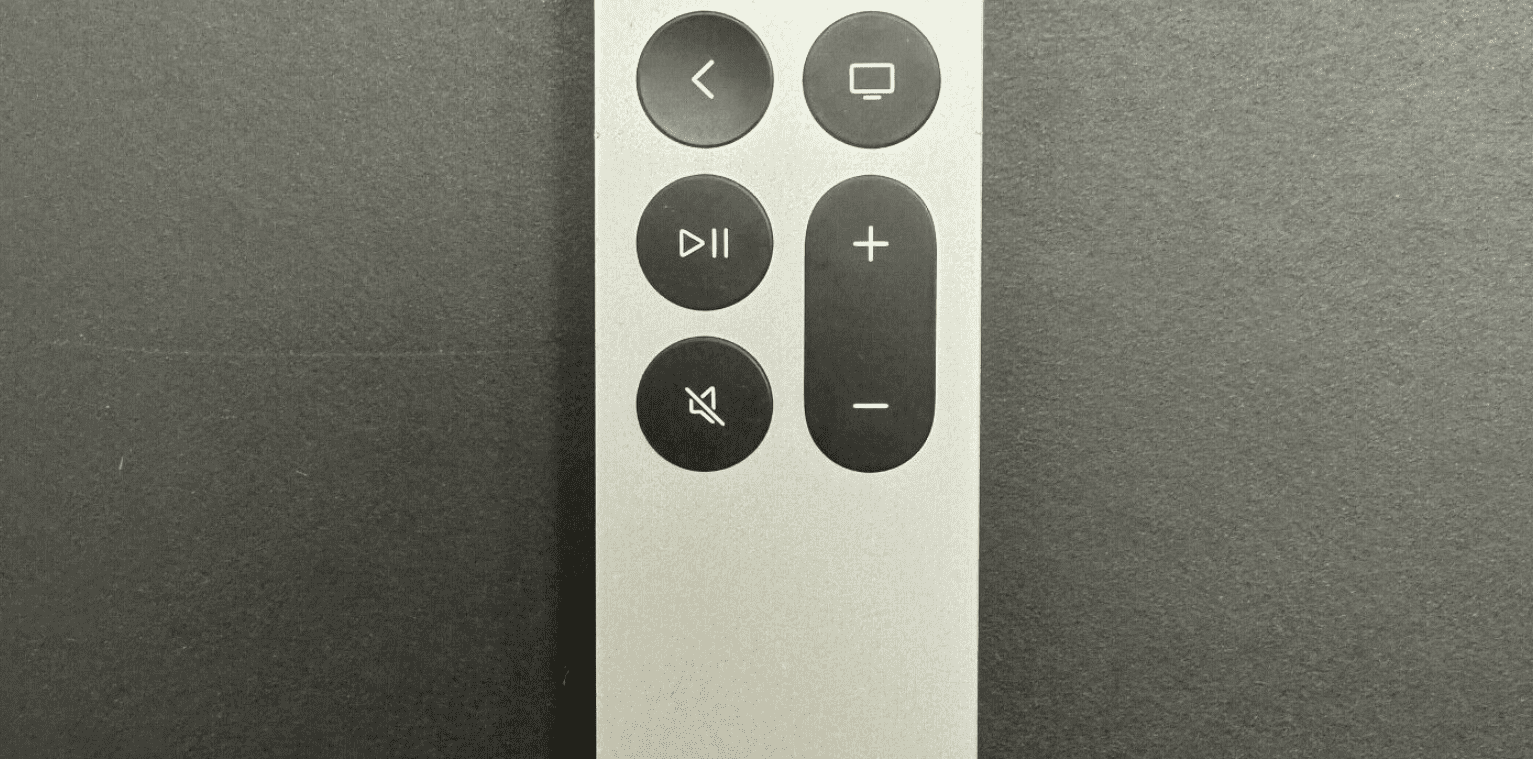
- Siri Remote (2nd generation and later, 2021–present)
- Slim silver design with a circular touch-enabled clickpad.
- Rechargeable via Lightning cable (or USB-C on the newest 2024 model).
- No user-replaceable battery.
- Siri Remote (1st generation, 2015–2021)
- Black design with glass touch surface.
- Rechargeable via Lightning cable.
- Apple Remote (older, aluminum or white plastic models)
- Pre-Siri era (used with Apple TV 2nd/3rd gen).
- Uses a CR2032 coin-cell battery, which is replaceable.
Step 2: Check Battery Level
- On Apple TV, go to Settings > Remotes and Devices > Remote.
- The Battery Level indicator shows how much charge remains.
If the battery is low, you’ll either need to recharge (newer remotes) or replace the coin cell (older remotes).
Step 3: Rechargeable Siri Remote (2015 and newer)
If you have a Siri Remote:
- Plug a Lightning cable (or USB-C for the latest model) into the bottom of the remote.
- Connect the other end to a USB power adapter or your computer.
- Charge until the battery is full (usually a couple of hours).
⚠️ Note: The battery is not user-replaceable. If the battery no longer holds a charge, you’ll need Apple service for replacement.
Step 4: Replace the Battery in Older Apple Remotes
If you have the older aluminum or white Apple Remote (non-Siri models):
- Locate the battery compartment on the back (aluminum) or bottom (white plastic).
- Use a coin or small tool to open the compartment.
- Remove the old CR2032 coin-cell battery.
- Insert a new one, with the positive (+) side facing up.
- Close the compartment securely.
Step 5: When to Seek Service
For Siri Remotes, the internal battery is sealed. If it no longer charges:
- Contact Apple Support for battery service.
- You may need to pay a service fee unless the remote is under warranty or AppleCare.
Final Tips
- Keep a Lightning/USB-C cable handy for quick recharges.
- For older remotes, always use a quality CR2032 battery for best performance.
- If your remote stops responding even after charging or replacing the battery, try resetting your Apple TV or re-pairing the remote.
✅ With this guide, you can keep your Apple TV remote powered up — whether that means recharging a Siri Remote or swapping the coin-cell battery in an older model.
Key Takeaways
- Older Apple TV remotes use replaceable coin batteries.
- Siri remotes use built-in rechargeable batteries.
- Identifying the remote model shows the correct power solution.
Frequently Asked Questions
Battery replacement depends on the Apple TV remote model. Some use coin cell batteries that can be swapped, while others use built‑in rechargeable batteries that cannot be replaced. Safe handling, correct battery type, and proper disposal are important for each case.
How do I open the Apple TV remote to replace the battery?
Older Apple TV remotes, such as the aluminum model, have a small battery compartment on the back. A coin or similar tool can turn the compartment door to access the battery. Newer Siri Remotes do not open because they use a sealed rechargeable battery.
What type of battery does the Apple TV remote require?
The aluminum Apple Remote uses a CR2032 coin cell battery. The white plastic Apple Remote uses a CR2032 or BR2032 coin cell. The Siri Remote, used with Apple TV HD and 4K, has a built‑in lithium‑ion battery that charges with a Lightning cable and cannot be replaced by the user.
Are there any special instructions for disposing of the old Apple TV remote battery?
Coin cell and lithium‑ion batteries should not go in household trash. They can leak or pose a fire risk. Take them to a recycling center or a store that accepts used batteries.
Can I replace the battery in my Apple TV remote myself, or do I need professional assistance?
Users can replace the coin cell batteries in older remotes without help. The process is simple and does not need tools beyond a coin. For Siri Remotes, the battery is not user‑replaceable, so service from Apple or a repair shop is required.
How do I know when it’s time to replace the battery in my Apple TV remote?
If the remote stops responding or only works at short range, the battery may be weak. On newer Siri Remotes, a low‑battery warning appears on the TV screen.
What are the steps to safely install a new battery in the Apple TV remote?
For remotes with coin cell batteries, open the compartment, remove the old battery, and insert the new one with the correct side facing up. Close the compartment securely. For Siri Remotes, plug in a Lightning cable to recharge since the battery cannot be replaced.

