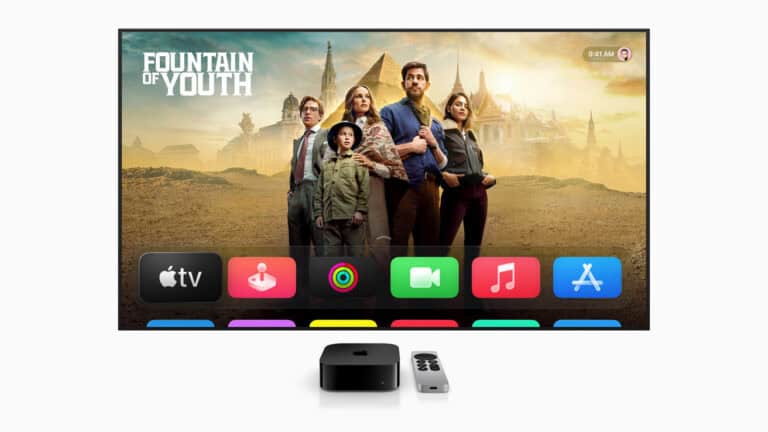
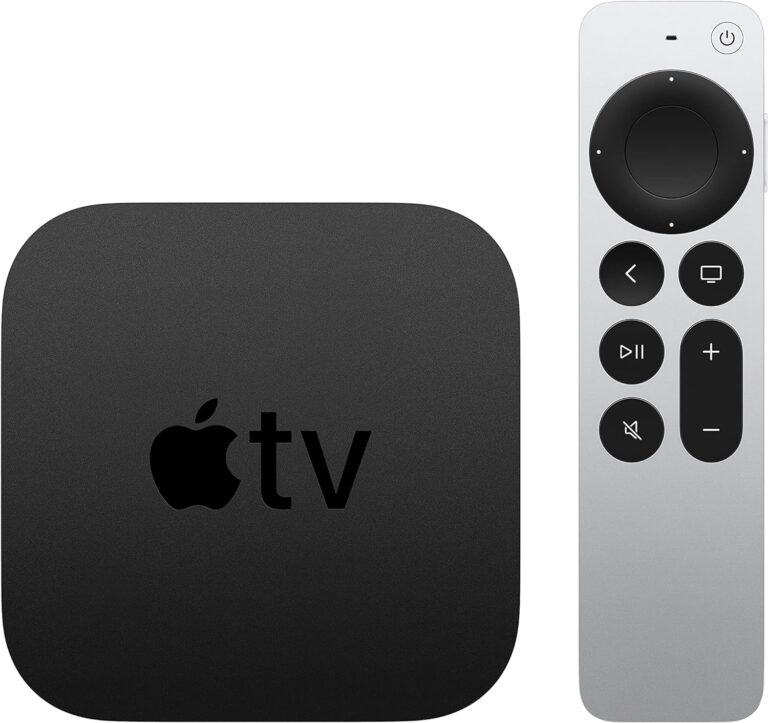
Apple TV is one of the best streaming devices available today, offering seamless integration with Apple’s ecosystem and access to top platforms like Netflix, Disney+, Hulu, and Apple TV+. However, not all content is available everywhere — and that’s where a VPN (Virtual Private Network) comes in.
In this guide, we’ll explain how to set up a VPN on Apple TV, why you might want one, and the best methods to get it working smoothly.
Why Use a VPN on Apple TV?
A VPN encrypts your internet connection and routes it through a secure server in another location. On Apple TV, this can help you:
- Access geo-restricted content (e.g., watch U.S. Netflix or BBC iPlayer abroad)
- Protect your privacy when streaming
- Prevent ISP throttling during high-bandwidth use
- Maintain security on shared or public networks
Does Apple TV Support VPNs Natively?
Until recently, Apple TV didn’t support VPN apps directly. You had to install a VPN on your router or use Smart DNS settings.
However, starting with tvOS 17, Apple added native VPN support, meaning you can now install and connect to a VPN directly on your Apple TV — no router configuration required (source: Tom’s Guide).
Method 1: Install a VPN Directly on Apple TV (tvOS 17 or Later)
If your Apple TV runs tvOS 17 or newer, follow these steps:
- Open the App Store on your Apple TV.
- Search for your VPN provider’s app (e.g., ExpressVPN, NordVPN, Surfshark).
- Download and install the app.
- Log in using your VPN account credentials.
- Choose a server location and connect.
Once connected, all your Apple TV traffic will be routed through that VPN server, unlocking global content libraries (source: Engadget).
Method 2: Use a VPN Router
If your Apple TV doesn’t support VPN apps (older models or tvOS versions), you can install a VPN on your Wi-Fi router instead. This way, every device connected to your home network — including your Apple TV — benefits from the VPN connection.
Steps:
- Log into your router’s admin panel.
- Check if your router supports VPN configuration (many Asus, Netgear, and TP-Link models do).
- Enter your VPN provider’s manual setup details (server address, username, password).
- Save and connect.
Now, your Apple TV will automatically use the VPN connection without any additional setup.
Method 3: Use Smart DNS for Streaming
If your main goal is bypassing geo-restrictions rather than encrypting traffic, a Smart DNS service is a simpler option. Many VPNs (like ExpressVPN and Surfshark) include Smart DNS features.
To set up Smart DNS:
- Go to Settings → Network → Wi-Fi → Configure DNS → Manual.
- Enter the DNS address provided by your VPN or Smart DNS provider.
- Restart your Apple TV.
This method doesn’t encrypt your data but is great for streaming international content quickly (source: How-To Geek).
Best VPNs for Apple TV in 2025
Here are some of the top-rated VPNs that work seamlessly with Apple TV:
| VPN Provider | Key Features | Best For |
|---|---|---|
| ExpressVPN | Native tvOS app, Smart DNS, router support | Speed & reliability |
| NordVPN | Meshnet, Smart DNS, 6 simultaneous connections | Privacy & security |
| Surfshark | Unlimited devices, Smart DNS, affordable | Budget users |
| ProtonVPN | Secure Core servers, open-source | Privacy enthusiasts |
Troubleshooting: Apple TV Not Working with VPN?
If your VPN isn’t working as expected:
- Make sure your VPN app or router firmware is updated.
- Try a different server location.
- Clear your Apple TV’s DNS cache (restart it).
- Contact your VPN’s support for streaming-optimized servers (source: Comparitech).
Final Thoughts
Using a VPN on Apple TV in 2025 is easier than ever — especially with tvOS 17’s native support. Whether you install a VPN app directly, configure it on your router, or use Smart DNS, you’ll enjoy a more private, secure, and unrestricted streaming experience.
Related Reading:

