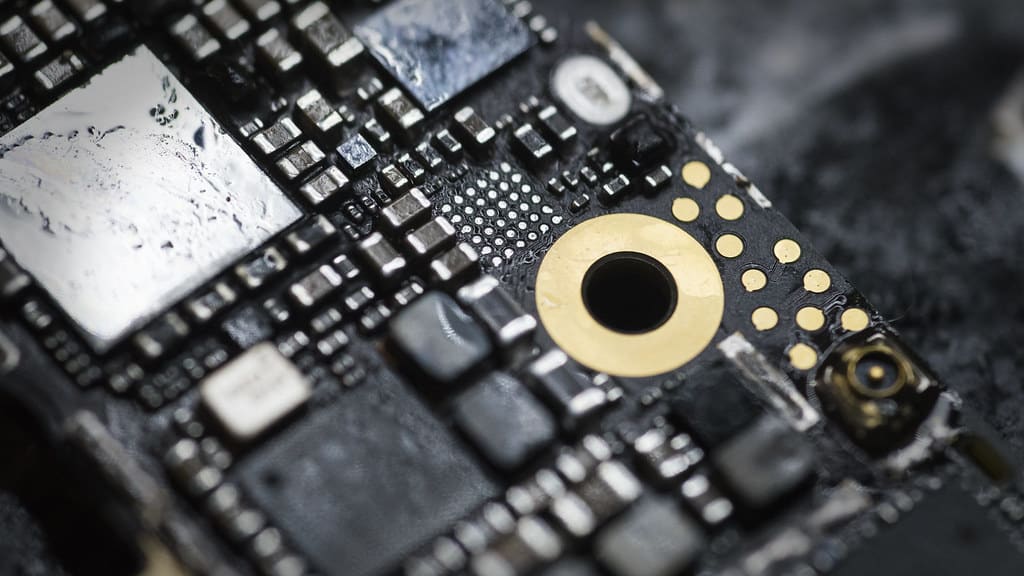
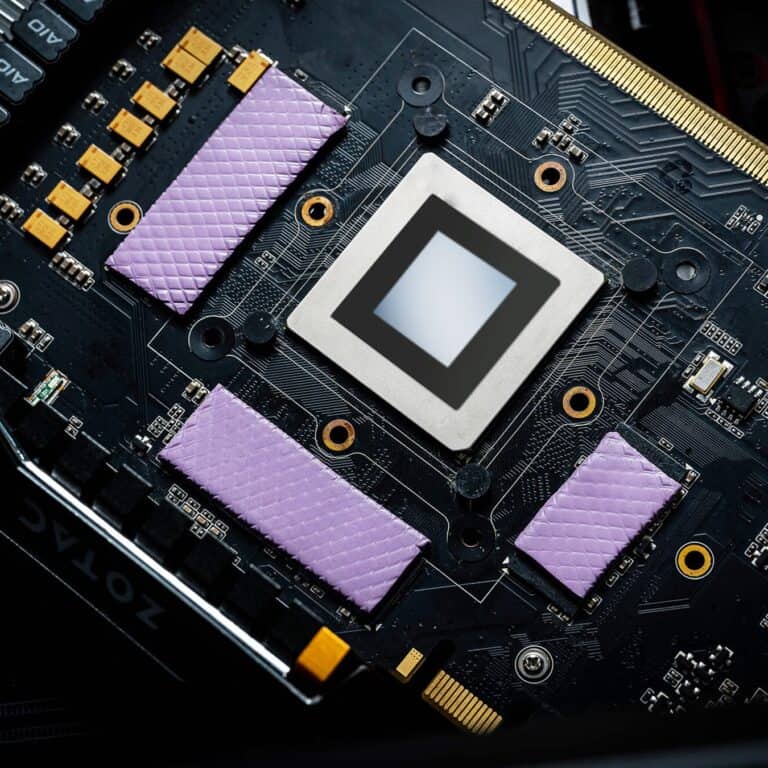
Printed Circuit Boards (PCBs) are the backbone of modern electronics, but they’re not indestructible. One of the most common repair challenges is dealing with a ripped-off solder pad—a tiny copper landing that separates from the board due to excessive heat, stress, or improper desoldering. Without a functioning pad, the component cannot make electrical contact, leaving your circuit broken.
Fortunately, with the right tools and patience, you can restore functionality. This guide walks you through the process step by step.
Why Do Solder Pads Rip Off?
Solder pads are thin copper areas bonded to the fiberglass substrate of a PCB. They can lift or rip off due to:
- Overheating during soldering or desoldering
- Excessive mechanical force on components
- Corrosion or liquid damage
- Poor-quality PCB manufacturing
Tools & Materials You’ll Need
- Fine-tipped soldering iron
- Flux pen or paste
- Desoldering braid or pump
- Precision tweezers
- Scalpel or hobby knife
- Kapton tape (heat-resistant)
- Epoxy or superglue (for mechanical reinforcement)
- Copper foil tape or replacement pads (repair kits are available)
- Multimeter for continuity testing
Step-by-Step Repair Process
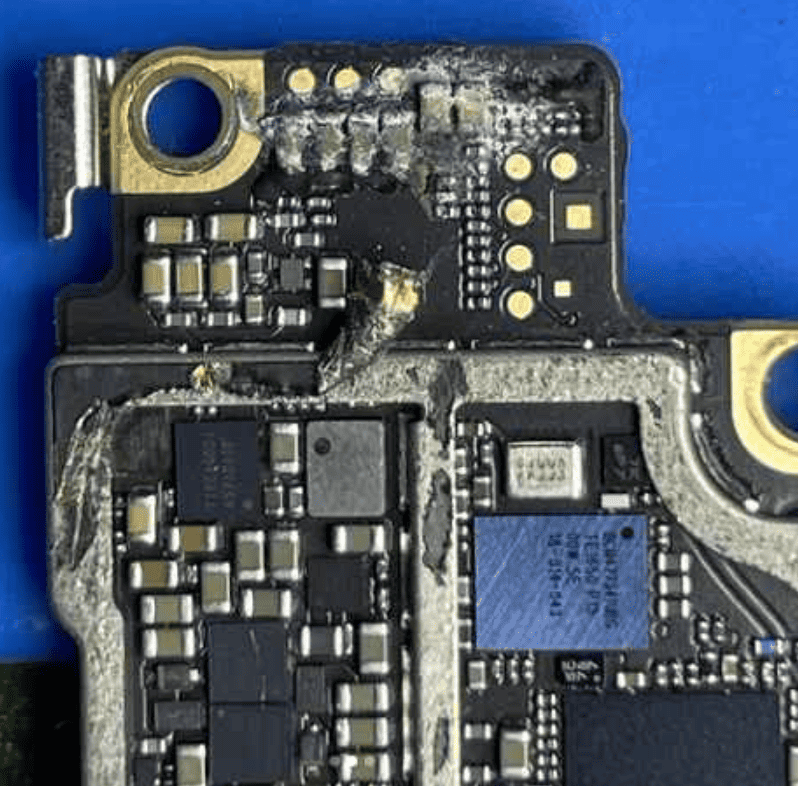
1. Inspect the Damage
Carefully examine the affected area under magnification. Determine whether only the pad is gone or if the trace connected to it has also been damaged.
2. Clean the Area
- Use isopropyl alcohol and a lint-free swab to remove flux residue and debris.
- Smooth the surface with a scalpel if necessary.
3. Expose the Copper Trace
If the trace connected to the missing pad is intact but covered with solder mask:
- Gently scrape away the solder mask with a scalpel until shiny copper is visible.
- Take care not to cut into the fiberglass substrate.
4. Prepare the Replacement Pad
You have two main options:
- Copper foil tape or pad repair kit: Cut a small piece that matches the missing pad size.
- Direct wire connection: For through-hole or simple repairs, you can solder a thin insulated wire directly to the exposed trace.
5. Attach the New Pad or Wire
- Position the replacement pad over the exposed copper.
- Secure it with a tiny amount of epoxy or Kapton tape to prevent shifting.
- Once cured, apply flux and solder the pad to the trace.
6. Re-Solder the Component
- Place the component lead over the new pad.
- Apply flux and carefully solder it in place.
- Avoid overheating, as this can damage the repair.
7. Reinforce the Repair
- Apply a thin layer of epoxy or UV-curable solder mask around the new pad for mechanical strength.
- Ensure no resin covers the solder joint itself.
8. Test the Connection
- Use a multimeter in continuity mode to confirm the repaired pad connects properly to the intended trace or via.
- Power up the circuit and verify functionality.
Pro Tips for Success
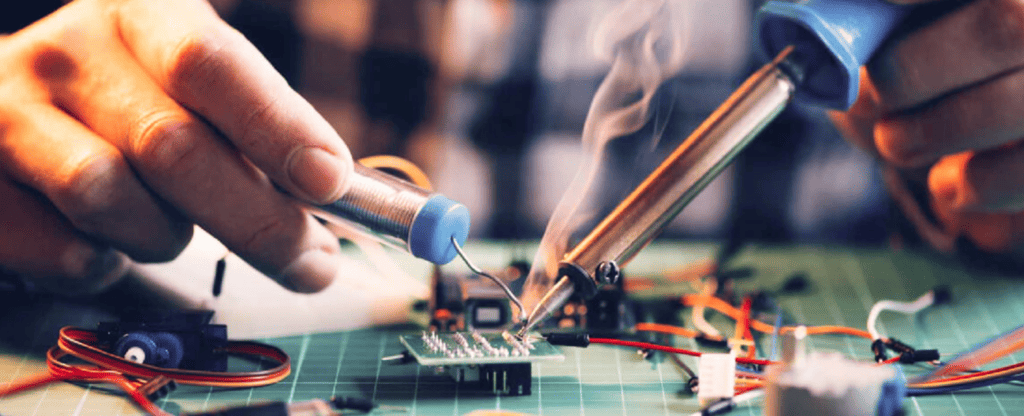
- Always use flux—it improves solder flow and reduces the risk of further pad damage.
- Work under magnification for precision.
- Practice on scrap boards before attempting delicate repairs.
- If multiple pads are missing, consider using a PCB repair kit with pre-etched replacement pads (source: Instructables, RetrotechLab).
When to Replace Instead of Repair
If the PCB has extensive pad or trace damage, or if it’s a high-frequency/high-reliability application (like medical or aerospace electronics), replacement of the entire board may be safer and more cost-effective than attempting a repair.
Conclusion
Repairing ripped-off solder pads may look intimidating, but with the right tools and careful technique, you can restore your PCB to working condition. Whether you’re fixing a hobby project or salvaging an expensive device, this skill is invaluable for anyone working with electronics.

