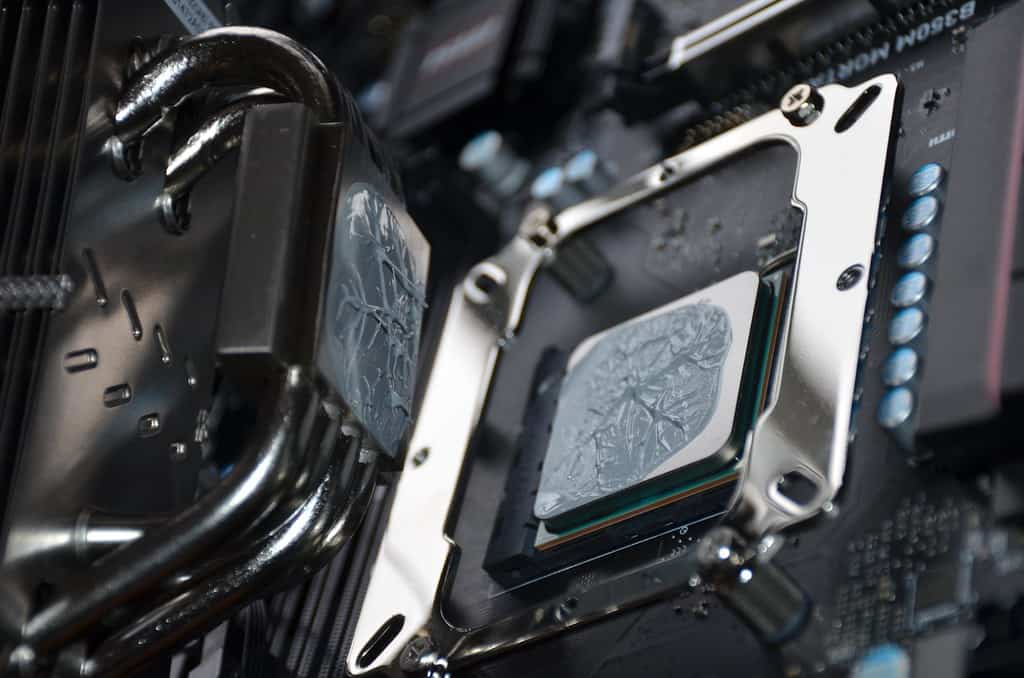
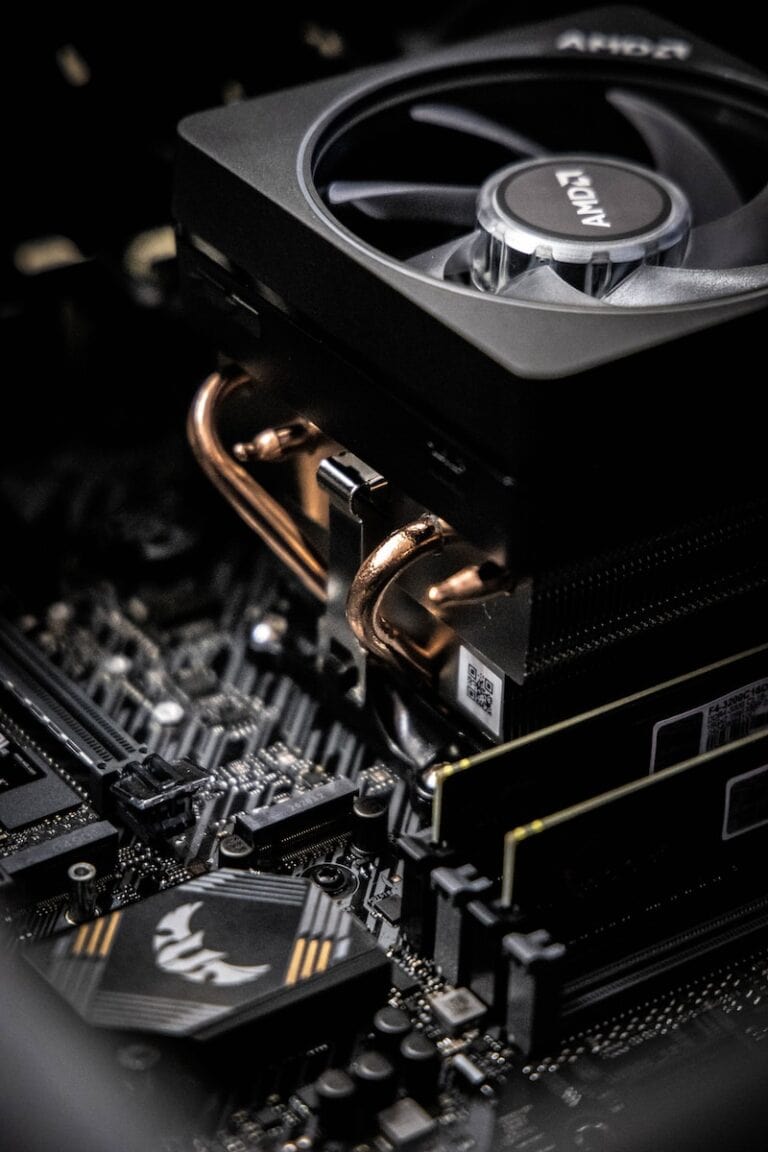
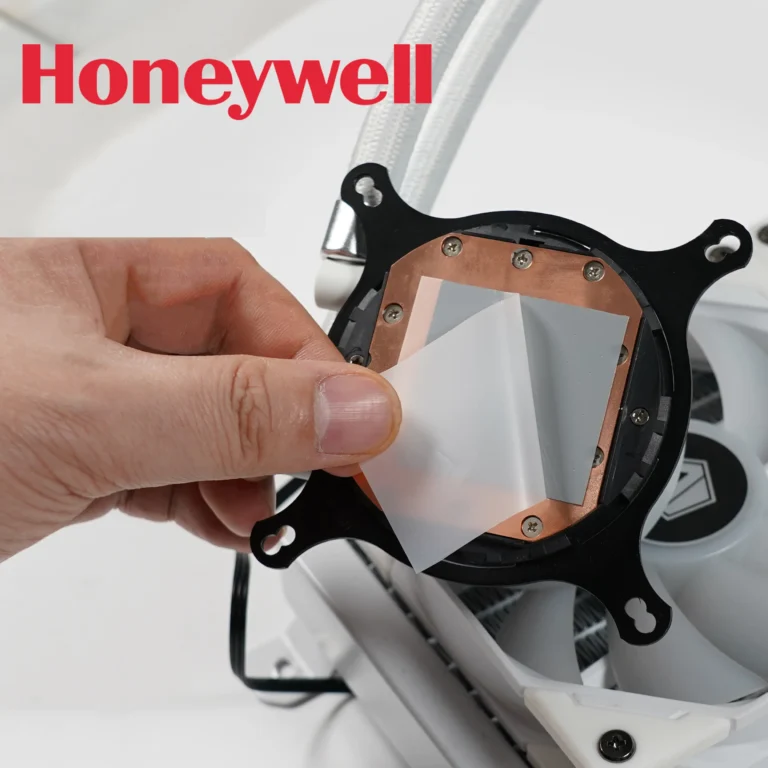
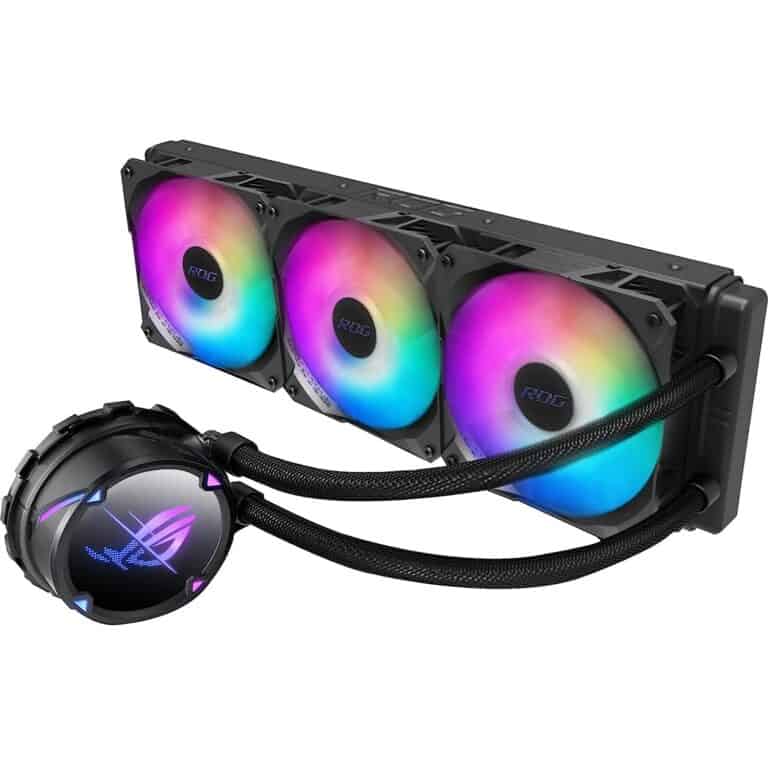
Cleaning thermal paste off your CPU is important to keep your computer running smoothly. Removing old thermal paste helps prevent your CPU from overheating and ensures better performance. When you replace or upgrade your CPU cooler, cleaning the old thermal paste is a key step.
Make sure your power is switched off and the PC is unplugged before starting. Use items like isopropyl alcohol and a lint-free cloth to make the process easier. Remember, the goal is to be gentle yet thorough in removing the paste from both the CPU and the cooler base.
Even though it might seem like a small detail, keeping your CPU clean can make a big difference in its efficiency. Following these simple tips can help you maintain your computer without any hassle.

🛠️ What You’ll Need
- Isopropyl alcohol (at least 70%, ideally 90%+ for faster drying)
- Lint-free cloths or coffee filters (avoid paper towels—they shed fibers)
- Cotton swabs (for edges and tight spots)
- Plastic spudger or card (optional, for thick paste removal)
- Soft toothbrush (only if paste is on CPU pins—use with extreme care)
⚡ Safety First
- Shut down your PC and unplug it from power.
- Ground yourself to prevent static discharge.
- Handle the CPU carefully—avoid touching the pins or contacts.
🧽 Step 1: Remove the Cooler
- Unscrew and gently lift off your CPU cooler.
- If it’s stuck, twist it slightly instead of pulling straight up to avoid damaging the CPU.
🧽 Step 2: Wipe Off Excess Paste
- Use a dry lint-free cloth to remove as much paste as possible.
- For hardened paste, gently scrape with a plastic card (never metal).
🧽 Step 3: Clean with Isopropyl Alcohol
- Dampen (don’t soak) a lint-free cloth or coffee filter with isopropyl alcohol.
- Gently wipe the CPU surface until it’s shiny and free of residue.
- Use cotton swabs dipped in alcohol to clean edges and corners.
👉 If paste has spilled onto CPU pins, dip a soft toothbrush in alcohol and lightly brush in the same direction as the pins. Take your time—bent pins can ruin the CPU (source: GadgetMates).
🧽 Step 4: Let It Dry
- Allow the CPU and cooler to air dry for a few minutes.
- Alcohol evaporates quickly, but ensure no moisture remains before reassembly.
🧽 Step 5: Reapply Fresh Thermal Paste
- Apply a pea-sized dot of new thermal paste in the center of the CPU.
- Reattach your cooler evenly, tightening screws in a cross pattern.
✅ Final Check
- Boot your PC and monitor CPU temperatures.
- If temps are stable and within normal range, you’ve done it right!
💡 Pro Tips
- Always use high-quality thermal paste for best heat transfer.
- Avoid spreading paste manually—the cooler’s pressure will spread it evenly.
- Replace paste every 2–3 years, or sooner if temps rise noticeably.
CPU Thermal Paste Removal: A Step-by-Step Guide
Gather Your Supplies
Before you start, make sure you have the following items on hand:
- Isopropyl Alcohol (90% or higher): This is the key ingredient for dissolving thermal paste.
- Lint-free Cloth or Coffee Filters: These are ideal for wiping away the paste without leaving fibers behind.
- Cotton Swabs: These are useful for reaching tight spaces.
- Optional: A plastic card or scraper (if the paste is stubborn).
Removing the Heatsink
- Turn off and unplug your computer. Safety first!
- Open your computer case. Refer to your manual for instructions.
- Carefully disconnect the fan and heatsink. Make sure to loosen any screws or clips.
- Lift the heatsink straight up. Avoid tilting it to prevent damaging the CPU.
Cleaning the CPU and Heatsink
- Apply a small amount of isopropyl alcohol to your cloth or coffee filter.
- Gently wipe away the thermal paste from the CPU and heatsink. Use a circular motion and avoid applying too much pressure.
- Use a cotton swab dipped in alcohol to reach any tight spots.
- If the paste is stubborn, you can use a plastic card or scraper to gently loosen it. Be careful not to scratch the CPU surface.
- Continue wiping until all the paste is removed.
- Let the CPU and heatsink dry completely before reapplying thermal paste and reinstalling the heatsink.
Important Tips:
- Work in a well-lit area to see any remaining paste.
- Be patient and gentle to avoid damaging your CPU.
- Never use metal tools to scrape off the paste, as this can cause scratches.
- If you spill any alcohol on other components, wipe it off immediately.
- Always apply new thermal paste before reinstalling the heatsink.
When to Clean Thermal Paste
You should clean and reapply thermal paste if you:
- Are replacing your CPU cooler
- Notice your CPU temperatures are higher than normal
- Haven’t cleaned the thermal paste in several years
Regular maintenance will help ensure your CPU stays cool and performs optimally.
Key Takeaways
- Turn off and unplug your PC before cleaning.
- Use isopropyl alcohol and a lint-free cloth for the process.
- Removing old thermal paste improves CPU performance.
Preparing for the Cleaning Process
Before cleaning thermal paste off a CPU, it’s important to ensure a safe working environment and have the right materials on hand. Additionally, correctly disassembling the CPU cooler is crucial to the process.
Safety Measures and Precautions
Power Off and Unplug: Always switch off your computer and unplug all cords. This helps avoid any electrical accidents.
Avoid Electrostatic Discharge (ESD): Use an anti-static wristband or strap to prevent static electricity from damaging the components. Grounding yourself by touching a metal object also helps.
Work Area: Make sure your workspace is clean and well-lit. Avoid carpets and other static-prone surfaces. Use a stable table or desk.
Handle with Care: Be gentle when working with the CPU and motherboard. Be careful not to touch the pins or connections.
Ventilation: Ensure good airflow in the room. Some isopropyl alcohol has strong fumes.
Gathering Necessary Materials
Isopropyl Alcohol: Use 90% or higher concentration to effectively clean off the thermal paste.
Microfiber Cloth: A lint-free cloth is essential for wiping off the thermal paste without leaving fibers behind.
Cotton Swabs: Useful for detailed cleaning in small areas.
Lint-Free Paper Towels: These are helpful for wiping down larger surfaces.
CPU Cooler Manual: Refer to your CPU cooler’s manual for specific disassembly instructions.
Small Container: A place to keep screws and small parts organized.

Disassembling the CPU Cooler
Disconnect Cables: Detach any cables connected to the CPU cooler. This may include power connectors for fans.
Loosen Screws: Carefully unscrew the bolts or screws holding the cooler in place. Use a suitable screwdriver to avoid stripping the screws.
Release Retention Clips and Springs: Next, release any retention clips if there are any. Some coolers use clips instead of screws.
Remove the Cooler: Gently lift the cooler away from the CPU. Do not force it. If it’s stuck, twist it slightly to release the seal.
Inspect the Heatsink and CPU: Before proceeding to clean, inspect the cooler and CPU for any signs of damage.
These steps ensure you are prepared to clean the thermal paste safely and effectively.
Frequently Asked Questions
This section answers common questions about removing thermal paste from CPUs. Here are clear steps and recommendations for cleaning and applying thermal paste.
What is the recommended method to remove old thermal paste from a CPU?
To clean old thermal paste, use a lint-free cloth and isopropyl alcohol. Gently wipe the paste from the CPU surface, making sure not to press too hard. This method ensures that there’s no damage to the CPU.
Can I use 91% isopropyl alcohol to clean thermal paste from my CPU, and are there any precautions?
Yes, 91% isopropyl alcohol is safe for cleaning thermal paste. It evaporates quickly and leaves no residue. Make sure the power is off and the components are cool before starting. Avoid letting the alcohol come into contact with other parts of the computer.
What alternatives can be used to clean thermal paste off a CPU cooler in the absence of alcohol?
In the absence of alcohol, a microfiber cloth can help clean the thermal paste. Use gentle, circular motions to lift the paste. Cotton swabs can be used for detailed cleaning around edges. Be cautious to avoid scratching or damaging the surface.
What is the best way to apply new thermal paste after cleaning the CPU?
To apply new thermal paste, first, ensure the CPU surface is clean. Apply a pea-sized amount of paste in the center of the CPU. When reattaching the cooler, the pressure will spread the paste evenly across the surface.
How much thermal paste should be applied to a CPU?
A pea-sized amount of thermal paste is usually sufficient. Too much paste can cause it to spill over the edges, while too little may not cover the CPU area properly. Aim for a small, even amount to achieve the best thermal conductivity.
Are household items like acetone safe to remove thermal paste from computer components?
Using acetone is not recommended for cleaning thermal paste. Acetone can damage components and leave residues. Stick to isopropyl alcohol and lint-free materials for safe and effective cleaning.

