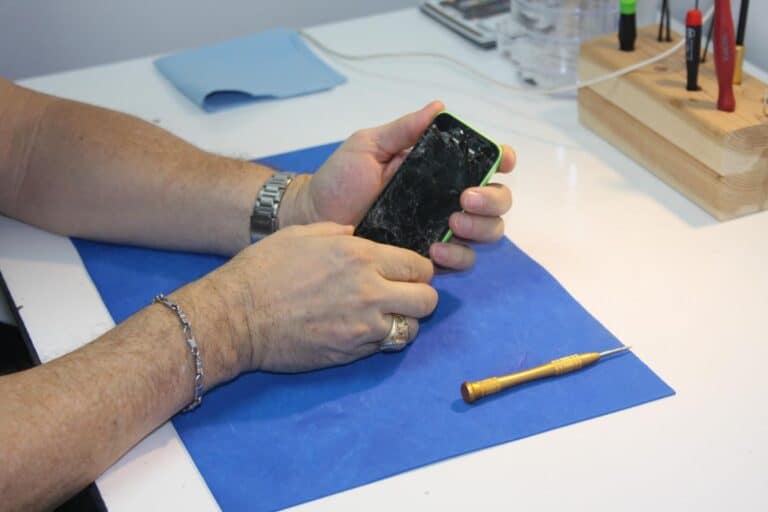
Have you ever had a chat on your phone and suddenly, the screen goes dark, or maybe it stays lit up when it shouldn’t? This could be a sign that your phone’s proximity sensor needs some attention. In simple words, the proximity sensor is like your phone’s sixth sense, telling it when it’s near your face during a call or in your pocket. Fixing this sensor isn’t just about avoiding annoying glitches during calls; it’s about keeping your phone smart and responsive.
Repairing a Cell Phone Proximity Sensor
The proximity sensor on your smartphone detects when you hold the phone close to your face during calls and turns off the screen to prevent accidental touches. If it stops working, you might experience issues like the screen not turning off during calls or not waking up properly.
This guide covers common causes and step-by-step instructions to repair or troubleshoot a faulty proximity sensor.
Common Symptoms of a Faulty Proximity Sensor
- Screen stays on during calls, causing accidental touches.
- Screen doesn’t wake up when you move the phone away.
- Calls drop or mute unexpectedly.
- Phone doesn’t detect face proximity properly.
Step 1: Restart Your Phone
- Sometimes, a simple reboot can fix sensor glitches.
- Power off your phone completely.
- Wait 30 seconds and turn it back on.
- Test the sensor by making a call and covering the top of the screen.
Step 2: Clean the Sensor Area
- Dirt, dust, or screen protectors can block the sensor.
- Locate the sensor near the earpiece at the top of your phone.
- Gently clean the area with a soft microfiber cloth.
- Remove any screen protectors or cases that might cover the sensor.
- Test the sensor again.
Step 3: Check for Software Updates
- Outdated software can cause sensor malfunctions.
- Go to Settings > System > Software Update on your phone.
- Download and install any available updates.
- Restart your phone and test the sensor.
Step 4: Calibrate or Test the Sensor
- Some phones have built-in diagnostic tools or apps to test the proximity sensor.
- For Android, dial
*#*#3646633#*#*or use third-party apps like “Sensor Test.” - For iPhones, use apps like “TestM” or visit Apple Support diagnostics.
- If calibration is available, follow the on-screen instructions.
Step 5: Disable and Re-enable Proximity Sensor (Android)
- Go to Settings > Apps > Phone > Permissions.
- Toggle off and on permissions related to sensor access.
- Alternatively, clear cache for the Phone app.
- Restart the phone and test again.
Step 6: Factory Reset (Last Resort)
- Backup your data before proceeding.
- Go to Settings > System > Reset Options > Erase All Data (Factory Reset).
- This can fix software issues causing sensor failure.
- Test the sensor after reset before restoring apps.
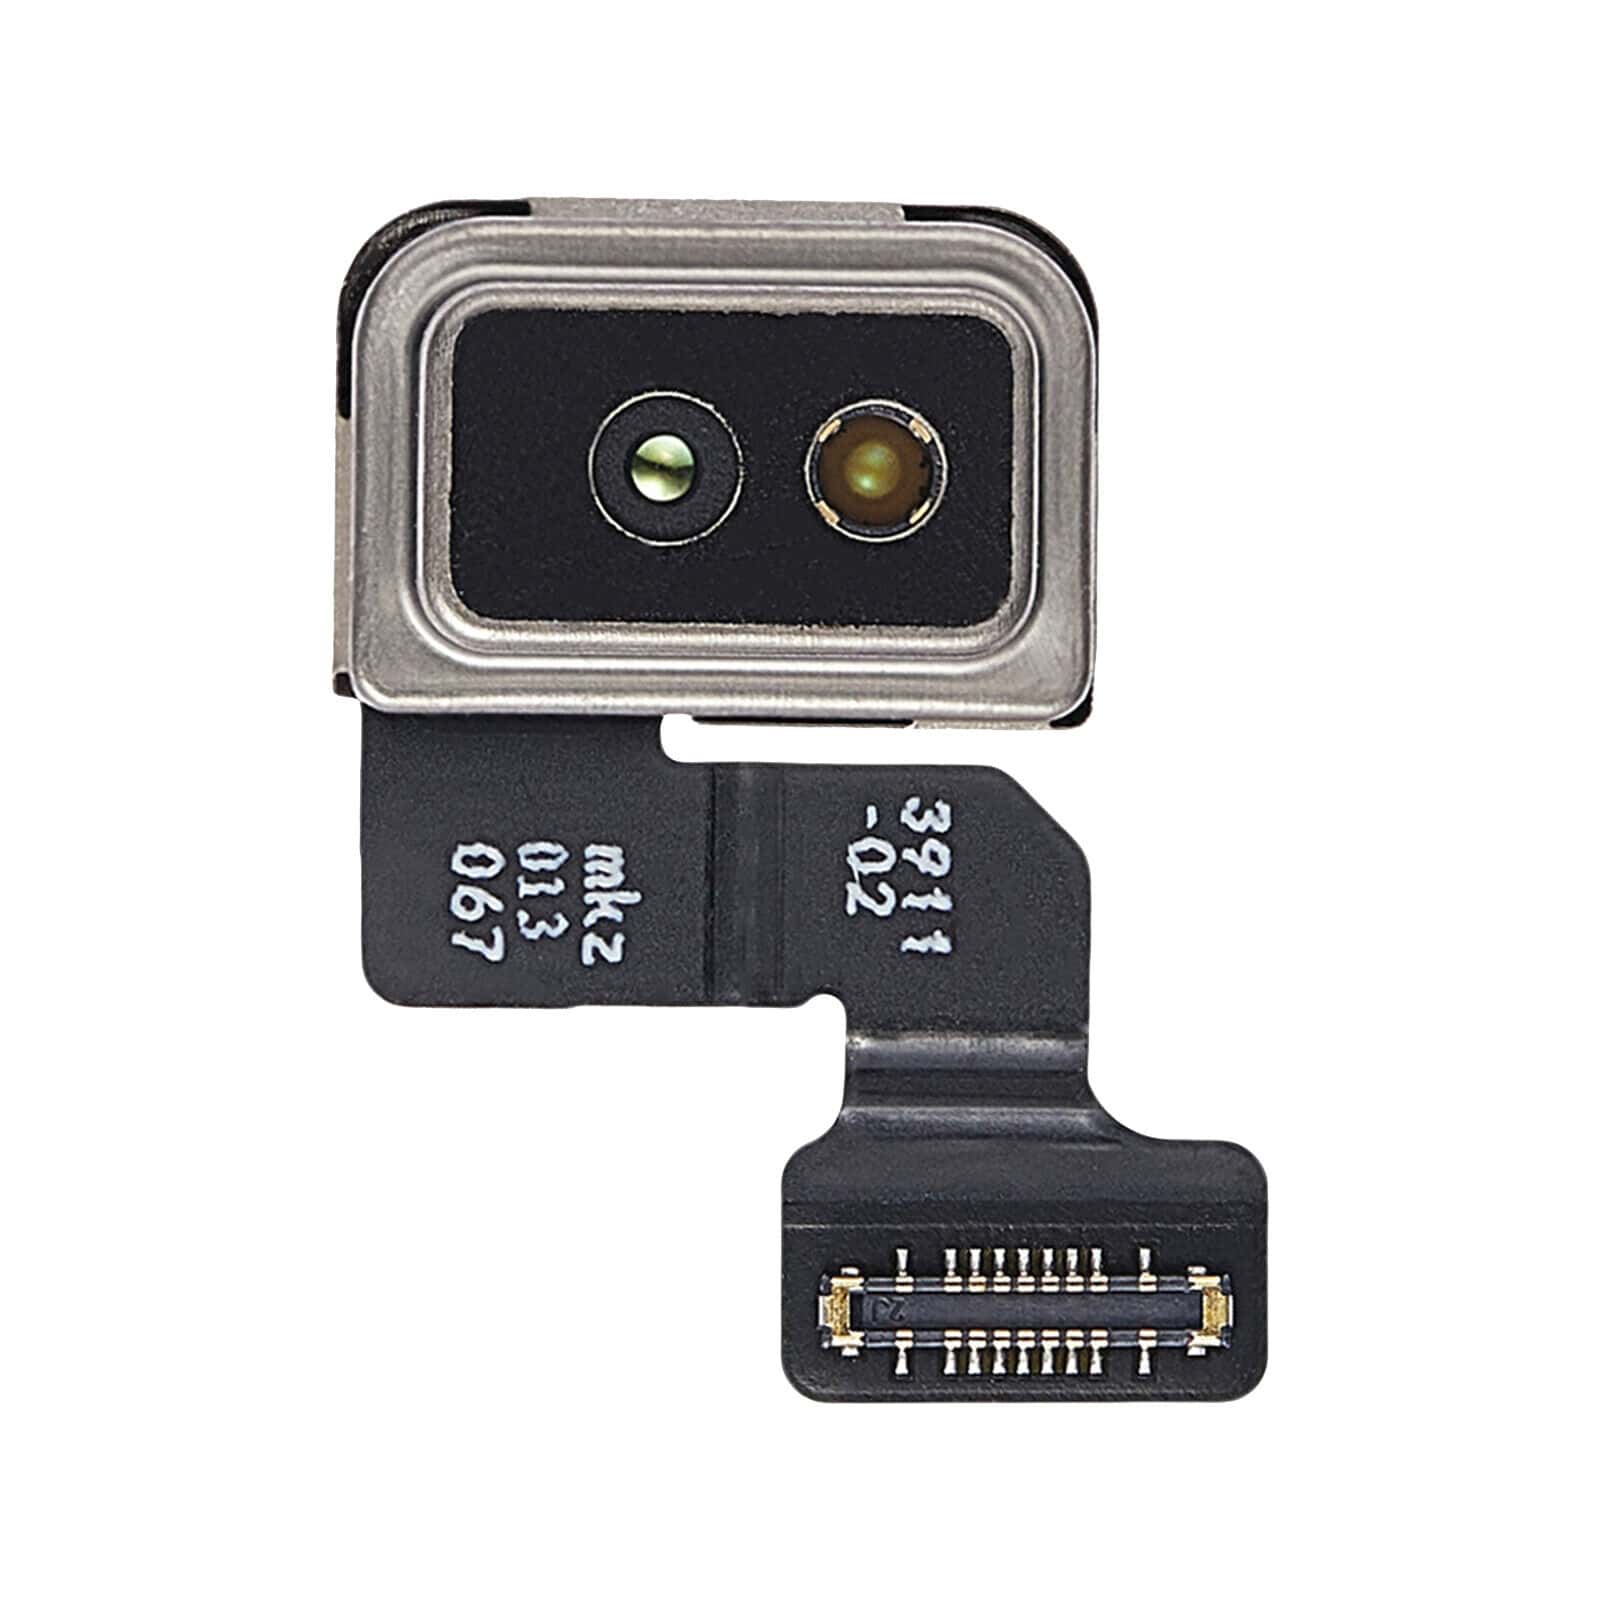
Step 7: Replace the Proximity Sensor (Hardware Repair)
If software fixes don’t work, the sensor hardware might be faulty.
What You’ll Need:
- Small Phillips screwdriver
- Plastic opening tools
- Tweezers
- Replacement proximity sensor compatible with your phone model
How to Replace:
- Power off the phone and remove the SIM card tray.
- Use the screwdriver and opening tools to carefully open the phone casing.
- Locate the proximity sensor near the front camera or earpiece assembly.
- Disconnect the sensor connector carefully using tweezers.
- Remove the faulty sensor and replace it with the new one.
- Reassemble the phone and power it on.
- Test the sensor functionality.
Note: If you’re not confident opening your phone, consider professional repair services.
Step 8: Seek Professional Repair
- If the sensor still doesn’t work after replacement or if you’re uncomfortable with DIY repair, contact a certified repair center.
- Professional technicians can diagnose and fix hardware or motherboard issues.
Summary Table
| Step | Action |
|---|---|
| 1 | Restart phone |
| 2 | Clean sensor area and remove obstructions |
| 3 | Update phone software |
| 4 | Test/calibrate sensor |
| 5 | Toggle sensor permissions (Android) |
| 6 | Factory reset (backup data first) |
| 7 | Replace proximity sensor hardware |
| 8 | Contact professional repair if needed |
Final Tips
- Always use compatible replacement parts.
- Avoid excessive force when opening your phone.
- Keep your phone’s software updated to minimize sensor issues.
- Use quality screen protectors that don’t block sensors.
Repairing a Cell Phone Proximity Sensor: Step-by-Step
| Step | Description |
|---|---|
| 1. Diagnose the Problem: | Before diving into repairs, ensure it’s actually the sensor causing the issue. Check for screen protector interference, software glitches, or accessibility settings affecting sensor behavior. |
| 2. Gather Tools: | If the problem persists, you’ll need basic tools like small screwdrivers (Phillips and/or Torx), a prying tool (thin plastic spudger), and a clean microfiber cloth. |
| 3. Power Down and Back Up: | Turn off your phone and back up your data to avoid potential loss during the repair process. |
| 4. Open Your Phone: | Consult your phone’s specific disassembly guide for instructions. Generally, remove the back panel using the prying tool and unscrew any internal components to access the sensor. |
| 5. Locate the Sensor: | The proximity sensor is usually a small black or grey module near the top of the phone, close to the earpiece speaker. |
| 6. Clean the Sensor: | Gently wipe the sensor with the microfiber cloth to remove any dust or debris that might be interfering with its function. |
| 7. Check Sensor Connection: | Verify if the sensor cable is securely attached to the motherboard. If it’s loose, gently re-seat the connector. |
| 8. Reassemble and Test: | Put your phone back together, ensuring all screws and components are properly placed. Turn it on and test the sensor functionality by making a call and bringing the phone to your ear. |
Additional Tips:
- Replacement sensors: If cleaning and reconnecting the sensor doesn’t fix the issue, consider purchasing a replacement sensor compatible with your phone model. Follow the same disassembly steps and replace the faulty sensor with the new one.
- Professional repair: If you’re uncomfortable opening your phone or lack the necessary tools, seek help from a qualified phone repair technician.
Remember: Repairing a phone’s internal components can be delicate. Proceed with caution and consult professional help if needed. This table provides a general guide, and specific steps may vary depending on your phone model.
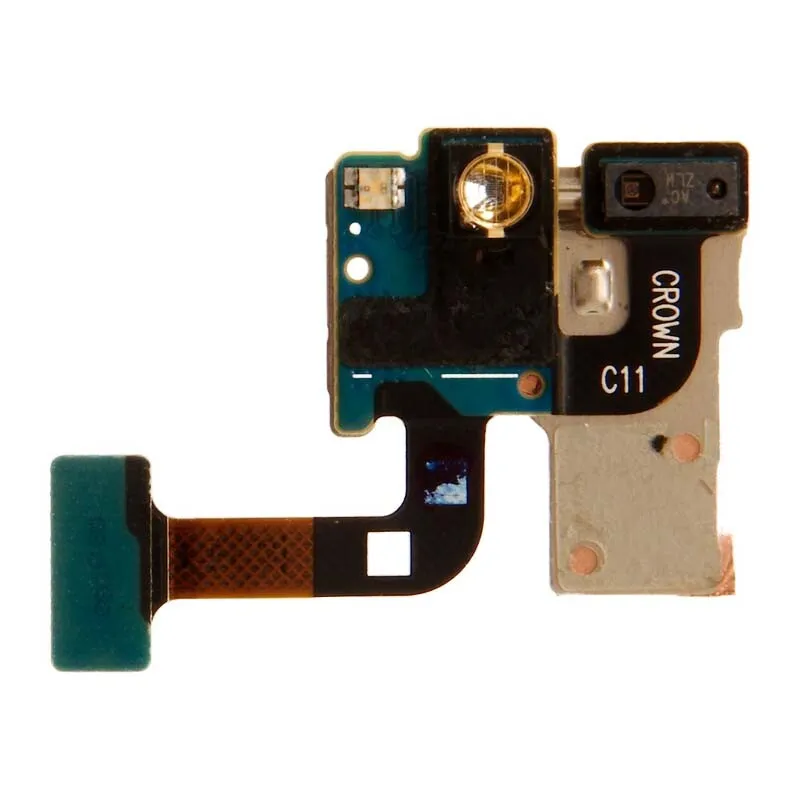
Understanding the Proximity Sensor
What is a Proximity Sensor?
Let’s start with the basics. A proximity sensor is a little hero in your phone, mostly unnoticed until it stops working. It’s responsible for turning off your phone’s screen when you’re on a call and holding it against your ear. This prevents accidental touches (like cheek dialing!) and helps conserve battery life.
Testing the Proximity Sensor
How to Check if Your Proximity Sensor is Working
Before jumping into solutions, it’s smart to test if the sensor is indeed the troublemaker. Here’s how:
- Lift your phone to your ear: Does the screen turn off? If yes, the sensor is likely fine.
- Use a sensor test app: Apps like ‘Sensor Test’ can offer a more thorough check.
Common Fixes for Proximity Sensor Issues
1. Clean the Sensor Area
Dirt and dust are sneaky culprits. A gentle wipe with a clean cloth around the sensor area, usually near the top speaker of your phone, can do wonders.
2. Check Your Phone Case and Screen Protector
Sometimes, the case or screen protector might be blocking the sensor. Try removing them and see if the sensor starts behaving normally.
3. Enable Accidental Touch Protection
This setting, found in many Android phones, prevents accidental screen touches when the phone is in your pocket.
4. Update Your Phone
Keeping your phone updated ensures any bugs affecting the sensor are squashed.
5. Recalibrate the Sensor
Apps like ‘Proximity Sensor Reset/Fix’ can help recalibrate the sensor, ensuring it’s accurately detecting objects.
6. Factory Reset
As a last resort, factory resetting your phone can clear up any deeper software issues. Remember to back up your data first!
7. Professional Repair
If all else fails, it might be time to take your phone to a professional. Especially if it’s been dropped or damaged.
Real-World Applications and User Experiences
Case Study: A Day Without the Proximity Sensor
Imagine a day where your phone’s screen stays lit during calls, draining the battery and leading to accidental touch commands. This is the reality when the proximity sensor fails. It’s not just about convenience; it’s about maintaining the phone’s functionality and efficiency.
Summary of Facts
- The proximity sensor turns off your phone’s screen during calls to prevent accidental touches.
- Simple fixes include cleaning the sensor area, checking cases and screen protectors, and updating the phone.
- Recalibration or factory resetting the phone can resolve more persistent issues.
- Professional help may be needed if the phone is physically damaged.
FAQ
How can I tell if my phone’s proximity sensor is not working?
You might notice that your phone’s screen doesn’t turn off when you hold it to your ear during a call. Or, it might stay off when you move the phone away from your face.
Can I fix the proximity sensor issue myself?
Yes, often you can. Start with cleaning the sensor area, checking your phone case and screen protector, and making sure your phone’s software is up to date.
Is it necessary to take my phone to a repair shop for a proximity sensor issue?
It depends. If simple fixes don’t work and you suspect physical damage, it’s safer to seek professional help.

