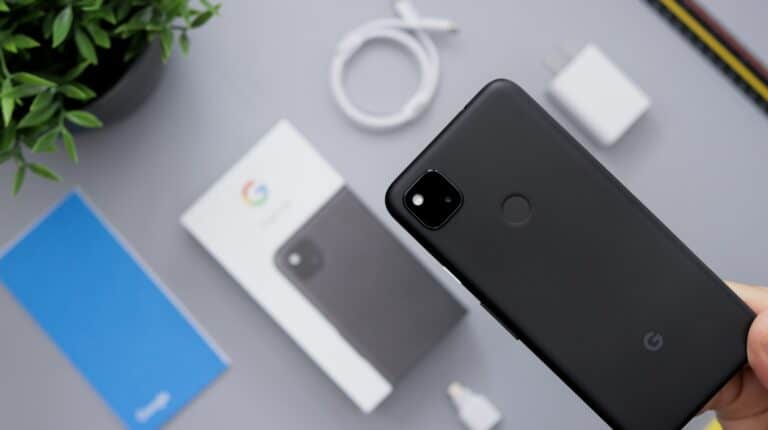
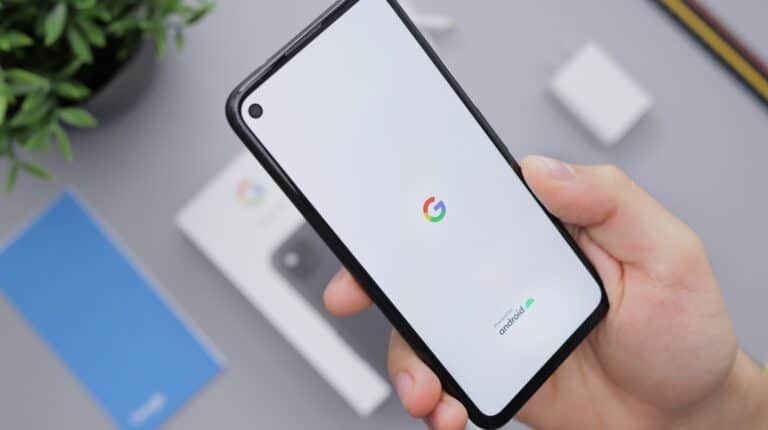
The Google Pixel 4a is a compact, budget-friendly smartphone loved for its excellent camera, clean Android experience, and reliable performance. But like any modern phone, one drop can leave you with a cracked or unresponsive display. If you’re dealing with a broken screen, this guide will walk you through everything you need to know about Pixel 4a screen replacement, including repair options, costs, and DIY steps.
When Do You Need a Screen Replacement?
You may need to replace your Pixel 4a screen if you notice:
- Cracks or shattered glass
- Unresponsive touch controls
- Flickering or black display
- Dead pixels or discoloration
In many cases, screen damage also affects the OLED display and digitizer (the touch layer). That’s why most replacements involve swapping the entire screen assembly.
Pixel 4a Screen Replacement Options
1. Official Google Repair
- Google offers out-of-warranty screen repairs through its authorized partners.
- This is the safest option but often the most expensive, typically costing $150–$200 depending on your location.
2. Third-Party Repair Shops
- Local repair centers or online mail-in services often provide cheaper repairs.
- Prices range from $100–$150.
- Quality can vary, so choose a trusted repair provider with good reviews.
3. DIY Screen Replacement
- If you’re comfortable with small electronics, you can replace the screen yourself.
- Replacement screens cost $60–$100 online.
- You’ll need tools like a heat gun, suction cup, spudger, and precision screwdrivers.
⚠️ Warning: The Pixel 4a’s OLED panel is fragile, and prying too hard can damage the frame or internal components. If you’re not confident, professional repair is safer.
DIY Pixel 4a Screen Replacement: Step-by-Step
Here’s a simplified overview (adapted from iFixit and other repair guides):
- Power Off the Phone
Always shut down your device before starting. - Heat the Edges
Use a heat gun or hairdryer to soften the adhesive around the screen. - Lift the Screen
Insert a suction cup and gently pry with a plastic tool. Work slowly to avoid cracking the OLED further. - Disconnect the Battery
Remove the back cover screws and disconnect the battery to prevent short circuits. - Remove the Broken Screen
Disconnect the display cable and carefully lift out the old screen. - Install the New Screen
Connect the new display, test it before sealing, then reapply adhesive and press the screen into place. - Reassemble and Power On
Reconnect the battery, close everything up, and power on your Pixel 4a.
For a detailed step-by-step with photos, check iFixit’s guide (source: iFixit).
Common Mistakes to Avoid
- Using metal tools near the OLED panel (they can puncture it).
- Forgetting to disconnect the battery before removing the screen.
- Applying too much heat, which can warp the plastic frame.
- Not testing the new screen before sealing the phone.
Final Thoughts
A broken screen doesn’t mean the end of your Google Pixel 4a. Whether you choose an official repair, a trusted third-party service, or a DIY replacement, you can restore your phone’s display and extend its lifespan.
If you’re tech-savvy, DIY repair can save money. But if you want peace of mind, professional repair is worth the extra cost.
✅ Tip: Always use a protective case and tempered glass screen protector to reduce the risk of future damage.


