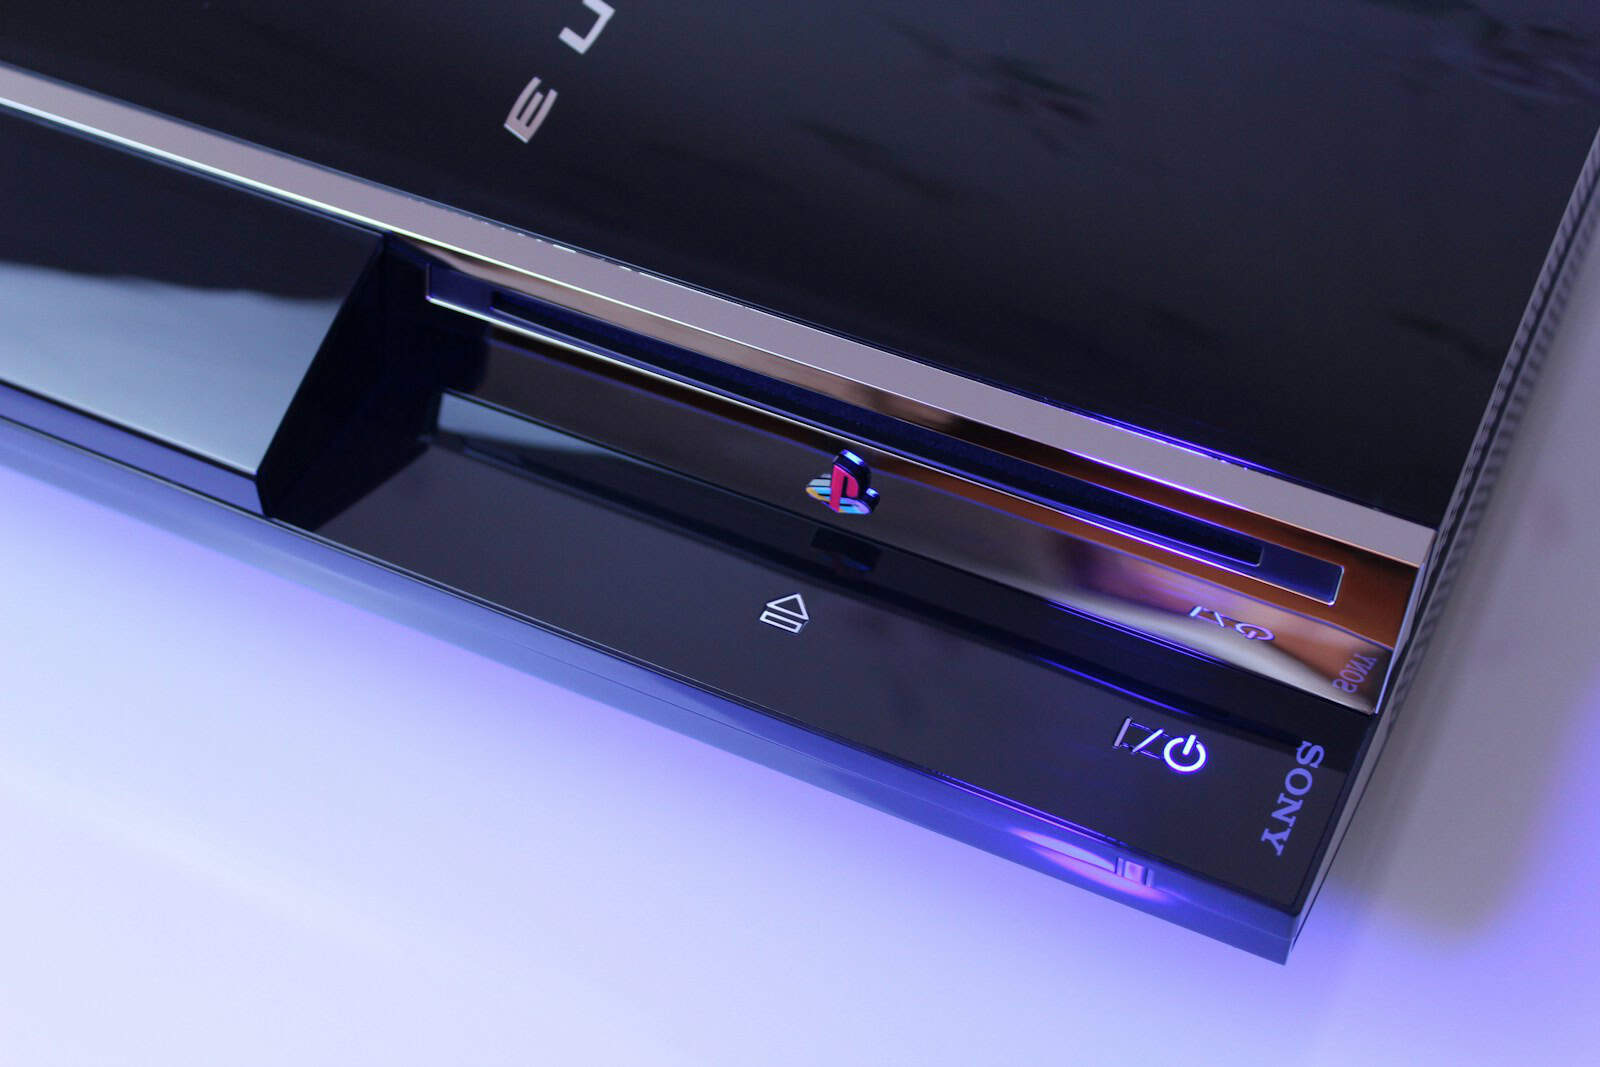
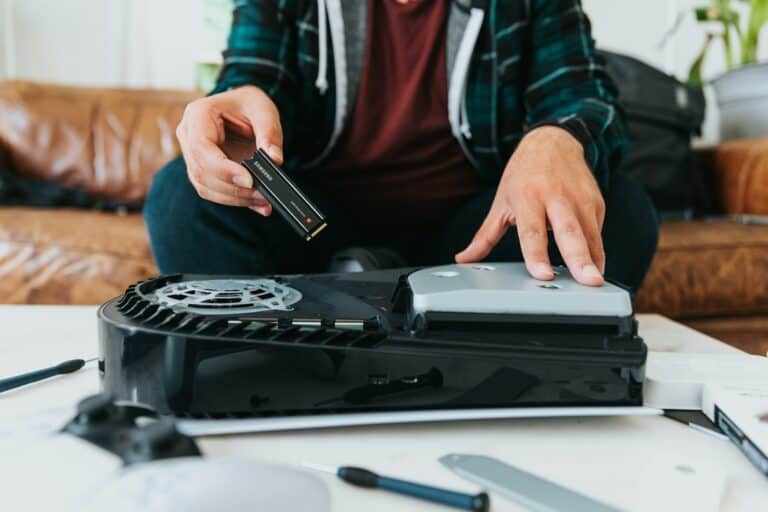
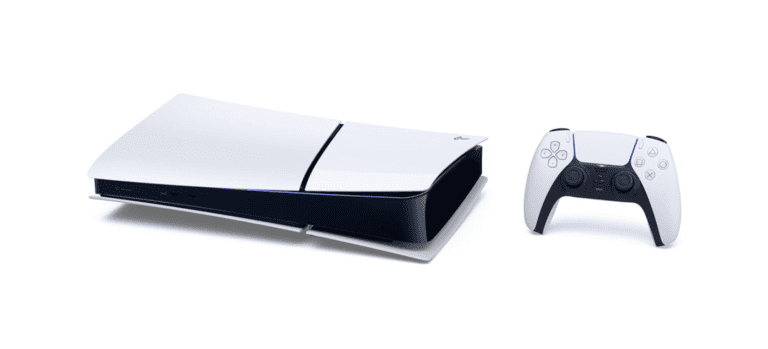
Your PlayStation 3 can develop problems over time, but many issues don’t require expensive professional repairs. Common problems like the Yellow Light of Death, disc tray malfunctions, and overheating can often be fixed at home with basic tools and patience. DIY PS3 repairs can save gamers $100-300 in repair costs while extending their console’s lifespan.
Most PS3 problems stem from dust buildup, worn thermal paste, or failing components that owners can replace themselves. The process involves disassembling the console, identifying the problem, and following step-by-step repair guides. While some repairs require technical skill, many common fixes need only basic tools and careful attention to detail.
Repairing a PS3 yourself carries some risks, including potential damage to the console or voiding any remaining warranty. However, with proper preparation and the right guidance, most gamers can successfully troubleshoot and fix their systems. Understanding when to attempt a DIY repair versus seeking professional help makes the difference between a successful fix and a costly mistake.
DIY PlayStation 3 Repair: Guide for Fixing Your PS3
If your PlayStation 3 (PS3) is experiencing issues like overheating, freezing, disc read errors, or other common problems, you can often fix it yourself with some basic tools and patience. This guide will walk you through common PS3 repairs safely and effectively.
What You’ll Need:
- Small Phillips screwdriver
- Plastic pry tools or guitar picks
- Compressed air can or soft brush
- Thermal paste (for overheating issues)
- Isopropyl alcohol and cotton swabs (for cleaning)
- Replacement parts (if needed, such as Blu-ray lens or hard drive)
Common PS3 Issues and How to Fix Them
1. Overheating and Fan Noise
- Cause: Dust buildup inside the console blocks airflow.
- Fix:
- Unplug and open the PS3 by removing screws and carefully prying the case apart.
- Use compressed air or a soft brush to clean dust from fans, vents, and heat sinks.
- Replace thermal paste on the CPU and GPU if you’re comfortable doing so—this improves heat transfer.
- Reassemble the console and test.
2. Freezing or System Crashes
- Cause: Overheating, corrupted system software, or hardware issues.
- Fix:
- Clean the console as above to prevent overheating.
- Update or reinstall the PS3 system software via USB.
- If freezing persists, consider checking the hard drive for errors or replacing it.
3. Disc Drive Problems (Not Reading Discs)
- Cause: Dirty or faulty Blu-ray lens, misaligned drive.
- Fix:
- Open the console and gently clean the Blu-ray lens with a cotton swab lightly moistened with isopropyl alcohol.
- Check that the disc drive mechanism moves freely and isn’t obstructed.
- Replace the Blu-ray drive if cleaning doesn’t help.
4. Yellow Light of Death (YLOD)
- Cause: Overheating causing motherboard failure.
- Fix:
- Try reflowing the solder joints on the motherboard (advanced and risky).
- Alternatively, replacing the motherboard or seeking professional repair may be necessary.
Step-by-Step Basic Cleaning Procedure
- Power off and unplug your PS3.
- Remove all screws from the outer case.
- Carefully pry open the casing using plastic tools.
- Use compressed air to blow dust from fans and vents.
- Clean the Blu-ray lens with isopropyl alcohol on a cotton swab.
- If comfortable, remove the heat sink and replace thermal paste on CPU/GPU.
- Reassemble the console carefully and test it.
Tips for a Successful Repair
- Keep track of screws and parts; take photos during disassembly.
- Work in a static-free environment to avoid damaging components.
- Use only recommended tools to avoid scratching or breaking parts.
- Check detailed repair manuals and guides for your specific PS3 model.
Key Takeaways
- DIY PS3 repairs can save hundreds of dollars compared to professional services
- Most common PS3 problems can be fixed at home with basic tools and patience
- Proper preparation and following detailed guides reduces the risk of damaging your console
Frequently Asked Questions
PlayStation 3 repair involves troubleshooting power issues, addressing the yellow light of death, and performing system disassembly with proper tools. Users often need guidance on restoration procedures and cost considerations.
What are the common steps to troubleshoot a PS3 that won’t turn on?
Check the power cable connection first. Make sure the cable plugs firmly into both the console and wall outlet.
Test a different power outlet. Some outlets may not provide enough power for the console to start.
Examine the power button. Press and hold it for 10 seconds to reset the system completely.
Look for any blinking lights on the console. Red lights often indicate overheating or hardware problems.
Remove any discs from the system. A stuck disc can prevent the console from starting properly.
Try unplugging the console for 30 minutes. This allows internal components to cool down and reset.
How can you identify and fix the yellow light of death (YLOD) on a PS3?
The yellow light appears briefly when turning on the console, then switches to blinking red. This indicates serious hardware failure in the motherboard or processor.
Turn off the console immediately when yellow light appears. Continued use can cause more damage to internal parts.
The YLOD often results from overheating that damages solder connections. Professional repair requires specialized equipment to reflow the motherboard.
Some users attempt heat gun repairs at home. This method rarely provides permanent fixes and can destroy the console entirely.
Most YLOD cases need professional repair services. The success rate varies, but many consoles cannot be saved once this error occurs.
What tools are necessary for a DIY PlayStation 3 repair?
Phillips head screwdrivers in multiple sizes work for most screws. A precision screwdriver set covers different screw types found inside the console.
Plastic prying tools help separate case parts without scratching. Metal tools can damage plastic components and leave permanent marks.
Thermal paste is essential for processor maintenance. Old paste hardens over time and reduces cooling efficiency.
Compressed air removes dust from fans and heat sinks. Regular cleaning prevents overheating issues that cause system failures.
Anti-static wrist straps protect sensitive electronics. Static electricity can damage circuit boards and memory chips permanently.
Tweezers help handle small components and screws. They provide better control when working in tight spaces inside the console.
What is involved in a PS3 Slim or Super Slim disassembly?
Remove the hard drive first by sliding off the cover panel. The drive lifts out easily without any screws or cables to disconnect.
Take out all visible screws from the bottom case. Different PS3 models use various screw types and locations for assembly.
Separate the top and bottom case halves carefully. Ribbon cables connect the two halves and can tear if pulled too hard.
Disconnect the power supply cables before removing components. Label each connection to remember proper reassembly order.
The Blu-ray drive requires careful handling during removal. Multiple screws and cables secure this component to the main board.
Work slowly and take photos of each step. This documentation helps during reassembly when connections may look confusing.
Is it economically viable to repair a PlayStation 3 or should it be replaced?
Simple repairs like hard drive replacement cost $30-50 in parts. These fixes often extend console life by several years with minimal investment.
Professional YLOD repairs range from $80-150 with no guarantee. Many repaired consoles fail again within months of the fix.
Used PS3 consoles sell for $50-100 depending on model and condition. Slim models typically cost less than original fat versions.
Consider the console’s current value versus repair costs. Spending $100 to fix a $60 console makes little financial sense.
Factor in sentimental value and game library size. Large digital game collections may justify higher repair costs than hardware value suggests.
DIY repairs save money but require time and skill. Failed repair attempts can make professional fixes impossible or more expensive.
What are some steps to safely perform a complete system restore on a PS3?
Back up all save data to USB drive or PlayStation Plus cloud storage. System restore deletes all user data permanently from the hard drive.
Navigate to System Settings then System Information. Check the current firmware version before starting the restore process.
Go to System Settings and select Restore PS3 System. The console will warn about data loss multiple times before proceeding.
Choose Quick Format for faster restoration or Full Format for complete drive cleaning. Full format takes several hours but removes all data traces.
The console restarts automatically when restoration completes. Initial setup screens appear just like a brand new system purchase.
Reinstall system updates after restoration finishes. The console may need several firmware updates to reach current version levels.

