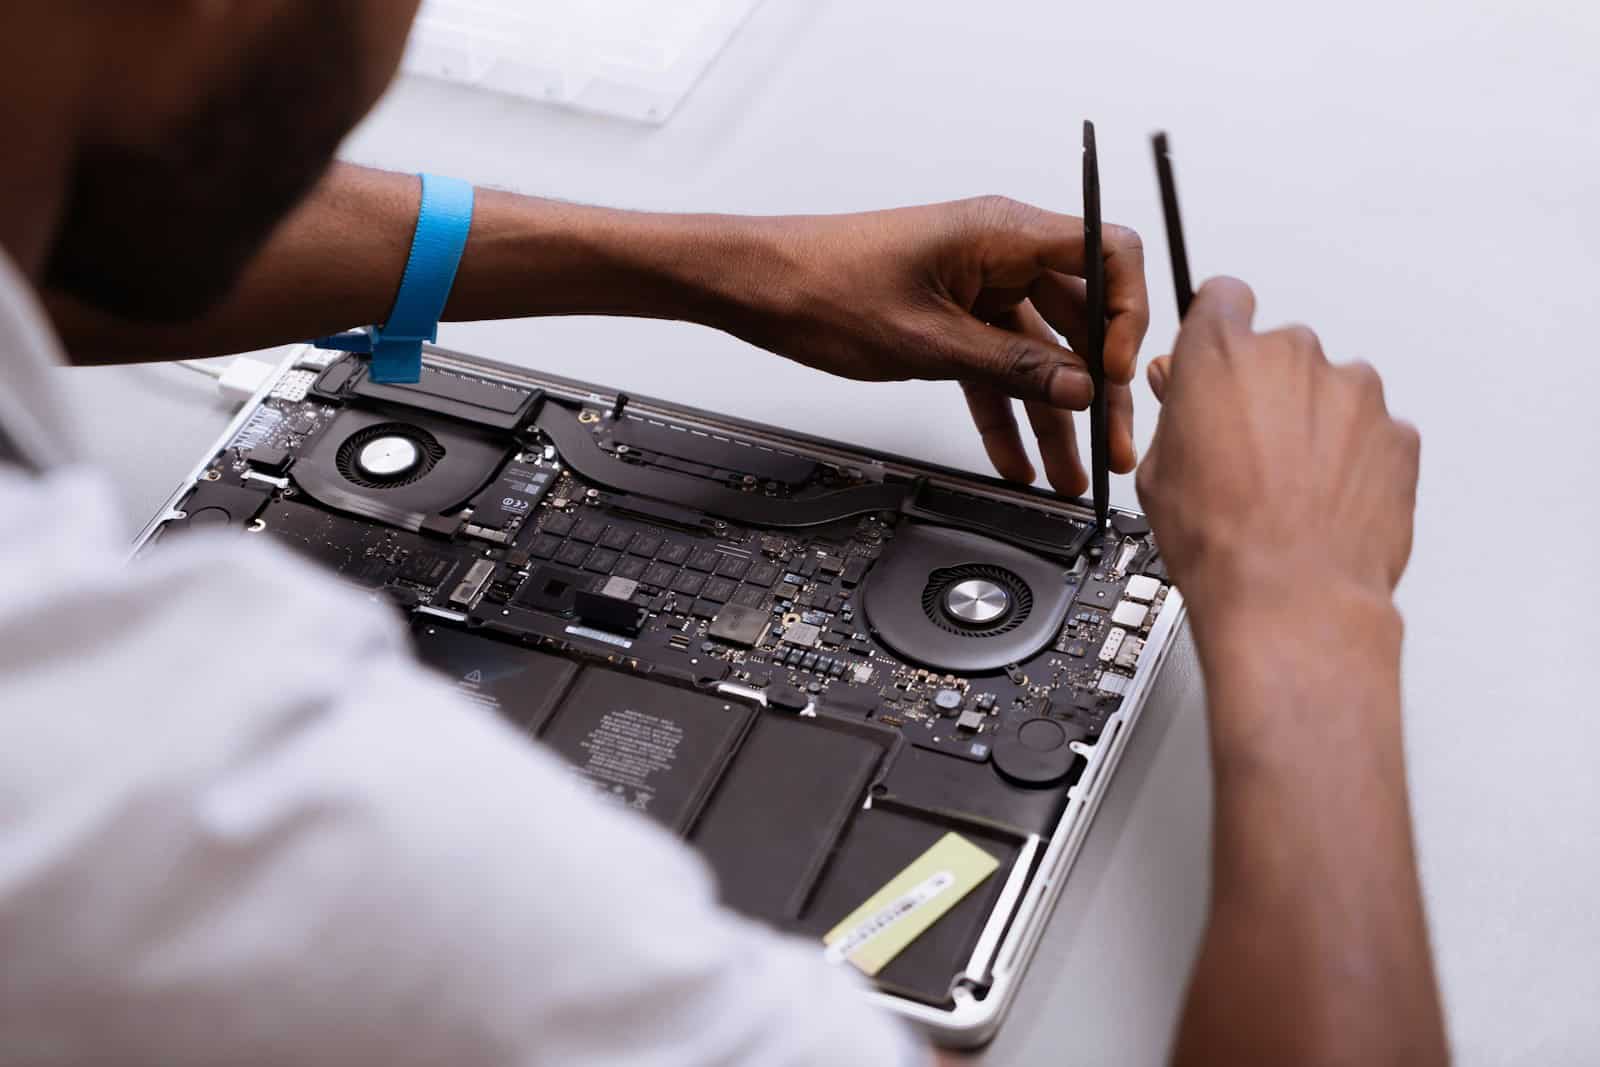
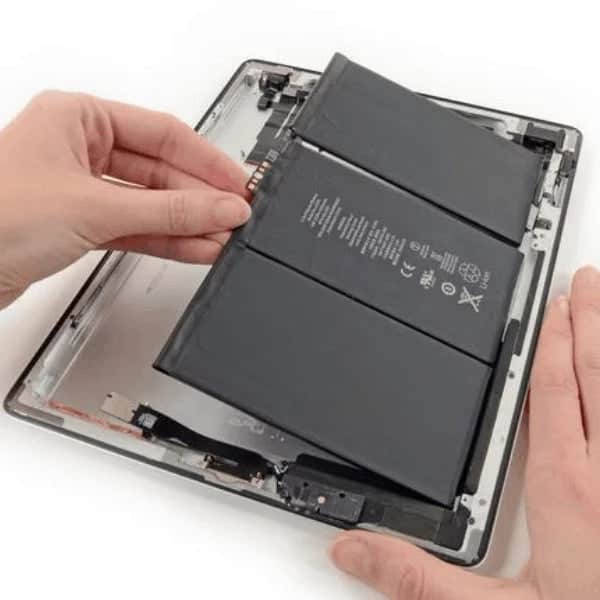
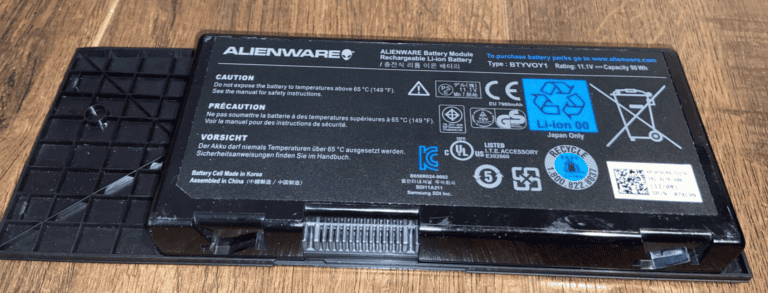
A failing MacBook Pro battery can cause everything from shorter run times to sudden shutdowns. Whether you own a recent Apple Silicon model or an older Intel-based machine, knowing the repair procedure helps you decide if you should attempt a DIY replacement or seek professional service.
Signs Your MacBook Pro Battery Needs Replacement
- Rapidly draining battery: Even after a full charge, the battery depletes quickly.
- Service Battery warning: macOS may display a “Service Recommended” message.
- Overheating or swelling: A bloated battery can push against the trackpad or bottom case.
- Unexpected shutdowns: The MacBook powers off despite showing charge remaining.
Safety Precautions
Lithium-ion batteries can be hazardous if punctured or improperly handled. Before starting:
- Power off the MacBook completely.
- Disconnect from the charger.
- Work on a clean, static-free surface.
- Wear safety glasses and gloves if possible.
- Never reuse a swollen or punctured battery.
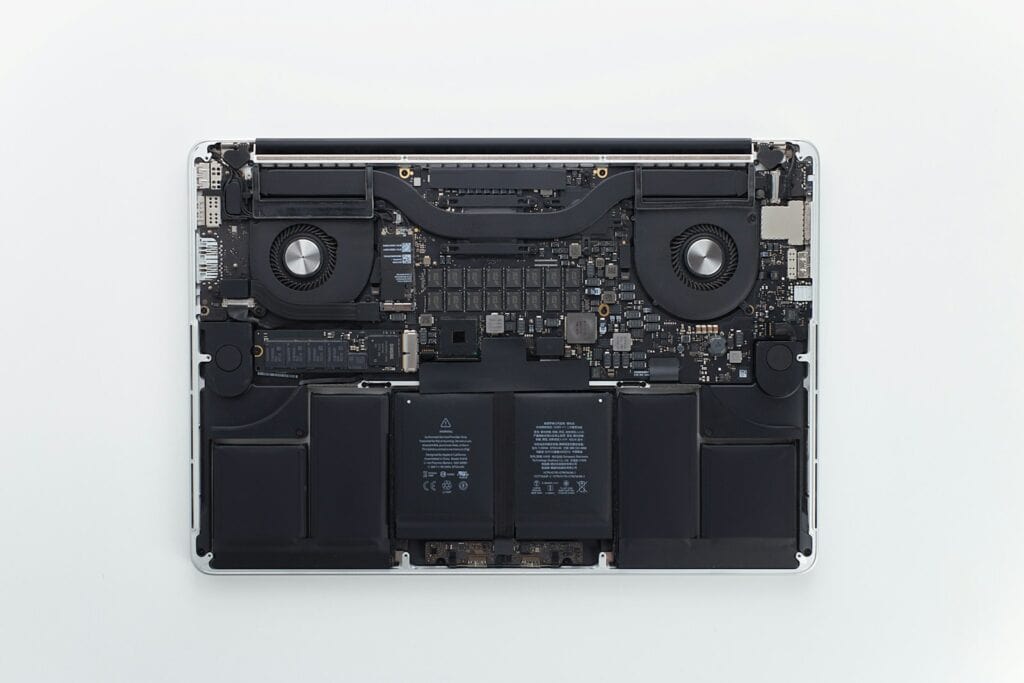
Tools Required
- Pentalobe and Torx screwdrivers (specific to your MacBook Pro model)
- Spudger or plastic opening tools
- Suction handle (for removing bottom case)
- Adhesive remover or isopropyl alcohol (for glued-in batteries)
- Anti-static mat
Step-by-Step Repair Procedure
⚠️ Note: The exact steps vary depending on your MacBook Pro model. Newer models (2016 and later) often have glued-in batteries, while older ones may be screwed in. Always refer to the official Apple repair manual for your model (source: Apple Support).
- Shut Down & Remove Bottom Case
- Flip the MacBook Pro over and remove the pentalobe screws.
- Use a suction handle and spudger to carefully lift the bottom case.
- Disconnect the Battery
- Locate the battery connector and disconnect it from the logic board. This prevents power from flowing during the repair.
- Remove Battery Securing Mechanism
- For older models: unscrew the battery brackets.
- For newer models: carefully apply adhesive remover around the battery cells, then use a plastic card to lift them out.
- Install the New Battery
- Align the replacement battery in the same position.
- Reconnect the battery cable to the logic board.
- If adhesive strips are required, apply them before seating the new battery.
- Reassemble the MacBook Pro
- Reattach the bottom case and secure it with screws.
- Power on the MacBook to confirm the new battery is recognized.
Calibration & Post-Repair Tips
- Charge the battery to 100% and keep it plugged in for 2 hours.
- Use the MacBook on battery until it reaches about 5%.
- Recharge fully to help the system recalibrate battery reporting.
DIY vs. Professional Repair
- DIY repair: Cost-effective if you have the right tools and patience. Guides from resources like iFixit can help (source: iFixit).
- Apple-certified service: Ensures genuine parts and warranty support (source: Apple Repair & Service).
Conclusion
Replacing a MacBook Pro battery is possible at home with the right tools and care, but it can be challenging, especially for newer models with glued-in batteries. If you’re not confident, Apple or an authorized repair provider is the safest route.

