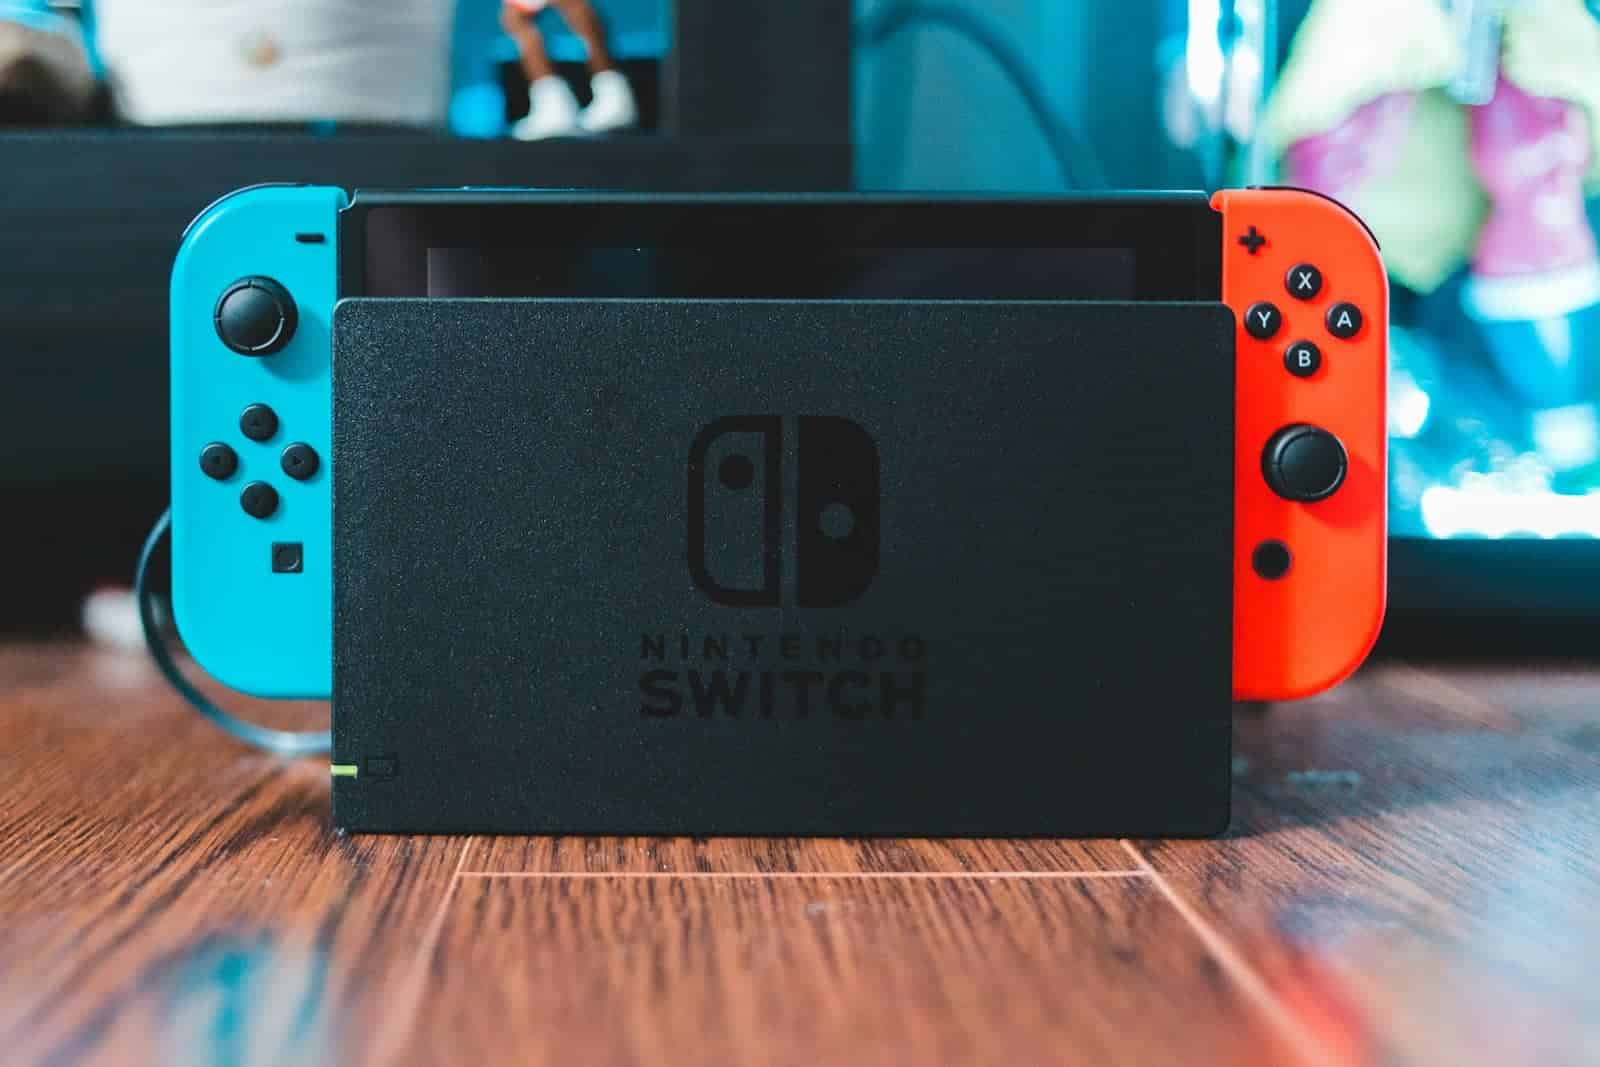
Installing Android on your Nintendo Switch is an advanced procedure and opens up a new world of possibilities, transforming the gaming console into a versatile Android tablet. Please note that this process can potentially harm your device and voids its warranty. Here’s a detailed guide:
Preparing for Android on Your Switch
What You’ll Need
- Nintendo Switch (Unpatched): Only original, unpatched versions of the Switch can be modified for Android installation
- Micro SD Card (Large Capacity): A sizable SD card (at least 64GB) is needed to house the Android OS and apps.
- Computer: A PC or laptop to download files and manage your SD card.
- USB-C Cable: To connect your Switch to the computer.
- Software and Files:
- Hekate Bootloader: You can find it on the Hekate GitHub page.
- Android ROM for Switch: A popular project is LineageOS, available through dedicated forums.
- GApps (Optional): If you want Google Play Store access, download a compatible GApps package.
Important Reminders
- Backup Your Data: Make a complete backup of your Switch data before starting.
- Proceed with Caution: This process involves modifying your console’s software. Proceed at your own risk.
Step-by-Step Guide
- SD Card Preparation:
- Format your SD card to FAT32.
- Create a partition specifically for Android using a partitioning tool.
- Hekate and Android Files:
- Extract the downloaded Hekate bootloader files to the root of your SD card.
- Copy the Android ROM image to the dedicated Android partition you created.
- If using GApps, place the zip file on the Android partition as well.
- Boot into Hekate:
- Insert the SD card into your Switch.
- Use a payload injector or other methods to boot into Hekate.
- Flash Android:
- Navigate to the ‘Tools’ tab in Hekate.
- Select ‘Partition SD Card’ and choose ‘Android’.
- Choose ‘Flash Android’, proceed with installation prompts.
- Reboot and Explore:
- Follow on-screen instructions to complete Android setup.
Additional Notes
- Battery Life: Expect shorter battery life when running Android.
- Compatibility: Not all apps and games may function perfectly on the Switch hardware.
- Joy-Con Support: You may need to configure Joy-Con controllers for proper operation in Android.
Disclaimer: This guide is intended for informational purposes. Proceed at your own risk, as installing custom software can potentially damage your device and voids the manufacturer’s warranty.
Key Takeaways
- Users can run Android apps on their compatible Nintendo Switch.
- Proper preparation and data backup are essential before installation.
- Follow detailed procedures for a successful Android installation.
Preparation
Installing Android on a Nintendo Switch involves several steps. One must first ensure compatibility, gather the necessary equipment, back up their current Switch data, and download the required software.
Assess Compatibility
Check the Nintendo Switch’s serial number. Only some Switch models are hackable. A good rule is that units sold before July 2018 are often hackable. Newer models, particularly the ‘Mariko’ and Switch Lite are not compatible with this process.
Gather Necessary Equipment
Before starting, gather the following items:
- A microSD card with at least 16GB of space, although more is recommended for games and apps
- A way to connect the microSD card to your computer, like a card reader
- An RCM loader or a jig to enter Recovery Mode
- A USB cable to connect the Switch to your computer
Backup Switch Data
To avoid losing games and save data, back up your Switch. This can be done through the system settings on the Switch. It’s also smart to make a copy of the microSD card’s contents if used previously in the Switch.
Download Required Software
Download the following software from trusted sources:
- Hekate bootloader: This will allow booting into other partitions, including the Android system.
- TWRP (Team Win Recovery Project): This software helps in managing and installing custom firmware.
- LineageOS 17.1 for Switch: This is the actual Android system modified for the Switch.
- GApps (Google Applications): These are the Google services and app store for Android.
Ensure that the downloaded files are correct and free from malware. Only trust reputable sources for your downloads.
Installation Process
Installing Android on a Nintendo Switch involves several key steps. These involve entering Recovery Mode, partitioning the SD card, installing the Android operating system, and finally setting up the Android environment.
Enter RCM and Inject Hekate
To get started, the Switch must enter Recovery Mode, also known as RCM. This is done by holding down the Volume Up button as you turn on the device. With the use of an RCM loader device, you then inject the Hekate payload to the Switch.
Partition SD Card
Next, prepare the microSD card by creating a partition for the Android operating system. It’s crucial to format this partition as FAT32, which the Switch can read, and to leave sufficient space for the system and apps.
Install Android
Using the Hekate bootloader, you can then install an Android build such as LineageOS 17.1 onto the FAT32 partition of your SD card. When the installation process starts, choose to include GApps if you wish to have Google Play Store and other Google Services.
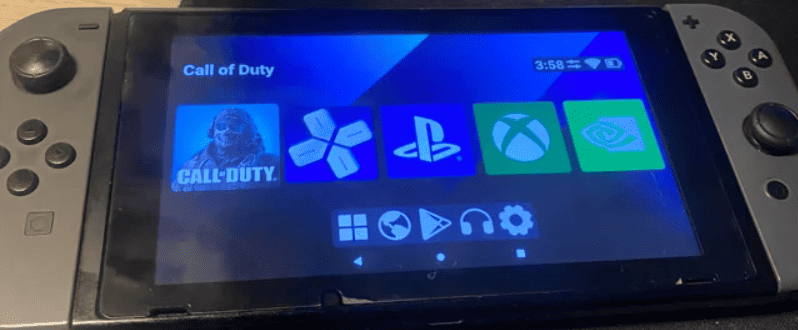
Setup Android
After the installation is complete, the Switch will boot into Android. Connect to WiFi, pair your Bluetooth devices, or use GPS just like on a standard Android device. You can now start downloading apps from the Google Play Store and enjoy Android features on your Switch.
Frequently Asked Questions
Navigating the process of installing Android on various Nintendo Switch models can raise many questions. This FAQ section aims to provide you with straightforward, step-by-step answers to some of the most common queries.
What are the steps to install Switchroot Android on a standard Nintendo Switch?
To install Switchroot Android on a standard Nintendo Switch, first, ensure your device is compatible and you have a high-quality microSD card. Download the appropriate Switchroot Android image for your device. Use a tool like balenaEtcher to flash the image to your microSD card. Then, insert the card into your Switch and use an RCM loader to boot into the Hekate interface. Follow the prompts to launch Android.
Can Android be installed on a Nintendo Switch OLED model, and if so, how?
Android installation on a Nintendo Switch OLED model is not straightforward and generally not recommended due to potential risks and the current lack of specific support. It’s essential to check for up-to-date methods and fully understand the risks before attempting any modification.
What is the process for installing Android on the Nintendo Switch Lite?
The Nintendo Switch Lite currently has limited support for Android, and it is not typically advised to install Android on it. The process would mirror that of the standard Switch but proceed with caution, as the Lite model has different hardware that may not be compatible with existing Android builds.
Are there any emulators available that allow Android apps to run on the Nintendo Switch?
There are no emulators specifically designed to run Android apps on the Nintendo Switch. The process involves installing a full Android OS build on the device to access Android apps natively, rather than emulating them.
Where can I find and how do I safely download Switchroot Android 11 for installation?
The official source to download Switchroot Android 11 is from the Switchroot website or recognized community forums. Always ensure you are using a secure and verified website to avoid downloading harmful files, and verify the integrity of the download before proceeding with installation.